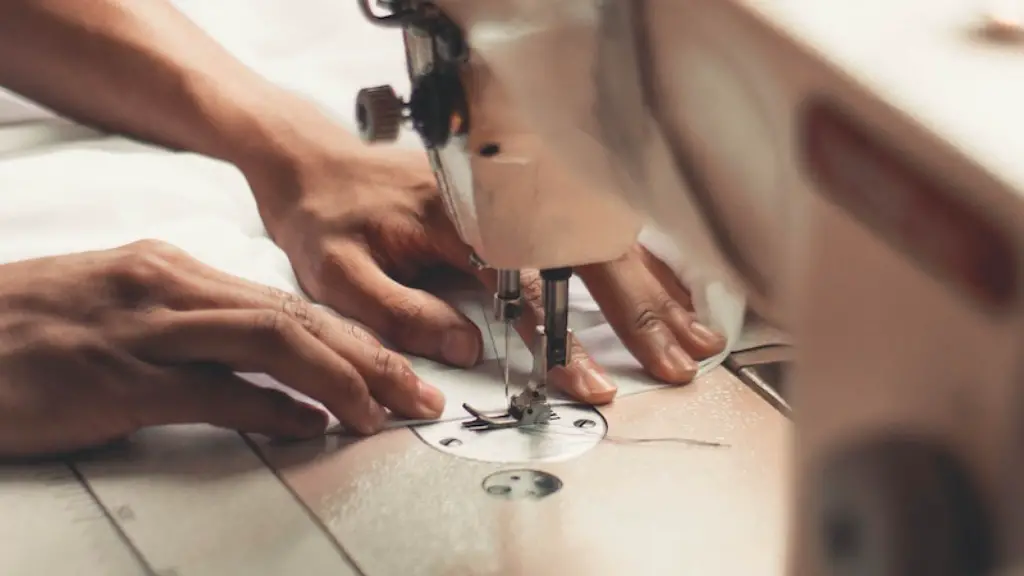
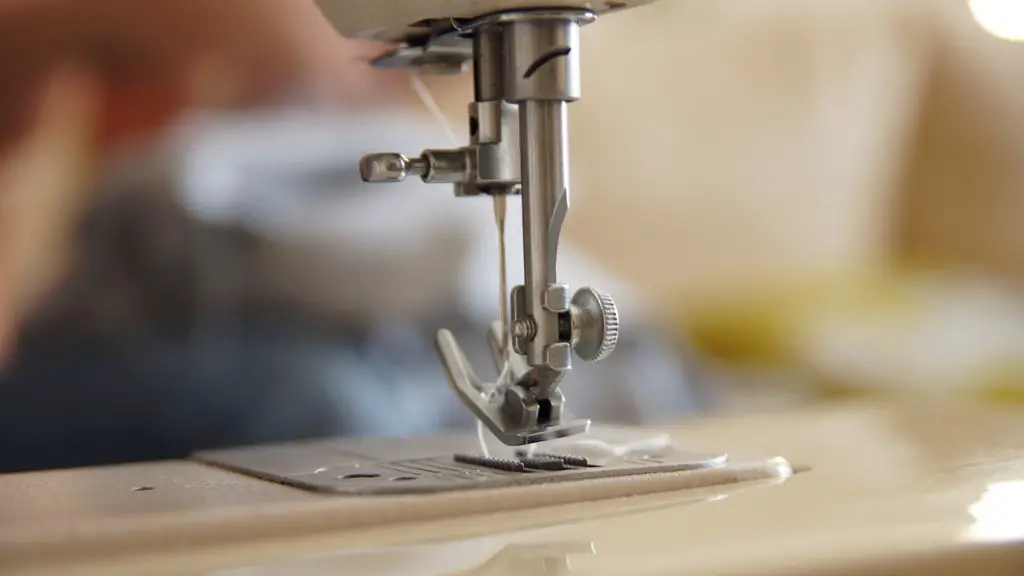
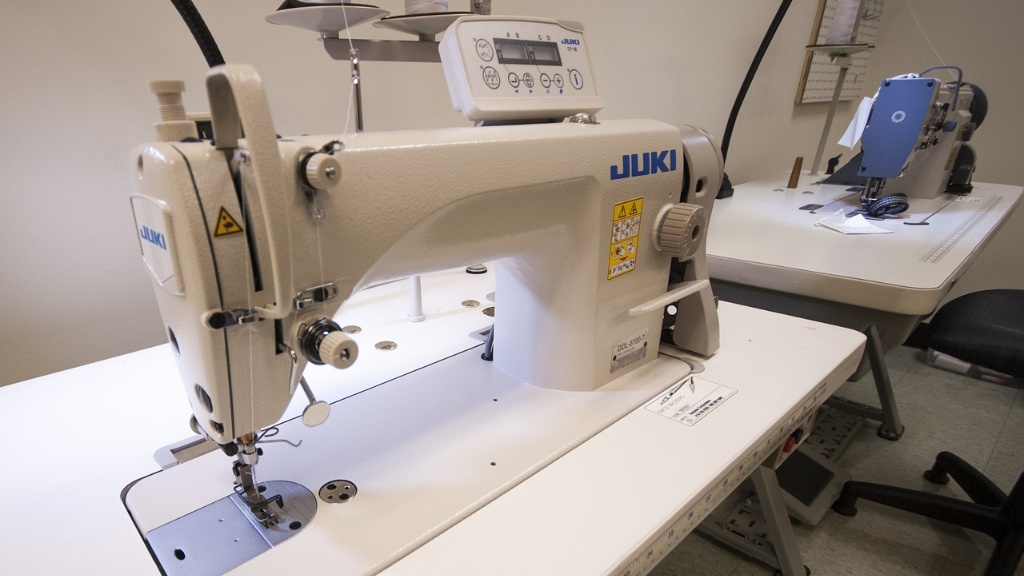
Introduction: Monograms are a great way to personalize an item for yourself or for someone special. Whether you want to decorate clothing, bags, or home decor, monograms are an easy way to add a little character to your items. With the help of a basic sewing machine, you can easily create beautiful monograms with a few supplies and instructions. Here’s a step-by-step guide for how to get started monogramming with a sewing machine.
Choose the Monogram Design: The first step is to choose the design of your monogram. You can find simple designs in craft stores or on the internet. You can also create your own design to make it unique. You can either draw your design onto a special paper that is compatible with your sewing machine, or you can purchase embroidery software which will allow you to design your own.
Purchase the Supplies: Once you have your design, it is time to purchase the supplies needed for monogramming with a sewing machine. You will need fabric that is thick enough to hold the monogram without puckering. You can also use stabilizer, which is a special fabric that is designed specifically for monogramming with a sewing machine. Additionally, you will need thread, sewing scissors, and the appropriate needles for the type of fabric that you are using.
Position the hoop: The next step is to position the hoop. This is a metal hoop that will hold the fabric in place as you sew the monogram. Make sure that the hoop is positioned correctly with the design that you have chosen.
Secure the Fabric: Once the hoop is in position, it is time to secure the fabric into the hoop. You can do this by tightening the sides of the hoop until the fabric is taut. This will ensure that the fabric does not move as you sew.
Attach the Hoop to the Machine: After the fabric has been secured, you can attach the hoop to the sewing machine. You can find specific instructions for your sewing machine in the user manual. Be sure to follow the instructions carefully in order to ensure that the hoop is attached properly.
Select the Stitch: Now that the hoop is securely attached, it is time to select the stitch for your monogram. There are a variety of stitches that you can choose from, depending on the type of monogram you are making. Make sure to select the stitch that is appropriate for the material and the design of the monogram.
Align the Monogram: You can now align the monogram to the hoop. This will ensure that the monogram is positioned correctly when you start to sew. Make sure to double-check and make any necessary adjustments.
Start Sewing: Once the monogram is securely positioned, you can start sewing the stitches. Depending on the type of monogram and the design that you have chosen, the stitch patterns will vary. Make sure to follow the instructions carefully and take your time to ensure that the monogram is perfect.
Once the monogram is complete, you can then remove the hoop from the sewing machine and carefully remove the fabric from the hoop. Your monogram is now complete and you can use it to decorate a variety of items.
Band Embellishments
One way to add a unique touch to a sewing project is to use band embellishments. Band embellishments are great for adding a fun detail to a project. You can find band embellishments in craft stores or online. They come in a variety of colors and designs, so there is sure to be one that matches your project. The best way to attach a band embellishment is with a sewing machine.
To attach a band embellishment, you will want to begin by cutting the band to the desired length and then attaching it to the fabric with a straight stitch. The sewn on band will add a decorative touch to the project. You can apply various stitch patterns to create a unique design. You can also use two different bands to create a more interesting pattern.
Once the bands are securely attached, you can then add ribbon or trim to the fabric. You can use a zigzag stitch to attach the ribbon or trim for a more finished look. You can use a variety of ribbon and trim to add texture to the project. Once you are finished, you can then embellish the project with buttons, bows, or other decorative elements.
Using band embellishments to decorate a project is an easy and inexpensive way to add unique detail to a sewing project. With just a bit of creativity, you can use band embellishments to make a one of a kind project that is sure to stand out.
Appliqué
Appliqué is another great way to add uniqueness to a sewing project. Appliqué is a technique that allows you to attach fabric pieces to another larger piece of fabric. This can be done with an embroidery machine or with a regular sewing machine.
If you are using a sewing machine, you will first want to cut out the appliqué shape from the fabric that you are using. Once you have the shape cut out, you will want to position it on the larger piece of fabric. You can use a straight stitch to sew the appliqué onto the fabric. Start at the top and work your way down. Once the appliqué is securely in place, you can then sew a border around the appliqué to add a finished look.
If you are using an embroidery machine, you can first use the machine to embroider the shape onto the fabric that you are using. You can then use the machine to sew the appliqué shape onto the larger piece of fabric. This is a great way to add detail and create a unique looking project.
Appliqué is a great way to add a special touch to a project. With creativity and the right supplies, you can embellish sewing projects with unique and interesting designs that are sure to catch the eye.
Monogramming with a Serger
Another fun way to add a personal touch to your sewing projects is to use a serger to monogram. A serger is a specialized sewing machine that is often used for finishing off seams and creating decorative stitching. You can use a serger to create a variety of different monograms with just a few simple steps.
To begin, you will want to choose the design of your monogram. Once the design is chosen, you can then use the serger to cut the fabric to the appropriate size and shape. The fabric should be positioned in the machine and a stabilizer should be used beneath to ensure that the fabric does not move. You can then use the serger to stitch the monogram onto the fabric.
You can use a variety of decorative stitches for your monogram. You can also use two different colored threads to create a more interesting design. Sergers are very versatile machines and you can use them to create a variety of looks.
Monogramming with a serger is a great way to add a unique, personal touch to your projects. With a bit of practice, you can create beautiful monograms that are sure to be enjoyed by everyone.
Iron-On Decals
Iron-on decals are an easy and fun way to add a special touch to any project. Iron-on decals come in a variety of sizes and designs, so you can find one that will fit your project perfectly. You can also use the decals to embellish a variety of items, such as bags, apparel, and accessories.
To use an iron-on decal, you will first want to position the decal on the fabric that you are using. Once it is in position, you can then use an iron to adhere the decal to the fabric. Make sure to follow the instructions on the decal for the best results.
If you are using a fabric that is thin or delicate, you may want to add a thin layer of interfacing before adhering the decal. This will help to prevent any ironing damage to the fabric. Additionally, you can use a steamer to help bind the decal to the fabric if you are not comfortable using an iron.
Iron-on decals are a great way to add a unique touch to any project. With just a few simple steps, you can quickly add detail and create a unique look that is sure to stand out.
Puff Paint
Puff paint is another unique way to add detail to any sewing project. Puff paint is a paint that has a special formula that allows it to puff up when it is applied to fabric. This allows you to create a raised, 3-dimensional design on the fabric.
The best way to use puff paint is to first draw the design that you want onto the fabric with a fabric pencil. Once you have the design in place, you can then use a paintbrush or a tool specifically designed for puff paint to apply the paint. You will then want to use a low heat iron to “set” the paint.
Puff paint is a great way to add texture and detail to any project. With a bit of creativity, you can create a unique and eye-catching design that will be sure to stand out.
