Owning a Juki sewing machine can be a great investment, but without proper maintenance, it can quickly become a costly and daunting task. Even if you are a seasoned sewer, keeping your sewing machine in top form requires regular oiling.
Oil is the lifeblood of your sewing machine and is essential to ensuring that it operates with maximum efficiency and continues to sew smooth seams without slipping or skipping stitches. Ensuring that the oil is included in a routine maintenance and cleaning schedule will go a long way in keeping your machine running in optimum condition.
The first step in oiling your Juki sewing machine is to make sure you have the proper type of lubrication. Many Juki machines require a specific type of sewing machine oil that is specially formulated for lightweight materials and high-tension fabrics. Be sure to refer to the manual that comes with your machine and read the instructions for the proper oil for your model.
Before you oil your Juki sewing machine you need to turn off the machine and unplug it. Then use a clean, soft cloth to wipe down the entire exterior of the machine. This will remove any dust, lint, and other debris that can build up over time and interfere with the proper functioning of the machine.
Once the exterior has been wiped down, locate the oil holes on the sewing machine. These can usually be found on the underside of the arm rest, along the side of the needle plate, and at the back of the needle plate. It’s important to note that your machine may have several different oil holes, so be sure to check the manual before you begin oiling.
Fill a small container with the appropriate sewing machine oil. Be sure not to fill the container too much as it’s easier to apply small amounts of oil at a time. Then, using a clean, unused needle oiler, dip the needle into the oil and slowly inject it into the oil holes on the sewing machine. It’s important to not over-fill the oil holes, so stop once you see the oil gush from the holes.
Once the oil has been injected, use a clean cloth to wipe down the area around the oil holes and any excess oil that may have spilled. This will help ensure that any small oil particles don’t run into the inner mechanisms of the machine.
It is important to oil your Juki sewing machine regularly to ensure that it stays in top condition. Paying attention to the maintenance of your machine will ensure that you are able to enjoy your sewing for years to come.
Understanding Juki Machine Parts
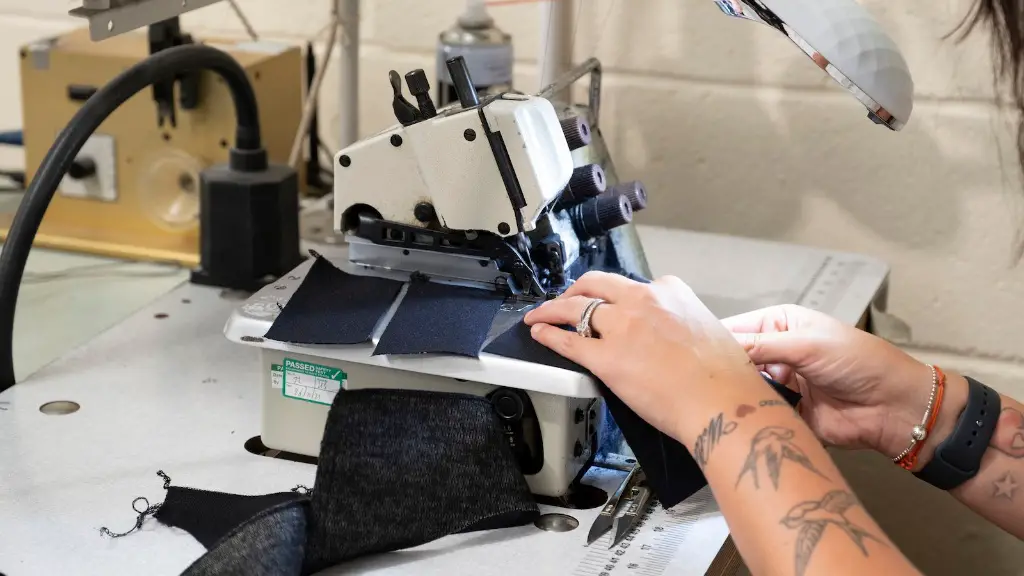
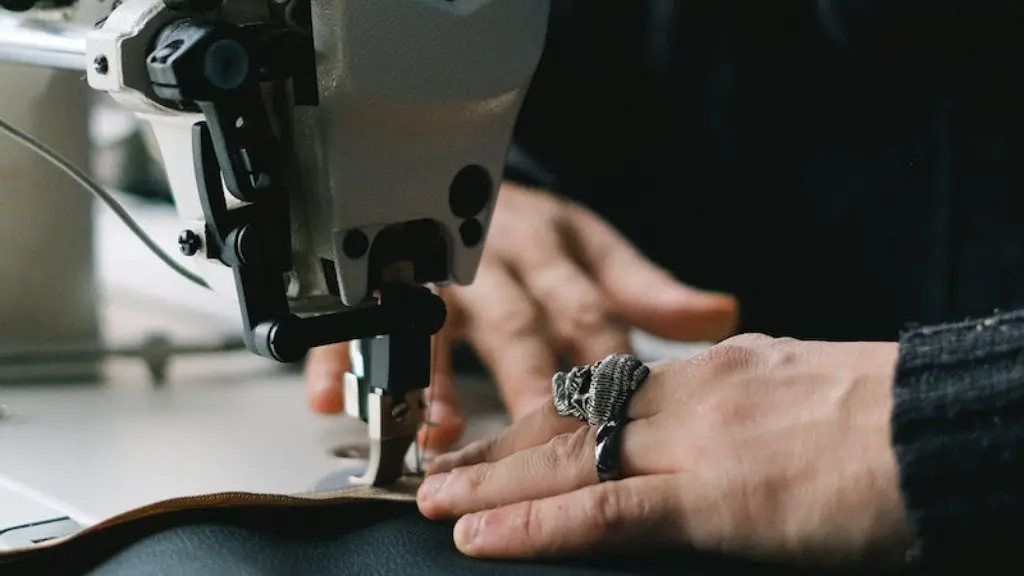
In order to properly maintain your Juki sewing machine, it is important to have an understanding of the various parts and components. Many of the Juki machine models feature lightweight designs coupled with powerful motors and thread tension control systems that allow the user to make the most precise stitches. The basic components include the feed dog, bobbin, needle plate, and pressure foot. The feed dog is responsible for the forward and backward movements of the fabric, pushing it through the machine as the needle moves up and down. The bobbin is the spool that holds the lower thread and usually sits underneath the needle plate. The needle plate holds the needle in place and helps keep the tension even. Lastly, the pressure foot helps guide the fabric as it moves through the machine.
It is important to inspect these components regularly to ensure that they are working properly. Looking for signs of wear or tear and replacing any parts that are damaged can help prevent bigger problems in the long run.
Juki Thread Tension Tips
Having the proper thread tension is one of the most important elements when sewing with a Juki sewing machine. Too much tension will cause the stitches to be too tight and can lead to broken threads and skipped stitches. Conversely, too little tension will cause the stitches to be too loose and won’t hold the fabric to the fabric. The key is to find the perfect tension balance.
Start by winding a few bobbins of contrasting threads and then setting the machine on its highest weight setting. This will help ensure that the needles are able to penetrate the fabric and the presser foot can move the fabric through the machine without snagging. With the machine running, experiment with different thread tensions until you find the optimal tension setting. Take note of where the thread is coming from and adjust the tension accordingly.
It is important to maintain the thread tension as you sew. If the tension loosen or tightens over time, adjust it accordingly. If the issue persists, it is likely time to replace the bobbin case.
Clean Your Juki Machine
Keeping your Juki sewing machine clean is essential to ensuring that it will continue to perform at its best. Be sure to refer to the manual that came with your machine for specific maintenance instructions as different machines may have different cleaning requirements. Generally, start by blowing away loose debris from the exterior and underside of the machine with a can of compressed air. Disconnect all the presser feet and remove the detachable parts of your machine. Then, open up the front of the machine and clean all the internal parts with a soft brush and a can of compressed air. Wipe clean any visible buildup in the interior, paying particular attention to the needle and feed dog areas. Lastly, reassemble the parts, making sure they are properly connected.
Replace Worn Juki Parts
Like any machine, your Juki sewing machine will eventually require replacement parts over time. Keep an eye out for signs of wear and tear and replace any parts as needed. Commonly worn parts include the needle plate, feed dog, and bobbin case. These are usually made of plastic or metal and should be visually inspected for any signs of wear and tear. If any of these parts are heavily worn or damaged, it is important to replace them. In addition, take the time to look for any loose or frayed parts and reconnect them.
Regular Juki Maintenance
When owning a Juki sewing machine, regular maintenance is key to keeping your machine running smoothly. Be sure to oil your machine regularly and clean the thread from the bobbin and tension disks. Check the manual for specific instructions, but in general, use a few drops of oil and then wipe off any excess. This will help prevent debris from collecting in the tension disks and the bobbin area. Wipe off the lint and dust that can collect on the exterior parts with a clean cloth. Additionally, inspect all moving parts for any signs of wear and tear, and replace any parts that need to be replaced.
Juki Machine Troubleshooting
Common sewing machine problems include thread jams, skips and uneven stitches. If you are experiencing any of these issues, check the bobbin tension to make sure it is correct. If the tension is correct, it is likely time to clean and oil the machine. Make sure to use only the oil specified for that particular machine and wipe away any excess oil. Additionally, if the thread is not going through the needle eye properly, check for any signs of thread bunching or a clogged needle. If the needle is clogged, use the tip of the tweezers to carefully clear the clog.
Finally, check the presser foot tension and make sure the fabric is moving properly. If the fabric is not moving evenly, it may be necessary to adjust the pressure foot tension accordingly.
It is important to never hesitate to reach out to a professional if you have any questions or are not sure as to what the issue is. A professional sewing machine technician has the experience and tools needed to properly diagnose and repair any issue with your Juki sewing machine.
