Preparation
Singer sewing machines are old machines, but still extremely reliable and durable. To ensure that your Singer 301 keeps running smoothly, it helps to oil it periodically, especially before major projects. Before you oil the machine, you need to make sure that the machine is properly prepared. Firstly, unplug the machine from the power supply. Clean the machine, using a damp cloth to wipe away any dust or dirt.
Check all screws, attachments, and other parts to make sure that they’re tightened securely. Clear the bobbin case, clean out the bobbin area, and check the needle for any wear and tear. If possible, take a photo of the machine and its parts before oiling so you can refer back to it should anything go wrong during the process.
Once you’ve prepared the machine, it’s time to get started oiling. You may need a few tools to help you, depending on the type of sewing machine you have. Common tools include tweezers, a small brush, oil and a screwdriver. If possible, use a special oil designed for sewing machines; if not, regular sewing machine oil will work fine. Make sure you have some rags or towels nearby to catch any spills.
Oiling the Parts
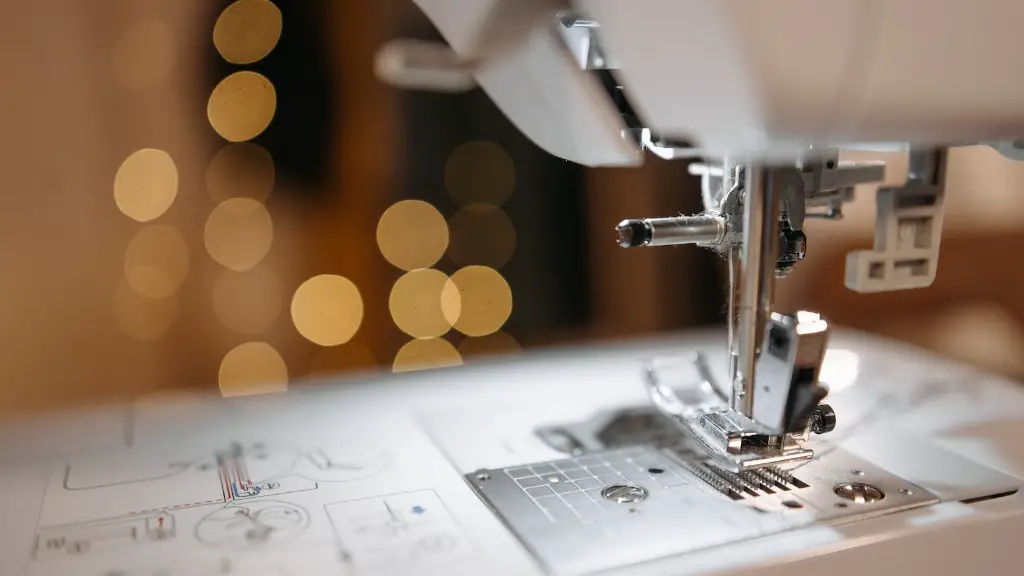
Once everything is prepared, it’s time to start oiling your Singer 301. Start by oiling the shuttle hook, which is located beneath the bobbin case. Put a few drops of oil on the tip of a cotton swab and swab the shuttle hook. If you can see any small teeth on the hook, make sure to oil them well.
Next, oil the needle bar. Put the machine in its highest position and put a few drops of oil on the needle bar. Finally, oil the bobbin area, using a cotton swab to put a few drops of oil on the surfaces. Make sure to keep the area clean, as any dirt or debris can affect your machine’s performance.
Once you’ve oiled all the parts, it’s time to put the machine back together again. Make sure to refer to your photo from before, if needed, and reassemble the machine carefully. Make sure that all screws and attachments are securely tightened, and that any applicable parts are securely in place.
Go over the entire machine one more time before use to make sure that everything is set correctly and in order. Once the machine is ready, plug it back in and test it out to make sure that it’s working correctly.
Maintaining the Machine
Now that your machine is oiled and running properly, it’s important to keep up maintenance and take good care of it. It’s recommended to oil your machine 1-2 times per year, and to give it a general cleaning every few months. Doing so will keep the machine running smoothly and extend its life.
When cleaning the machine, use a damp cloth, and then use a dry one to finish. Make sure to avoid using any harsh cleaners or chemicals, as they can damage the machine. After oiling and cleaning, check all screws and parts to make sure that they’re securely tightened.
It’s also important to store your machine properly and keep it out of direct sunlight. If you have an old Singer sewing machine, consider getting a cover for it to protect it from dust and dirt buildup. Doing so will help ensure that your machine runs smoothly and last for many years to come.
Troubleshooting
If your Singer sewing machine is starting to act up, there are a few troubleshooting tips to help correct any minor issues. First, check the bobbin case to make sure it’s clean and clear of any dirt or debris. Check the needle to make sure that it isn’t bent or worn. Make sure that all screws and attachments are properly tightened.
Check the power supply and make sure that the machine is plugged in correctly. Also, make sure the machine is set to the right stitch tension and stitch length. Finally, check to make sure the foot pedal is working correctly. If the machine still isn’t working properly, it may be time to get a professional to take a look.
Replacing Parts
Singer machines are designed for decades of use and can last for many years if properly cared for. However, certain parts will eventually wear out and need to be replaced. Before replacing any parts, refer to the machine’s manual to determine which parts are necessary.
When replacing parts, make sure they are snugly attached and securely tightened. If needed, refer to the photo you took beforehand of the machine and its parts, to make sure everything is in order. Always exercise caution when replacing parts and make sure that you understand what needs to be done before beginning.
Helpful Tips
Learning how to oil your Singer 301 is a great first step to properly caring for your machine. To keep your machine running efficiently, make sure to follow a few helpful tips. Firstly, refer to the machine’s manual for step-by-step guidance as to how to properly oil the machine and replace any parts.
It also helps to keep the sewing area clean and free of any clutter. Have all necessary supplies nearby for when you need to oil or clean the machine. Finally, make sure to take good care of your machine by cleaning and oiling it on a regular basis.
Helpful Products
In addition to regular oil and cleaning, there are a number of helpful products available to keep your Singer 301 running properly. Purchase a machine cover to protect the machine from dust and dirt, and look into a few additional tools such as tweezers, a small brush and a screwdriver. It also helps to have a few spare spools of thread, and needles of different sizes.
Having these items on hand will help make oiling and other maintenance tasks easier and more efficient. Most importantly, make sure to refer to the machine’s manual whenever in doubt. Following these steps will help ensure that your Singer 301 runs smoothly for many years to come.
