Prepping the Sewing Machine
There is nothing quite like the thrill that comes with creating a masterpiece with a vintage sewing machine. That is, until your beloved-but-old machine starts to show signs of wear and tear. Regularly oiling your sewing machine keeps it functioning faithfully and helps it to last a lifetime. Follow the steps below and you’ll be stitching away in no time.
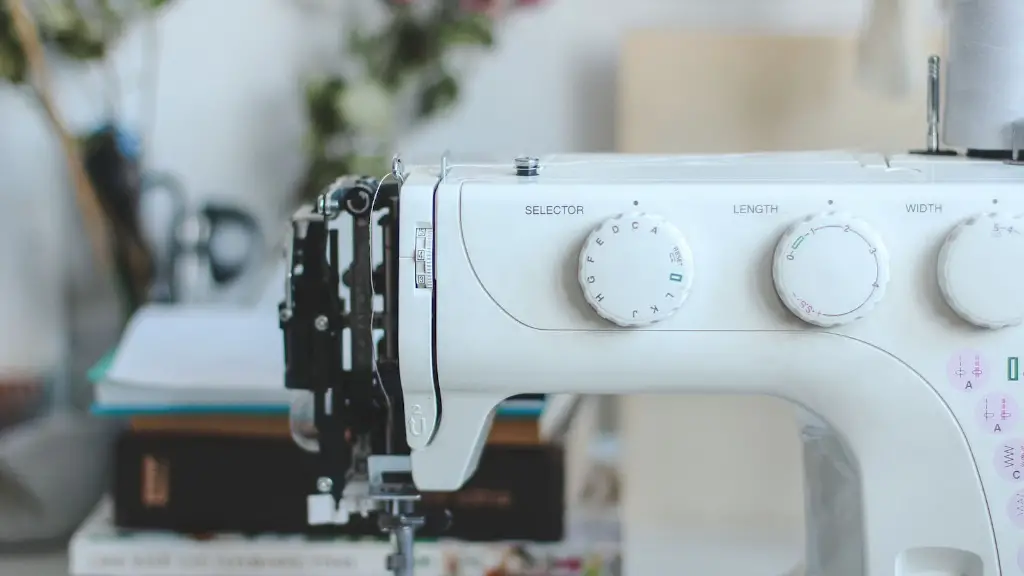
Begin by disconnecting the power cord or unplugging it from the wall. Examine the exterior of the sewing machine and remove any dust, dirt, or debris with a soft cloth. Open the access panel and clear any lint or scraps inside the machine. It is also important to examine the needle and ensure that it is fully secured and not damaged in any way.
Applying the Oil
Now it is time to apply the oil. Make sure to use a clear Sewing Machine Oil or a general purpose oil that is free of wax. Next, identify the oil contact points. Each sewing machine will have a slightly different arrangement of areas that need oil, but they are generally relatively easy to identify. Soak a cotton cloth or narrow brush in the oil and apply a small amount of oil to each oil contact point. Do not over-apply the oil – just a few drops is enough.
Additionally, you can use an oil brush for more precise application. To do this, add a few drops of oil to the brush and then use it to transfer some of the oil to the contact points. Immediately after using the oil brush, dip it in a jar of solvent to clear the excess oil from the bristles.
Testing The Sewing Machine
After oiling, it is important to run a few stitches to make sure the machine is working correctly. Thread the machine and hold the fabric with either your hands or with the included feed dogs. Make sure the tension is correctly set and then sew a few stitches to confirm that the machine is functioning properly.
If, after testing the machine, there are any problems with stitch volume or length, refer back to the oil contacts and lubricate them again. Additionally, carefully inspect the needle and hook mechanism to ensure that it has been properly oiled and that all the tiny parts are intact and free of dust and dirt. Then, run another test stitch. This time you should notice perfectly even stitches.
Maintaining the Sewing Machine
It is important to properly oil your sewing machine every few months or after each use to ensure that it is running properly. Additionally, you’ll need to:
- Clean lint and dust from the machine after each use
- Check for threading problems
- Calibrate the tension regularly
- Change the needle annually (or when necessary)
Periodic maintenance and lubrication will prolong the life of your sewing machine and help prevent and diagnose mechanical or structural problems.
The Benefits of Oil
There are numerous benefits to regularly oiling your sewing machine. Proper lubrication will help protect the moving parts by keeping them clean and reducing friction that occurs when sewing. This helps to prevent wear and tear on the machine, allowing it to run smoothly and better hold up over time. It also helps keep the interior of the machine clean, which helps to reduce the chances of clogs and other issues.
Sewing machines are delicate and require conscious care and regular maintenance in order to keep them functioning properly. With a regular oiling and the occasional tune-up, you can ensure that your machine will remain in good working condition for years to come.
The Impact an Oil Change Has on the Fabric
When sewing with a new machine, lubrication oil is very important in order to ensure the best stitching quality and smooth fabric flow. The oil helps minimize friction between the fabric and the machine parts, allowing the fabric to move freely, resulting in better stitch quality. Not only that, but having a properly oiled sewing machine will also help guarantee uniform stitches and consistent tension.
Regular oiling of your sewing machine is essential in order to keep your fabric looking and feeling its best. An improperly lubricated machine can often result in uneven or bulky stitching, or it can even cause the fabric to become snagged in the feed dogs.
Which Oil to select
When it comes to selecting the correct oil for your sewing machine, there isn’t one definitive answer. Generally speaking, however, the most common type of oil for sewing machines is a synthetic oil. But some machines may require special oil that is only available from the manufacturer, especially for more delicate machines. If not, a basic mineral oil usually works well for general-purpose machines. An oil that is specially designed for sewing machines is preferred.
Once you have determined the correct oil for your machine, make sure to purchase a good quality oil that meets your machine’s needs. Cheap oil may be tempting, but it typically doesn’t last as long and can become gummy over time, leading to clogs and poor stitching.
Conclusion
Once you have identified the right oil, regularly checking and maintaining the oil contact points is vital for proper maintenance and for avoiding costly repairs. Keep the exterior of the machine clean and make sure to clear lint and any scraps from the interior. Follow the steps outlined above and your sewing machine will be in top condition for many years to come.


