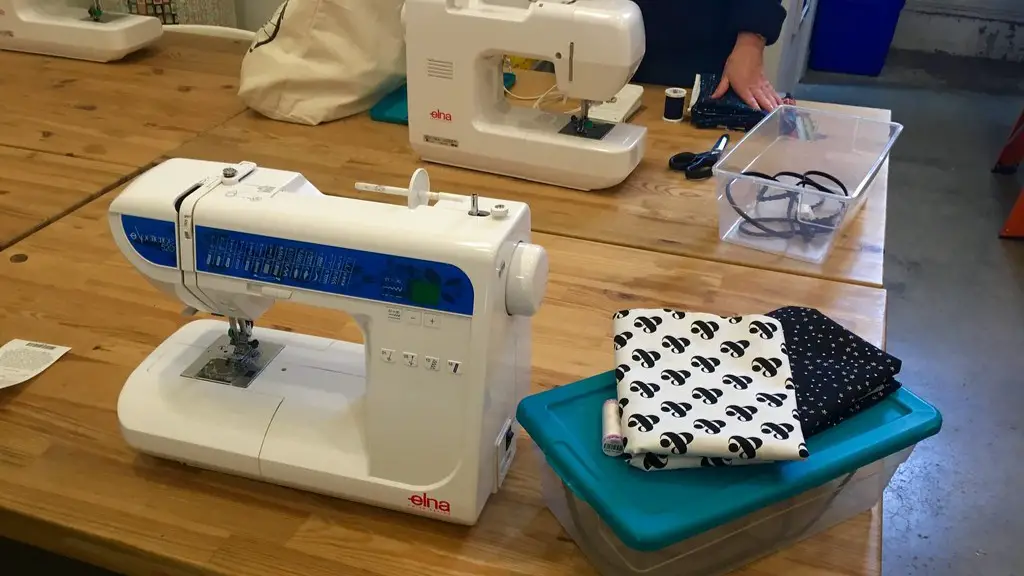
The Singer Sewing Machine was invented by Isaac Singer in 1851 and has since become a critical tool for home sewers and professional tailors. Oil is essential for keeping the Singer Sewing Machine running as it lubricates the moving parts and ensures smooth performance. After years of use, oiling the Singer Sewing Machine becomes particularly important as the parts can be covered with lint, dust and excess oil, which can interfere with the machine’s performance. This article will discuss how to oil an old Singer sewing machine and the precautions to take when doing so.
Prepare the Machine for Oiling
The first step in oiling an old Singer sewing machine is to prepare the machine. It’s important to remove the lint, dust and excess oil from the needle plate, bobbin case and shuttle race. Use a lint brush to clean the needle plate and bobbin case and a vacuum to clean the shuttle race. To clean the exterior of the machine, use a soft cloth and a mild detergent. Once the machine is clean, make sure to open the bobbin case and remove the bobbin.
Choose the Right Oil
Once the machine is clean and the bobbin has been removed, it’s time to select the right oil. The best oil to use is a quality sewing machine oil, which is available at sewing supply stores. Sewing machine oil is designed to lubricate the moving parts of the machine without damaging the plastic, metal or rubber components.
Oil the Moving Parts
With the right oil in hand, it’s time to oil the moving parts of the machine. Start by oiling the shuttle race. This part is located at the top of the machine, directly underneath the bobbin cover. Apply a few drops of oil in the middle of the race and use a cotton swab to spread the oil evenly. Then, open the needle plate and add a few drops of oil around the shuttle hook, which is the piece that moves when the needle is threaded. Finally, use a cotton swab to lightly oil the bobbin case. Make sure not to apply too much oil as this can cause the bobbin case to be too slippery and can interrupt the stitch formation.
Oil the Tension Discs
The tension discs of the machine should also be oiled. Before you begin, make sure to turn off the power switch and unplug the machine. Then, remove the hand wheel and the belt from the tension discs. Apply a few drops of oil to the tension discs, being careful not to touch the tension discs. To finish, replace the hand wheel and the belt.
Oil the Hook Race
The hook race is the part of the machine that encloses the bobbin case and hook. To oil the hook race, turn the machine over and locate the hook race. Add a few drops of oil to the hook and use a cotton swab to spread the oil. Make sure to not over oil the hook race as this can lead to excessive lint accumulation.
Reassemble and Test the Machine
Once all the necessary parts have been oiled, it’s time to reassemble the Singer sewing machine and test it out. Start by replacing the needle plate and bobbin case, making sure that they are firmly in place. Then, replace the bobbin and tension discs. Once everything is secured, plug the machine in and turn it on. Finally, test out the machine with a few stitches to make sure it is working properly. If there is a problem, it may be necessary to oil the machine again.
Regularly Oil the Machine
Once the machine has been oiled and reassembled, it’s important to make sure that it is regularly oiled, especially after the machine has been used for a long period of time. Most manufacturers recommend oiling the machine at least once a month and cleaning it once every three months to keep it running smoothly. In addition, it’s always a good idea to keep the machine covered when not in use, as this can protect it from dust and debris.
Set Up a Maintenance Schedule
It’s important to set up a maintenance schedule for your Singer sewing machine to ensure that it is being properly cared for. In addition to oiling and cleaning the machine regularly, make sure to replace the needle plate, bobbin case and tension discs annually. This will help to keep the machine running optimally. Finally, make sure to keep track of the dates when the machine was last oiled and cleaned to ensure that it is serviced regularly.
Alternative Oiling Solutions for Singer Sewing Machine
Oil is not the only way to lubricate a Singer sewing machine. Other alternatives include special oiling solutions that are available at sewing supply stores. These solutions may be more expensive than regular oil, but they often provide better results. In addition, these solutions may come with a handy “oiling gauge” that makes it easier to apply the oil to the moving parts of the machine.
Using the Proper Tools to Oil the Machine
In addition to using the right oil or oiling solution, it’s also important to use the right tools to oil the machine. A cotton swab is the best tool to use to apply the oil, as it can get into tight spaces and spread the oil evenly. Make sure not to use a paper towel as this can leave lint on the machine. In addition, it’s important to make sure that the oil is not coming into contact with plastic or rubber components, as this could damage the machine.
Conclusion
Oiling an old Singer sewing machine is an important part of keeping it running properly. By cleaning the machine and selecting the right oil, it’s possible to keep the machine running optimally for years to come. Make sure to oil the moving parts of the machine and create a maintenance schedule to keep track of when the machine needs to be serviced.


