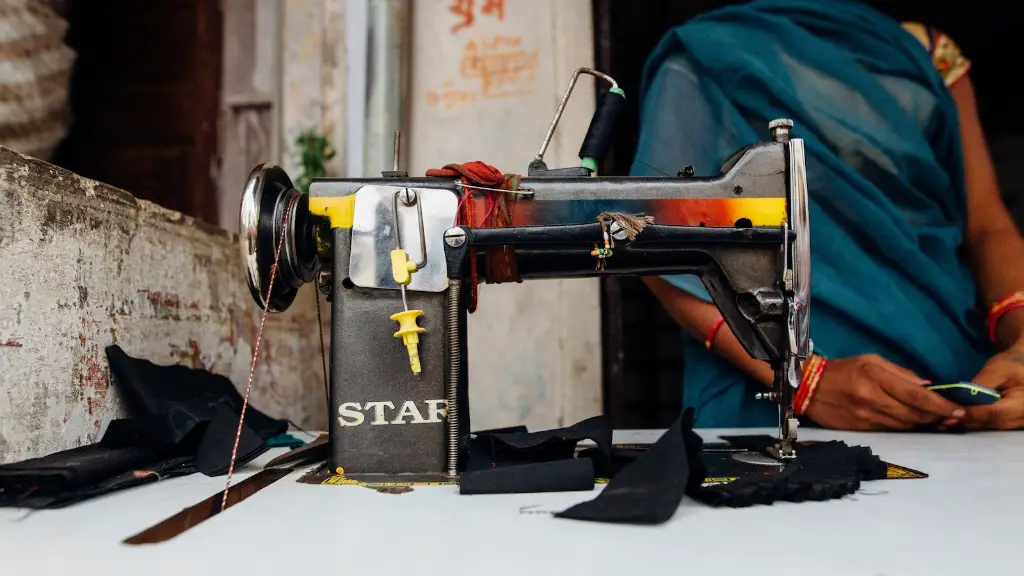
Having your own sewing machine is a great way to make sure your clothes fit and look the best they can. But, without maintenance, even the most reliable machines can malfunction. In this article, we’ll take a look at the process of how to properly oil a Singer sewing machine. We’ll cover the supplies you’ll need, the steps involved, and ways to avoid any potential problems.
First and foremost, it is essential to understand why oiling is necessary in the first place. Sewing machines are machines, which means that things can start to wear and break down over time. Oil helps to keep the moving parts running smoothly by providing lubrication, which in turn prevents them from locking up, seizing, or wearing down too quickly. Without oil, things can start to break down, resulting in the need for costly repairs.
Before getting started, it is important to have the right supplies on hand. A can of general lubricating oil specifically designed for use with sewing machines is best. Never use standard oil, which is not intended for use with delicate machines. Cotton swabs, an old toothbrush, and an absorbent cloth should also be handy. Make sure you wear clear plastic glove to make the job easier.
Unplug Machine Before Proceeding
It’s always important to make sure your machine is unplugged from any power sources before proceeding. This prevents any potential shocks or accidents from occurring. To begin the oiling process, turn the machine over and find the parts you will need to lubricate. Check the manual to be sure you know where every part is located.
Using a cotton swab, gently apply two or three drops of oil directly to each of the parts you need to lubricate. Use the toothbrush to spread the oil evenly, and then wipe away any excess oil with a dry cloth. Make sure these parts are free of any debris or dirt before oiling, as this can cause problems with the machine’s mobility. If there is any dirt or debris present, use a soft, dry cloth to carefully remove it.
Oil Upper-Bobbin Plate
The next step is to oil the upper-bobbin plate. Remove the bobbin case, located at the lower left side of the machine. Wipe it off with a dry cloth and then apply two or three drops of oil to the bobbin race. Make sure to spread the oil evenly before re-installing the bobbin case into the machine. Take care to ensure that all of the pieces are properly in place before operating the machine.
Once the oiling process is complete, make sure to re-thread your machine, test it out and adjust the tension if needed. If you run into any problems, consult the manual and make sure all the parts are properly lubricated. If the problem persists, it might be best to take it to a professional technician for repair.
Regular Inspections to Reduce Problems
Oiling your Singer sewing machine regularly is a great way to prevent potential problems from occurring. With regular inspections and a little bit of maintenance, even older machines can purchase many years of reliable use. Before storing your machine, make sure to clean and lubricate it. This will help to ensure that it’s ready for the next project.
Timing of Sewing Machine Oil Application
Depending on the use your machine gets and the conditions it’s used in, it is generally recommended to apply oil every six months or so. If you notice any squeaking or difficulty when threading the machine, it is probably time to give it a good oiling. Always make sure to consult your sewing machine’s manual for specific instructions regarding oiling and maintenance.
Check Oil Quality
It is also important to make sure you are using the right oil. Make sure it is specifically formulated for use in sewing machines, and not just any standard oil. Using the wrong kind of oil can actually damage the machine beyond repair. It is best to only ever use oil specifically designed for your specific type of machine.
Cleaning and Maintaining Singer Machines
In addition to oiling, cleaning and maintaining your machine is also important. Cleaning the parts and checking for wear and tear can help you spot potential problems before they become a bigger issue. Make sure there are no bent components or exposed wires and check the bobbin area for lint. If needed, give the machine a good cleaning with a dry cloth and brush, paying close attention to the lint-prone areas. This can help ensure that your machine runs as smoothly as possible.
Consult Manual for Maintenance Queries
If you ever have any doubts or questions about how to upkeep your Singer sewing machine, it is always best to consult your manual. It will provide detailed instructions on maintenance specifics and will even tell you what products you should be using. If you ever experience any difficulty understanding or completing a maintenance task, feel free to reach out to a professional, who will be more than happy to point you in the right direction.
Take Precaution When Working Around Electronics
Remember to take the necessary safety precautions when working with electricity. It is always best to unplug your machine before performing any maintenance work. Never operate a sewing machine while wet or while wearing loose clothing. Always make sure the power cord is unplugged when not in use and never touch the moving parts while the machine is plugged in.
Safety Checks to Ensure Smooth Operation
When first starting to use your machine, make sure to check it over. Make sure everything is in its place and there are no loose screws. If the machine is used, it is always a good idea to start by oiling it. Once that is taken care of, check the tension and make sure it is properly adjusted. Smooth operation is key when using a sewing machine, and taking the time for an initial safety check can go a long way towards keeping things running smoothly.
Keep Up With Your Singer Machine’s Maintenance
It’s important to follow through on your Singer sewing machine’s maintenance schedule in order to enjoy its reliability. Oiling it regularly helps keep the moving components from seizing up or wearing down quickly. Make sure you use the appropriate oil and do not skip the safety checks. Never attempt to work on a machine while it is still plugged in and always have a thorough understanding of the steps involved before you begin working on it.
Check Machine Parts for Damage or Wear
When applying oil, it is important to check for any early signs of wear or damage. This is especially important for older machines. Look for things like debris, rust or corrosion, and make sure the moving parts are not too tight. If there are any warning signs, it might be time to consider replacing certain components to ensure the machine operates properly.
Secure Sewing Machine in Case
Once complete, make sure to securely store the machine in its case. This will help to protect it from dust and debris, and helps safeguard the parts from damage when not in use. Make sure to keep the case in a safe, secure place and away from children, pets and moisture.
