Part 1: Basic Operation
Mini sewing machines are perfect for a variety of sewing applications and are particularly useful for small projects and for areas with limited space. Some common features of a basic mini sewing machine include a tension control and adjustable stitch length. Learning how to operate a mini sewing machine requires understanding the basic functions and controls.
To get started, first select the appropriate sewing setting for the project and thread the mini sewing machine accordingly. Make sure to check the tension on the machine – it should be even on the left and right of the needle. After threading, place the fabric to be sewn in the needle plate frame and adjust the tension as needed.
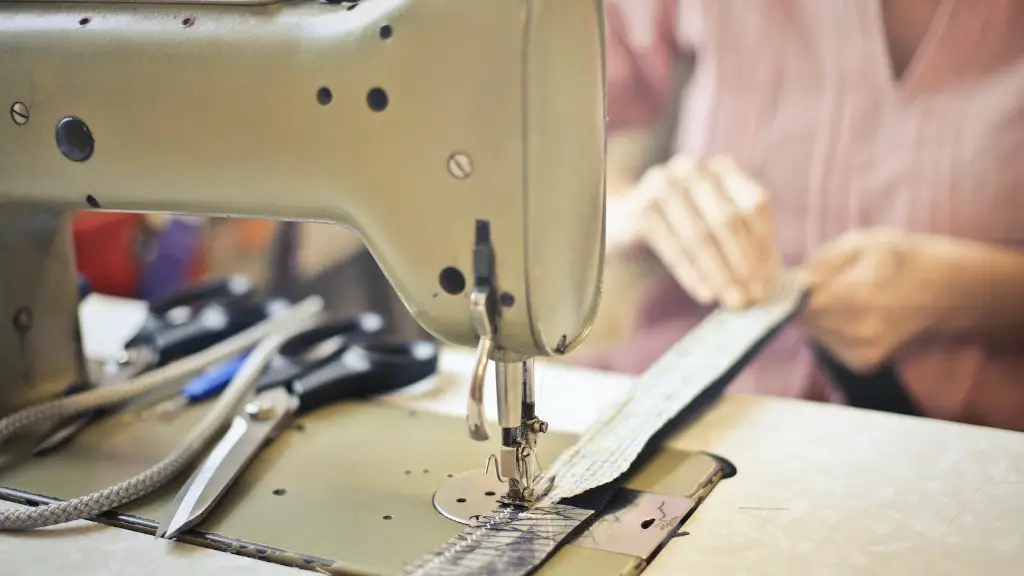
Once the fabric is set, it is time to start the stitching process. Start with the foot pedal to begin the machine and control the speed of the stitching. As the fabric moves, use the hand-wheel to control the needle. The mini sewing machine will have a stitch length control, allowing you to adjust the length of the stitches. This is especially helpful for finishing projects like quilts, blankets, and clothing.
Part 2: Troubleshooting Tips
When operating a mini sewing machine, it is important to be aware of potential areas of error, like poor stitching, skipped stitching, and fabric bunching. Poor stitching problems can often be solved by adjusting the tension control, checking that the thread is fed properly and ensuring the presser foot is up. Additionally, ensuring a stable and even pressure on the foot pedal helps avoid skipped stitching.
Fabric bunching is when the fabric bunches up behind the foot despite proper tension. To solve this problem, try using a thicker needle or a different fabric. It can also be helpful to reduce the stitch length, tighten the tension, and reduce the speed of the machine.
Finally, it is important to take a few basic steps to make sure your mini sewing machine is working up to its full potential. Clean the machine regularly and use the appropriate oil for lubrication. Additionally, replacing the needle periodically can help ensure that your machine is working at its best.
Part 3: Advanced Techniques
Once you master the basics of operating a mini sewing machine, you can begin to explore its many possibilities. Understanding the different stitch patterns and their unique uses is a great way to start.
A straight stitch is the most used stitch on a mini sewing machine. This type of stitch is used for basic sewing and garment construction, such as attaching straps and buttons or strengthening seams. To make a straight stitch project stand out, use a decorative stitch. This type of stitch is often used to add visual interest to clothing, accessories, and home decor.
Additionally, mastering quilting on a mini sewing machine can open a world of creative possibilities. Start with a basic square or circle pattern, or layer multiple fabrics together for more intricate designs. Sewing circles, squares, triangles, and other geometric shapes can create a unique quilt or design.
Part 4: Maintenance and Care
Mini sewing machines require regular maintenance to keep them running smoothly. When not in use, the machine should be unplugged and stored in a dust-free environment. This is especially important to prevent dust buildup in the machine and on the needle plate, which can interfere with the stitching process.
Refer to the sewing machine’s manual and find out the proper lubrication techniques specific to your model. Frequent light oiling can help make sure that moving parts are well-lubricated and working properly. It is also helpful to use a damp cloth to wipe down the exterior of the machine and remove any lint or dust buildup.
Part 5: Safety Tips
Safety is paramount when operating a mini sewing machine. Always read the manual for your machine before starting, as this will contain specific safety instructions on the operation of the machine. Additionally, proper posture should always be adopted when sewing – sitting with your elbows close to your body and making sure all of your fingers are at least an inch away from the needle.
Be aware of the potential for accidents when handling the machine and its accessories like scissors or pins. Keep your eyes and fingers away from the needle and never leave the machine unattended. Additionally, it is important to unplug the machine, rather than turn it off, when finished.
Part 6: Designing with a Mini Sewing Machine
With a mini sewing machine, the possibilities are endless. Consider designing a quilt or a cushion cover, adding a border to a curtain, or making a simple dress. Or mix different patterns and fabrics to create something truly unique.
Beginning a basic project is a great way to get a feel for using a mini sewing machine. Start with a few straight stitches to become familiar with the process and how the other features work. Once comfortable, add in a decorative stitch or two, like a blanket stitch. With some trial and error, the results may surprise and delight you.
Part 7: Sewing Accessories
Sewing accessories can be a great way to add additional functionality to a mini sewing machine. Many accessories are just clips and holders that can be added to a machine to hold fabric in place. But other more specific accessories can be found, like the micrometer, which is a device used to measure stitch lengths and seam allowances.
Another less common accessory is the hem guide, which can help create even and uniform hems on garments. or an adjustable belt guide, which can accommodate belts of different widths. Additionally, buttonhole makers and buttonholers can create perfect buttonholes for a professional and polished look.
Part 8: Use for Different Types of Fabric
Mini sewing machines can be used to sew a variety of different fabrics. Light-weight fabrics such as cotton, silk, and muslin are ideal for stitching small projects like doll clothes and quilting. Heavier fabrics like leather and vinyl require a larger machine, but thinner varieties of these materials can be used in a mini sewing machine with the correct needle, presser foot and thread.
Finally, crochet and other knit fabrics can be stitched with a mini sewing machine as long as the machine is set up with the right stitch pattern and tension. Knit fabrics can often be a bit more challenging so it is best to start with a few simple projects to get comfortable stitching these materials.
Part 9: Extending the Life of a Mini Sewing Machine
Mini sewing machines are made to last, but maintenance and care is key to extending their life. Maintaining a sewing machine can be as easy as keeping it clean, checking for wear and tear, and servicing it regularly.
The most important part of maintaining a mini sewing machine is knowing when to replace certain parts. The bobbin case should be checked every few months as this part can often become worn or clogged. Additionally, the needle should be replaced every six months to ensure that it is sharp enough for the fabric being used.
Finally, if the machine stops working properly, take it in for a service. An experienced technician can check for problems and make the necessary repairs. This is the best way to keep a mini sewing machine in top condition.
Part 10: Takeaways
Operating a mini sewing machine is not as difficult as it may seem. With a little practice, anyone can become a mini sewing machine master. Make sure to understand the basic steps and operations of the machine, as well as the safety features and accessories that can improve the sewing experience. Keep in mind the common areas of error and how to troubleshoot them, as well as how to properly maintain and care for the machine. Finally, learn the various stitch patterns and techniques to add creative flair to any project. With these tips, mini sewing machines will quickly become a favorite tool for everyone.


