How to Paint Old Sewing Machines
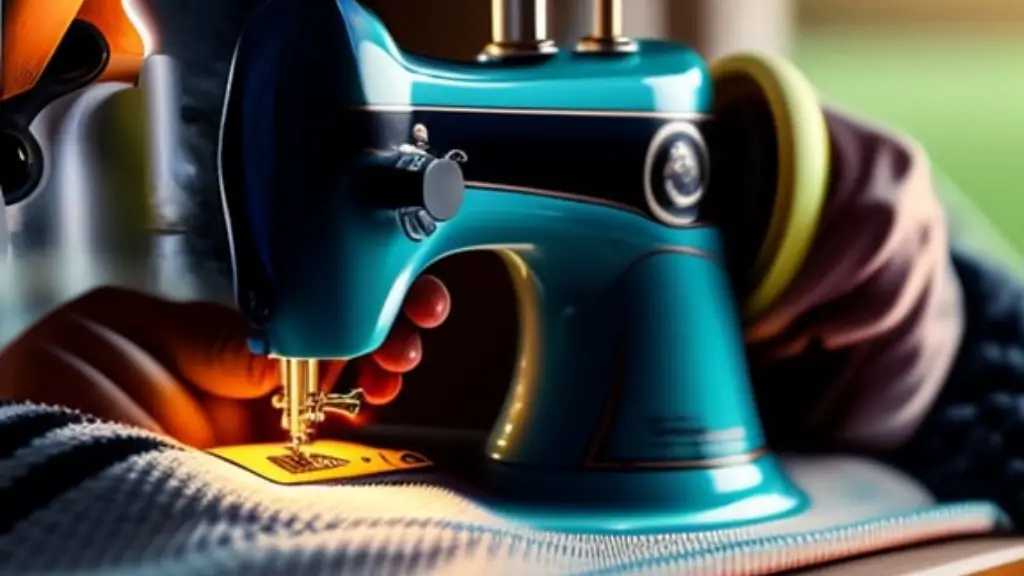
Upcycling an old sewing machine is a great way to give new life to a relic of the past and make your everyday space look vintage and charming. That being said, it is important to be careful and take the proper steps towards making sure the entire process is done correctly.
Painting an old sewing machine is no easy task, and proper preparation is very important. Here are the steps you need to take to successfully paint your antique sewing machine:
1. Clean the Sewing Machine
The first step is to make sure your machine is free from dust, dirt, and other collected debris. Brush off the machine with an old toothbrush or cloth to remove any surface dust. You can also use soap and water to ensure that any grit or residue on the body of the machine is removed.
Once that is done, make sure to dry the machine thoroughly to reduce the likelihood of any moisture remaining on the machine. The metal should be completely dry before you apply any paint.
2. Sand the Machine
In order for the paint to stick to the machine, you need to rough up the metal surface. You can do this using steel wool or a medium grade sandpaper to lightly sand the body of the machine.
Make sure to sand in one direction and work carefully to keep from damaging the metal surface. Once you have finished sanding, make sure to wipe away any metal shavings and clean the entire machine with a cloth to remove any dust or debris.
3. Prime the Machine
Priming the machine is very important as it helps create a protective barrier between the surface of the machine and the paint, which allows the paint to stick to the machine easier and also protects the machine from corrosion. Primer also helps reduce the chances of paint chipping.
It is important to make sure that you use the right kind of primer for your machine. One recommended option is to use a rust-resistant primer, as this will help to protect your machine from oxidation and rusting.
4. Apply the Paint
Once the primer has completely dried, you are ready to start applying the paint. Make sure to use a paint specifically designed for metal surfaces, such as enamel or epoxy paint. Use a brush or roller to apply the paint to the surface of the machine, and make sure to use thin even coats of paint.
Allow at least two hours of drying time before you apply a second coat of paint. Make sure to look for any areas on the machine that you may have missed. Once your machine is painted to your satisfaction, you can apply several coats of clear sealant or polyurethane to protect the paint.
5. Re-assemble the Sewing Machine
When your machine is finished drying, it is time to start re-assembling the parts. Make sure to follow any instructions provided by the manufacturer and to take precautions to avoid any accidental damage.
If you are not familiar with sewing machines, it is best to consult with a professional to make sure that you are re-assembling all the parts correctly. Once everything is correctly re-assembled, all you have to do is plug it in and you are ready to use your new and improved sewing machine!
6. Maintain the Sewing Machine
Now that your machine is up and running, make sure to take the necessary steps to maintain it. Make sure to keep the machine dry and away from any moisture or dust, as this can cause the paint to chip over time. Check the machine regularly and make sure to lubricate any moving parts to ensure they move properly.
If you need to make any repairs to the machine, it is recommended to consult with a professional who has experience in sewing machines.
Additional Tips
When you are painting your machine, make sure to stick to your chosen color scheme, as painting an antique machine in multiple colors can make it look tacky and gaudy. Additionally, you can add decals of your own design to give your machine some character. Have fun and get creative when decorating your machine!
Tips for Choosing a Color
When choosing a color for your machine, it is best to pick a hue that complements its vintage details. Choose a color that is either lighter or darker than the original color of the machine. If you are looking for a vintage look, it is best to go with neutral colors like gray, tan, or white. You can also use bright colors like pink or blue to make your machine look more modern.
Tips for Applying the Paint
When applying the paint, make sure to use thin coats in order to ensure that all areas are covered with an even layer of paint. It is important to not layer the paint too thickly or else it will give it a lumpy and uneven look. Additionally, keep in mind that you may need to apply several thin coats of paint in order to get an even, smooth finish.
Tips for Letting the Paint Dry
When you are letting the paint dry, make sure to choose a place that is free from dust, dirt, and direct sunlight, as these can all cause the paint to crack and chip. Additionally, make sure that the area is well ventilated in order to facilitate the drying process.
