Part 1
Learning to use a Singer sewing machine is an important skill, especially if you are interested in sewing as a hobby or profession. Having the right Singer sewing machine helps you create unique and intricate clothing items. Properly preparing a Singer sewing machine is an essential part of ensuring everything runs smoothly and without any disruptions. Here are some tips on how to prepare your Singer sewing machine for use.
Before you begin using the sewing machine, ensure that it is unplugged from the wall. There should be no power flowing to the machine in order to prevent any sort of electrical shock. Once the power is disconnected, unscrew the screws that are located near the machine’s foot controlling plate. Gently lift the plate from the sewing machine base and you will now have access to the cams, which allow you to adjust the stitch length, stitch width and other features of the sewing machine.
To prepare the Singer sewing machine, oil all moving parts. Oil helps keep the machine running smoothly, which in turn helps create higher-quality clothing items. To oil the Singer sewing machine, use a specially designed oil that is produced specifically for Singer sewing machines. Many experienced sewers recommend that only a few drops of oil is placed into the oiling holes in order to prevent a build-up or excess oil laden parts. To ensure the oil is properly dispersed on the sewing machine, use a clean cloth to help spread the oil over the affected parts.
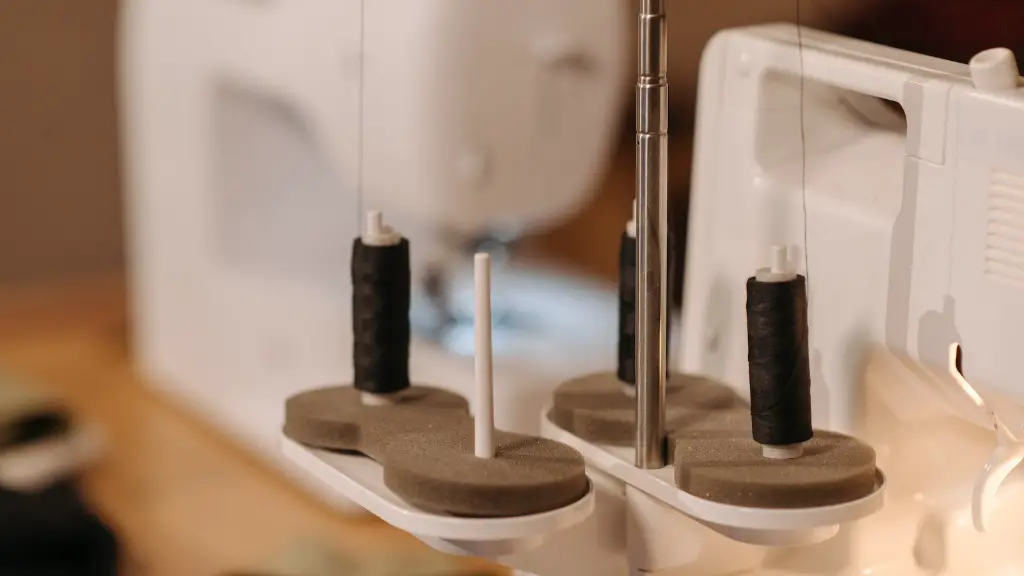
Fill the bobbin case with thread. The bobbin case is located in the lower part of the Singer sewing machine. When it is filled with thread, it helps to create balanced stitches on the fabric. The Singer sewing machine comes with a special bobbin winding tool that allows you to wind the thread onto the bobbin. After the bobbin case is filled with thread, attach it to the top of the machine so that it fits into its designated area.
Part 2
Insert the needle into the machine. Singer sewing machines have a designated area to insert the needle and secure the thread. This is located near the spool pin. Insert the needle and make sure that it is facing the correct direction. Once the needle is securely in place, use the needle screw to fasten it into position. The needle screw is found on the side of the machine and should be turned clockwise to secure the needle.
Set the tension regulator control knob. The tension regulator control knob serves as a tool to help control the amount of tension on the thread that is used while sewing. Setting the tension regulator control knob to the correct level helps to create stitches that are even and consistent in size and shape. To set the tension regulator control knob, loosen the knob with your fingertips and turn it clockwise to the designated tension level. For most fabrics, an optimal tension level is between 3 and 5.
Singer sewing machines are equipped with different settings for different types of stitches. These settings include straight stitch, zigzag stitch, buttonhole stitch and more. Before stitching on any fabric, inspect the needle and fabric choice to ensure the machine is set to the appropriate stitch. To select the desired stitch press the designated button located near the tension knob. On more advanced Singer models, settings can be changed and adjusted by the toggle switch located near the right hand needle area.
Part 3
Adjust the feed dog. The feed dog is a small metal bar that helps to move the fabric while sewing. By adjusting the feed dog, you are able to control how fast or slow the fabric moves across the needle plate. Adjusting the feed dog helps to prevent any sort of fabric slipping and will give you better control while stitching. On most Singer sewing machines, you can adjust the feed dog by accessing a switch, usually located next to the stitch selector.
Turn the hand wheel until the needle is fully lowered. This ensures that the Singer sewing machine is properly aligned for optimal use. To turn the hand wheel, locate the wheel located on the right side of the machine and turn it towards you. Once the needle is in the proper position, the machine should be ready for use.
Safety is essential while using a Singer sewing machine. Always practice caution when handling the machine or while stitching. If a problem arises or you are not sure how to use a particular sewing machine setting, refer to the detailed manual that comes with the machine.
Part 4
Test the Singer sewing machine before using. This will ensure that the machine is in proper working condition and that all settings are working as intended. To do so, run a few stitches on a piece of scrap fabric. Test a variety of settings and stitches to ensure that the threads are cleanly weaving together and that the fabric is being properly moved along. This is essential for ensuring the highest quality clothing items are created.
There are certain materials that require certain types of needles in order to be properly sewn. This is to ensure that the fabric does not become too tight or too loose and that the stitching stays intact and even. Needles made of stainless steel and other metals are best used with fabrics like canvas and cotton. If a fabric is very thin or fragile, a needle made of gold or aluminum can be used in order to avoid any ripping or tearing.
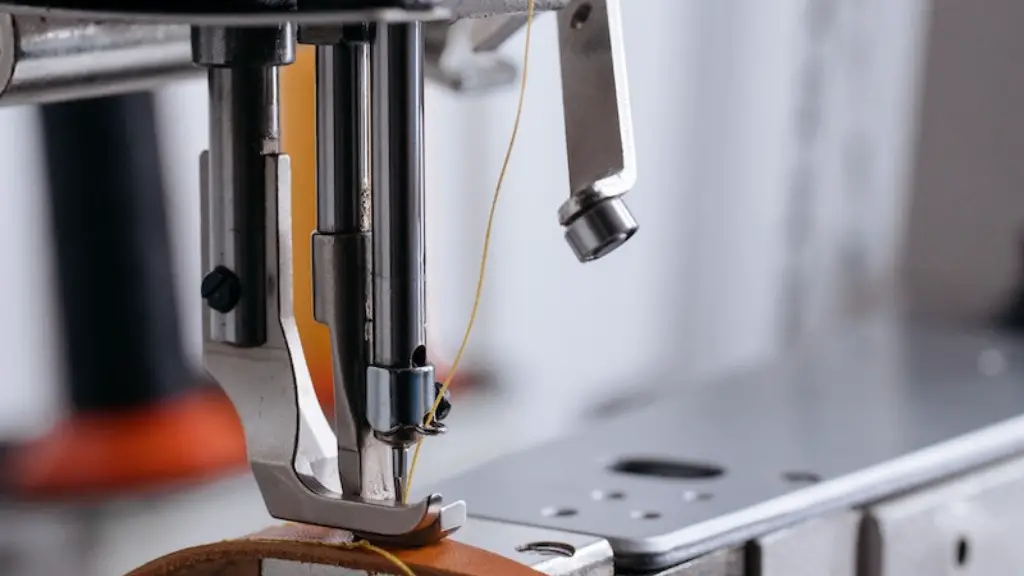
Make sure the presser foot is lowered and secure before puncturing through the fabric. The presser foot is the metal piece that presses down on the fabric to keep it stable while stitching. It is located next to the needle and should be firmly fixed onto the sewing machine before stitching can begin.
Part 5
Secure the fabric beneath the presser foot correctly. Mistakes in this area can cause “bird nesting”, meaning that the lower thread is no longer attached to the needle. To avoid this, ensure that the bobbin thread is properly wrapped around the lower portion of the machine and then wrap it tightly around the spool pin.
To avoid any fabric bunching, it is best to sew slowly. This allows for proper fabric movement and gives you more control over the stitches. It is also important to avoid pushing too hard on the fabric as this can cause the stitches to become loose or uneven.
Using a Singer sewing machine can be fun and rewarding, but only with the correct preparation. Ensure your Singer sewing machine is properly oiled, threaded and prepared before each use to guarantee optimal performance. With the right practices and techniques, anything can be tailored to perfection.
Part 6
Clean the Singer sewing machine regularly. Over time, dust and debris can accumulate on the machine. This can cause further damage if left unattended. Singer sewing machines come with special tools that can be used to clean the machine without the need of chemicals. For instance, most Singer machines come with a lint brush and needle cleaner, which are specially designed to clean and maintain the sewing machine.
If you are not comfortable cleaning the machine yourself, bring it to a professional for service. Singer sewing machines come with a warranty and regular overalls can help maintain the performance of the machine for an extended period of time.
Adjust the Singer sewing machine’s speed according to your sewing abilities. Singer sewing machines allow you to adjust the speed of the machine, which is important for beginners or those who are still getting used to the machine. Slower speeds are great for those who are practicing a certain stitch or those who feel more comfortable stitching slower.
Part 7
Carefully monitor the stitching when sewing in order to detect any sort of problems. Singer sewing machines are designed to provide optimal results, but sometimes fabric, thread or needle issues can lead to poor performance. If you think there is a problem with the stitching, stop immediately and investigate the cause.
After use, disconnect the Singer sewing machine from the wall and reattach the foot controlling plate. This will help to keep out dust and debris while the machine is not in use. Also, check the bobbin case and oiling holes to ensure there is no excess oil. This is important for improving the lifespan of the machine.
Finally, store the Singer sewing machine in a safe and secure area. This prevents accidental damage or injuries, as well as maintains the quality and performance of the machine itself. Ensure that the machine is kept away from moisture, heat and direct sunlight.
Part 8
Investing in proper accessories for the Singer sewing machine can help create better clothing items. Singer sewing machines come with a variety of attachments, including a ruffler, a guide and various presser feet. These items can help you make intricate and professional-quality clothing items.
Singer sewing machines are also designed with several safety features in order to protect the user. Most Singer machines have a reverse stitching safety feature, as well as a foot speed control, so that users can adjust the speed of the stitching according to their ability.
It is also important to read and understand the instruction manual before using a Singer sewing machine. Singer machines come with step-by-step instructions that provide easy to follow guidance on how to correctly set up, use and maintain the machine.
Part 9
There are a variety of Singer sewing machine models available on the market, each with its own unique features. For example, some models are designed with the latest advanced technology—algorithms that can create intricate patterns and fabrics that can be used in more intricate projects.
Another important factor to consider when buying a Singer sewing machine is its ease of use. Singer machines are designed with the intention that they be used without too much difficulty. It is best to choose a Singer sewing machine that offers easy to understand instructions and operation.
When it comes to investment, Singer sewing machines are considered to be a good long-term investment. Singer is a brand with a long history of quality craftsmanship and is known for providing dedicated customer service. Singer sewing machines can last for many years with proper maintenance and care.
Part 10
It is important to make sure that the Singer sewing machine is properly serviced and maintained. Regular servicing can help fix any existing problems, such as worn out parts or incorrect tension. Regular servicing and maintenance properly clean, oil and inspect the Singer sewing machine to ensure that it is always running in its peak condition.
If you are looking for Singer sewing machine parts, there are a few different options. Authorized Singer part suppliers can provide you with original and replacement parts for your Singer sewing machines. These suppliers usually carry a range of parts, such as belts, needles, bobbins and much more.
Finally, keep the Singer sewing machine covered at all times. Covers are designed to protect the machine in the event of any spills or other unexpected occurrences. Singer sewing machines come with special dust covers that help to preserve the overall look and performance of the machine over time.


