Putting a Bobbin into a Singer Sewing Machine
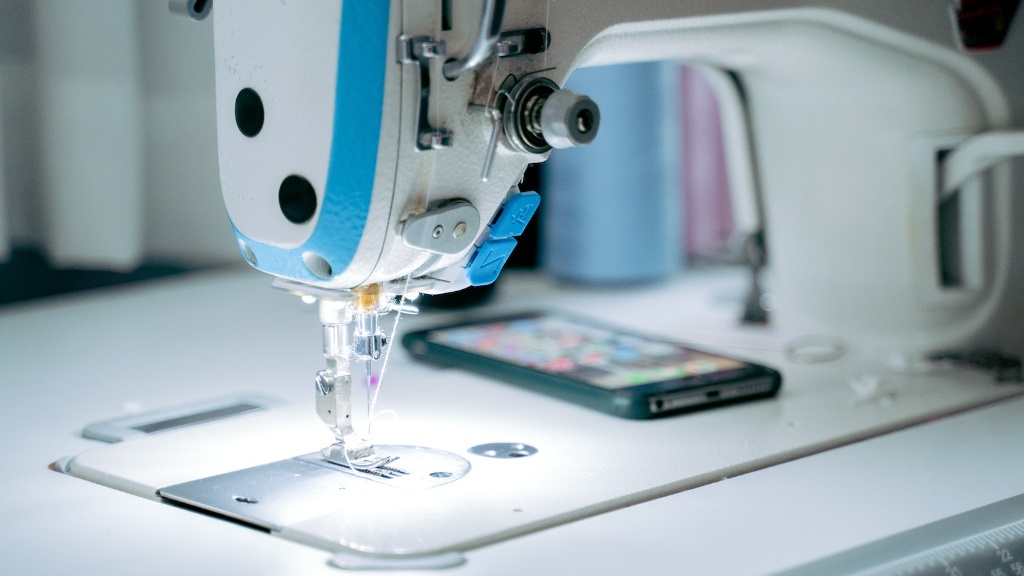
Learning how to thread a Singer Sewing Machine with a bobbin is an essential skill for any sewer. By understanding this vital process, sewers can ensure their projects look professional and consistent. This article will demonstrate the important steps for threading a Singer Sewing Machine with a bobbin, helping sewers to easily complete their projects with confidence.
Before beginning, sewers should be sure that the bobbin is the correct size and type for their Singer Machine. Bobbins can be metal or plastic, and the appropriate size should be specified in the user instructions. Ensure that the bobbin is wound evenly, as this will help to avoid subsequent threading problems.
When ready, the user should start by taking out the dust cover, located at the top of their Singer Sewing Machine. Access the bobbin case by pressing the button above the needle and sliding it downward. The user should ensure that the bobbin case is seated properly by pressing down over the bobbin case latch.
When the bobbin case is in place, the user should drop a bobbin into the bobbin case, ensuring that the thread is running off the bobbin in a counter-clockwise direction. After this, the user should pull out about 6 inches of thread and hold it with their finger, and then slide the bobbin case all the way to the left. Finally, the user should press down the bobbin case latch, release the thread and pull it to the right.
After the bobbin is threaded, the user should slide the bobbin case back towards the right, again ensuring the latch is pressed down firmly. Afterwards, the user should draw up the bobbin thread, which can be done by pushing the needle up/down button and holding onto the top thread while turning the hand wheel. After this, the user can start sewing!
Thread Tension
Successfully putting a bobbin into a Singer Sewing Machine is only part of the process. Once a bobbin is threaded, it is important for the user to adjust the thread tension accordingly. Correct thread tension will prevent tension issues which could affect the look of the finished project. Thread tension is usually adjusted by turning a rotary knob on the machine, which is marked with numbers for reference.
Sewers should start by turning the tension knob to a lower number, as this will allow them to test the tension to ensure that it is sufficiently tight. Once the user begins to sew, they should check every so often to see if the upper and lower thread have been pulled into the fabric evenly. If they have been, then the user can turn the tension knob up one notch.
Once the user is happy with the thread tension, they should keep the tension knob at that setting for the remainder of their project. While this process may take some time, it is important to ensure the fabric (such as upholstery or lingerie) looks professional and lasting.
Thread Jamming
Thread jamming is another potential issue that sewers should be aware of when threading a Singer Sewing Machine. Thread jamming usually occurs when the bobbin has been placed in the bobbin case incorrectly, or excess lint or dirt has collected in the machine. If this happens, the user can try to dislodge the jam by nudging the bobbin case back and forth with a hard, blunt object (such as a wooden spoon). They should avoid using pointed or sharp objects which could damage the bobbin case.
If the thread jam does not dislodge after a few attempts, then the user should call the manufacturer for assistance. Sewing machine technicians can provide good advice and troubleshooting tips on how to best fix the issue. It is also worth noting that Singer Sewing Machines come with a warranty, providing users with peace of mind when purchasing.
Length of Thread
The length of the thread is also important to consider when threading a Singer Sewing Machine. If the bobbin is threaded incorrectly, then the project may be too loose or the stitches may become visible on the underside of the fabric. To prevent this, ensure that the bobbin is wound correctly and select an appropriate length of thread when threading. This can help to make sure that the stitches sit perfectly in line, creating a beautiful finished product.
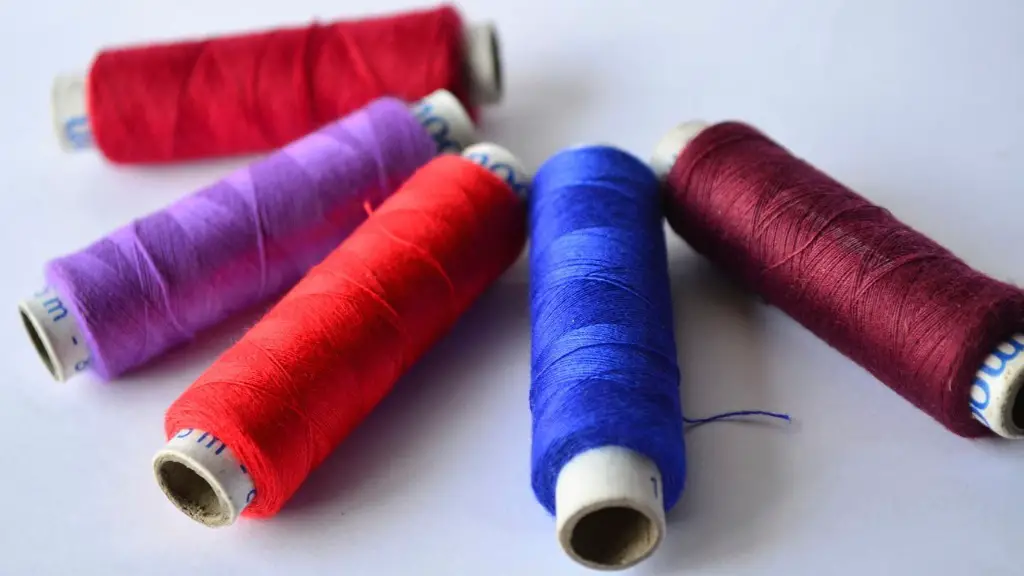
Sewers should also avoid winding the thread around the bobbin more than twice to stop it from becoming too tight or tangled. When selecting the thread, the user should try to pick a thread that matches the fabric colour and weight. This can help create a consistent look for the finished product.
Using Bobbins Over Time
Over time, sewers may notice that their bobbins are failing to run as smoothly as they used to. This may be a result of lint or dirt build-up in the bobbin case, which can create thread jamming issues. To avoid this, it is important to regularly clean the bobbin case and the inside of the Singer Sewing Machine. This will ensure that the bobbins can easily be passed in and out of the case, whilst stitching looks neat and professional.
Using a flat brush (such as an unused toothbrush) can help to remove dirt build-up that has become stuck inside the Singer Sewing Machine. Sewers should also clean their bobbins regularly as this can help to keep them running smoothly. After cleaning the bobbins, run them through the bobbin case to ensure that the thread is being picked up properly.
Safety Precautions
Finally, sewers should take some basic safety precautions when operating their Singer Sewing Machine. It is important that sewers ensure that their hands and arms are kept away from the needle and moving parts to avoid injury. Additionally, the user should always make sure that the presser foot lever is in its lowest position and the power switch is turned off before threading the bobbin.
Singer Sewing Machines can be dangerous if used improperly or without supervision. Sewers should always take extra precautions when using the machine and never leave it unattended when in use. It is also a good idea to unplug the machine at the wall when not in use, as this will prevent accidental switch-ons.
Using a Variety of Fabrics
When threading a Singer Sewing Machine with a bobbin, it is important to consider the type of fabric being used. Different fabrics may have different weight and elasticity, which can influence the thread tension settings needed. Sewers should calibrate their tension knobs according to the fabric they are using to ensure the stitches look neat and professional.
In addition, when using heavier fabrics (such as denim) it is a good idea to use a larger needle size and a heavier thread. For lighter fabrics, such as chiffon, use a smaller needle size and a thinner thread. Threading a Singer Sewing Machine with a bobbin requires some basic knowledge of the right needle and thread combinations for particular fabrics.
Maintaining a Singer Sewing Machine
Just like any other machine, it is important that a Singer Sewing Machine is kept in good working order to guarantee consistent and professionally finished projects. Sewers should regularly oil all of the moving parts, as this can help to reduce wear and tear and noise from the machine. Oiling the moving parts and cleaning the Singer Sewing Machine on a regular basis can help to extend the life of the machine and keep it running at its best.
Sewers should also be sure to use genuine Singer parts and accessories, as these have been specially designed to work with their sewing machine. If a part needs replacing, then users should always opt to use the original Singer item. This will help to ensure reliability and optimum performance, minimising the chances of breakdowns.
Store Spare Bobbins
Finally, sewers should store their spare bobbins in a safe place. Storing bobbins on top of a Singer Sewing Machine is a bad idea, as it can lead to dust and dirt build-up which could adversely affect the machine’s performance. Instead, consider keeping bobbins in a storage container or simply somewhere that is away from the sewing machine.
By following all of the steps outlined in this article, sewers can easily thread their Singer Sewing Machine with a bobbin and begin crafting professionally finished projects. While the information may appear daunting at first, it is an important skill to master and one that can help sewers complete their projects with confidence.

