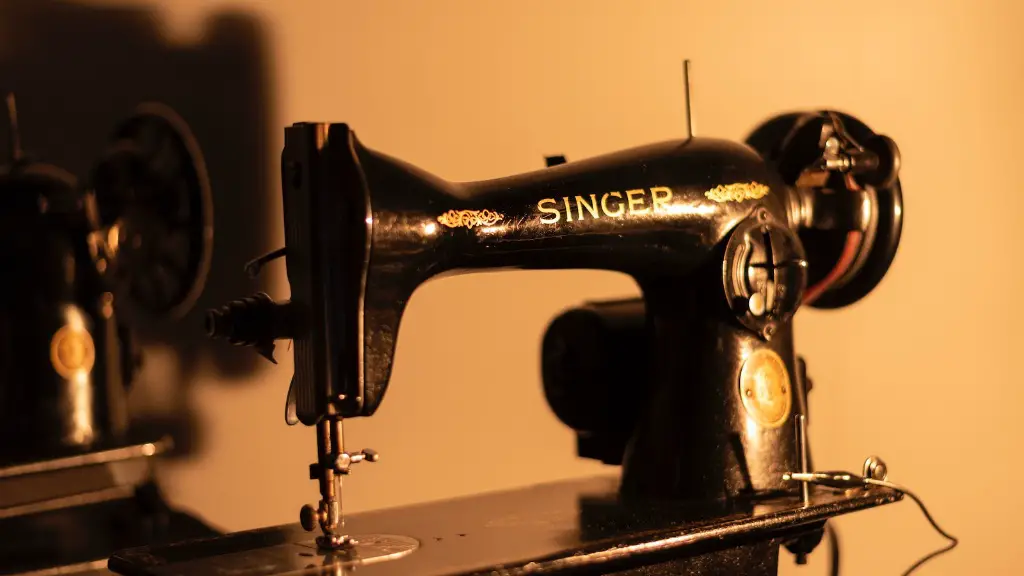
Age-old sewing machines have been known to have a fascinating ability to make a variety of stitches with just the right amount of pressure and heat. But, just like any other machine, there comes a time to replace the needle. When searching for the correct needle, there is a wide range of sizes and colors to choose from, as well as instructions. It’s also important to note that machines come in a variety of types, sizes, manufacturers, and styles that may require different needles.
Replacing a needle is an easy job that any sewing enthusiast could do at home, in just a few minutes. The tools required for the job are simple, and the important thing is to follow the instructions correctly. The steps are generally the same from machine to machine, but the needle size and type may vary.
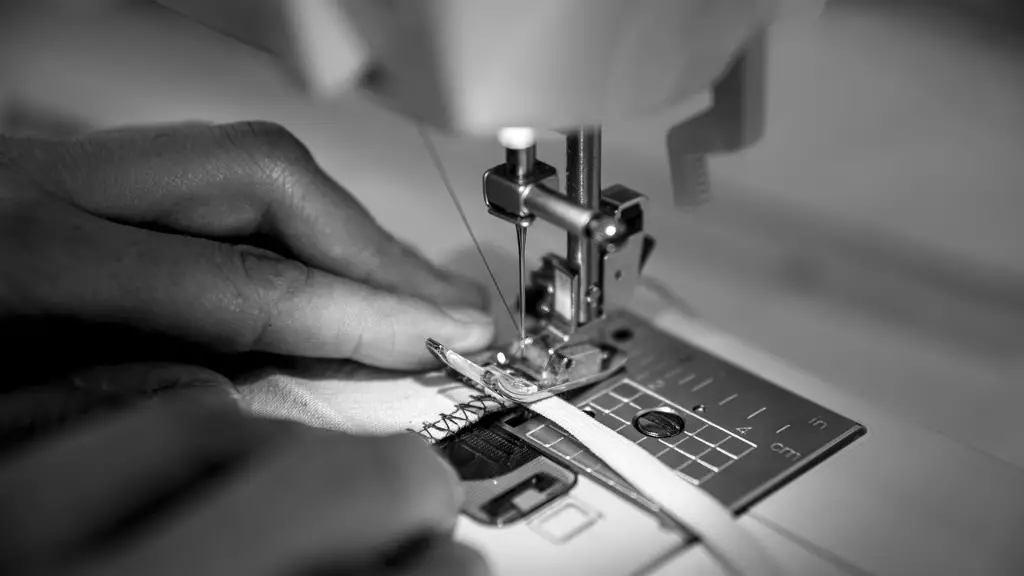
Before attempting to put the new needle in, it is important to remove the old needle first. To do so, turn the handwheel of the machine until the needle is at its highest point. Then, use the needle clamp screwdriver to unscrew the needle clamp screw. The needle should pull out easily, and can now be discarded.
Next, use a cloth or soft brush to clean the needle plate, as dust and thread residue can cause the new needle to jam later. Take the new needle, making sure that the flat side is facing the back, and insert it into the clamp. Be sure to not push too hard on the needle to avoid puncturing it.
Once in place, turn the handwheel of the machine to bring the needle up and down a few times, to ensure that it is inserted fully and centered. The final step is to test the machine by stitching a few columns of fabric. If the stitching process is running smoothly and without skipping stitches, then the needle is probably in place correctly.
Different Types of Needles
Sewing machine needles come in a range of sizes—from the mini needles used for stitching knits, to the heavy-duty needles used for sewing thick fabrics. The right needle size and type will help ensure the best results and will help extend the life of the machine.
Universal needles are the most common and are designed to work on a variety of fabrics and stitches. But, if the fabric or stitch being used is not compatible with the universal needle, then specialized needles must be used. This includes stretch needles, denim needles, embroidery needles, and quilting needles, each of which are designed for specific tasks.
When choosing a needle, it is important to keep in mind the type of fabric and thread being used. For instance, if the fabric is too thick for the needle, the thread could easily break or skip stitches. It is also important to remember to replace the needle regularly, as worn needles can damage the fabric and cause skipped stitches.
Threading the Needle
The thread needs to be wound onto the spool, and then threaded through the handwheel, thread guide, and tension discs. To ensure that the needle is correctly threaded, follow the instructions in the machine’s manual. The needle thread should be looped around the needle shank, and the bobbin thread should pass through the needle plate.
The thread needs to be tightened around the take-up lever, and then pulled through the needle’s eye. It is important to keep the thread tension balanced, as too much tension will cause the fabric to pucker, and too little will cause looping, catching, or skipped stitches. Finally, the thread should be trimmed, making sure to leave a few millimeters of thread at the needle’s eye.
Choosing the Right Thread
The type of thread being used can greatly affect the quality of the finished product. Polyester thread is strong, durable, and not easily affected by temperature, but it is also more difficult to thread on the machine, so it is recommended for skilled needle workers. Cotton thread is more malleable, making it easier to thread on the machine, but it can be affected by heat and humidity, making it less durable.
Cotton-blend threads are a combination of both, offering a balance between malleability and durability. Specialty threads, such as those designed for quilting or embroidery, are also available, but should only be used if the instructions in the machine’s manual indicate that they are compatible.
Testing the Machine
Once the needle and thread have been correctly installed, it is important to test the machine before starting a project. To do so, attach a scrap piece of fabric to the machine and stitch a few columns. Make sure to keep an eye on the thread, tension, and fabric to check for any problems.
If the stitches are not forming correctly, be sure to stop and check the machine for any issues. Most of the time, it is simply a matter of resetting the tension, but it may be necessary to replace the needle and/or thread if the problem persists. Once the machine is running smoothly, it is time to start stitching!
Maintaining the Machine
For the machine to work properly, it is important to maintain it regularly. This means cleaning, lubricating, and inspecting the machine regularly. It is also important to follow the instructions in the machine’s manual and keep it well maintained to avoid any issues. If something does not seem right, it is best to stop and check the machine.
When looking at the machine, check for any clogged parts or loose screws, which can cause skipped stitches and jamming. Additionally, make sure to regularly check the needle plate and feed dogs for any damage or signs of wear, as these can lead to skipped stitches and fabric breakage. It is also a good idea to test the machine every now and then with a scrap piece of fabric to make sure it is running smoothly.
Conclusion
Replacing a needle in a sewing machine does not have to be a daunting task. By following the instructions and taking a few precautionary steps, any sewing enthusiast can easily put a new needle in their machine. Once the needle is in place, the machine should be tested with a scrap piece of fabric before starting a project, to make sure it is running smoothly. With the right needle and maintenance, the machine should be able to make beautiful and durable stitches for years.
