Before showing how to put bobbin holder in a Singer sewing machine, it is important to understand exactly what a bobbin is and how it contributes in the sewing process. A bobbin is basically a small cylinder of thread that is typically inserted into the lower portion of the sewing machine. It serves as the end source where the machine can pick up the thread that eventually gets used to stitch material together. Bobbins vary in size and shape and the type of bobbin used for Singer sewing machines depends on the specific model. Along with the bobbin, the bobbin holder is an essential component for the sewing machine to work properly.
The bobbin holder plays an essential role in the Singer sewing machine as it helps to keep the bobbin securely in place and ensures that the thread coming from the bobbin remains tangle-free. Without a properly secured bobbin holder, the sewing machine won’t be able to produce even stitches. This is why it is so important to understand how to properly place the bobbin holder in the machine. To help you with this, here are the steps regarding how to put bobbin holder in Singer sewing machines.
Step 1: Remove the Bobbin Cover Plate
The first thing to do is to flip the machine so that the bobbin area can be easily accessed. This will also reveal the bobbin cover plate, which holds the bobbin holder in place. To remove the bobbin cover plate, gently press the holding tabs on either side of the cover plate and pull it out.
Step 2: Insert the Bobbin Holder
Once the bobbin cover plate has been removed, slide the bobbin holder into the slot where it fits. The bobbin holder should be oriented so that the thread will come out of the slot facing the front of the machine. When the bobbin holder is firmly in place, make sure it is secure by gently tugging at it.
Step 3: Wind the Bobbin
Once the bobbin holder is in the machine, the bobbin then needs to be threaded. Simply take the desired thread and wind it around the bobbin following the direction of the arrows on the bobbin holder. Do not wind the thread too tightly as this may cause it to get stuck in the bobbin when the sewing machine is in use.
Step 4: Place the Bobbin in the Bobbin Holder
After the bobbin is threaded, it needs to be placed in the bobbin holder. With the the thread going in the same direction as the arrows on the bobbin holder, fit the bobbin into the holder so that it clicks in place. This will ensure that the bobbin is properly secured and the thread won’t come loose.
Step 5: Replace the Bobbin Cover Plate
Finally, once the bobbin holder is securely in the machine, replace the bobbin cover plate. This is an important step to ensure that the bobbin runs properly in the machine, as the cover plate serves to hold the bobbin still. To replace the cover plate, simply slide it back into its place, ensuring it is properly secured in the position.
Understanding Different Bobbin Sizes
The Singer sewing machine comes with various sizes of bobbins and bobbin holders that can fit in different models of the machine. While many Singer sewing machines use the same type of bobbin and bobbin holder, some models require the use of a specialized bobbin holder. Therefore, it is important to understand the specific requirements of the machine that is being used to ensure the correct bobbin and bobbin holder is in use.
Testing the Bobbin Holder
Once the bobbin holder and bobbin is in place, it may be beneficial to do a test run to ensure that everything is working properly. With the cover plate back on, start the machine and check to see if the bobbin is spinning properly.If the bobbin is spinning, then everything is functioning as it should be. If the bobbin isn’t spinning, then the bobbin and the bobbin holder need to be checked for any defects or for improper placement in the machine.
Adjusting the Bobbin Tension
One of the most important factors to consider when putting the bobbin holder in a Singer sewing machine is the tension. Proper tension ensures that the stitch quality is even and consistent throughout the project. Generally, Singer sewing machines have an adjustable tension knob that can be used to adjust the tension of the bobbin. If the tension is too loose, the stitches will appear loopy and the thread may come undone. If the tension is too tight, the thread may become bunched up or the material may be pulled too tight, resulting in puckering.
Cleaning the Bobbin Area
Finally, regularly cleaning the bobbin area is essential to ensure that the Singer sewing machine remains working properly. It is important to remove any lint or dirt that may have accumulated on the bobbin holder and in the bobbin area as this can interfere with the machine’s ability to produce even stitches. Likewise, make sure the bobbin holder is firmly in the machine to prevent any movement during the sewing process that may cause snags or uneven stitches.
Checking the Spool Pin
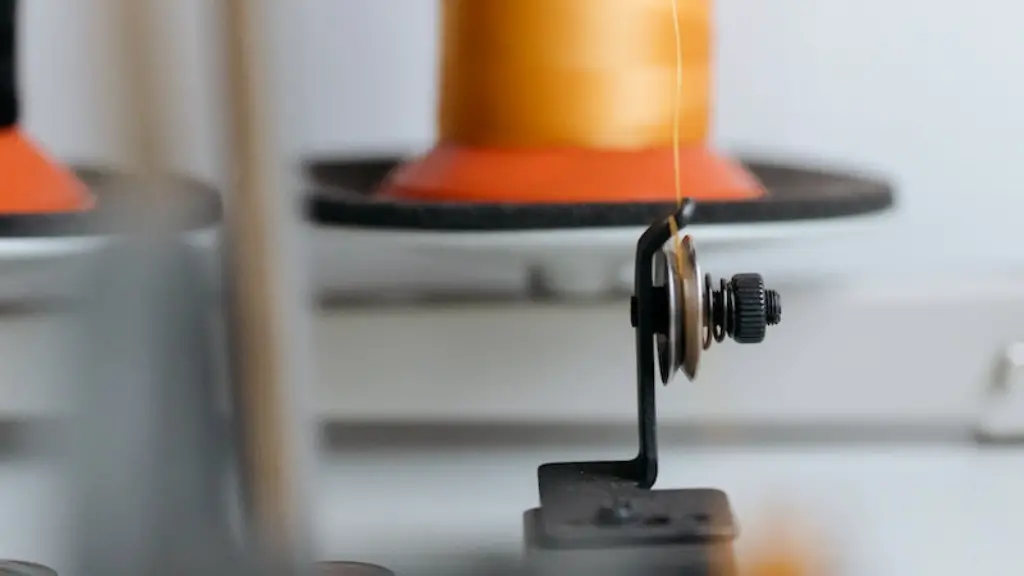
The spool pin is what helps to secures the lower end of the thread before it is sent up to the bobbin. Make sure that the thread is securely tied to the spool pin with a knot, then thread it through the appropriate guides to ensure a smooth threading process. It is common for the thread to get stuck in the spool pin, so make sure to check the spool pin to ensure that it is still in the correct position before beginning a sewing project.
Lining Up Threads
Once the bobbin holder is set up, it is important to ensure that the needle and bobbin threads are lined up properly. The way to do this is to first thread the needle and then lower it down towards the bobbin. At this point, make sure that the needle and bobbin threads are aligned and the bobbin threads is coming out the front of the bobbin holder. If the threads are lined up correctly, the stitching should be even and the needle thread should be pulled down into the bobbin.
Adjusting the Upper Tension
The upper tension of a Singer sewing machine plays an integral role in ensuring that the stitches appear even. To adjust the upper tension, make sure to use the tension dial on the machine to set the desired tension. Keep in mind that the correct upper tension setting is handle specific and needs to be adapted based on the thread being used, the fabric being stitched on, and the type of stitch being used.
Sewing With Bobbin Holder
Once the bobbin holder is in place, all that is left to do is start sewing. With the bobbin in place, the needle thread and bobbin thread should be able to stitch on the material in an even manner. It is important to remember to not overfill the bobbin case as this can result in the thread becoming jammed or tangled in the bobbin case. If this happens, simply start unthreading the needle thread and rethreading it into the bobbin case before starting again.


