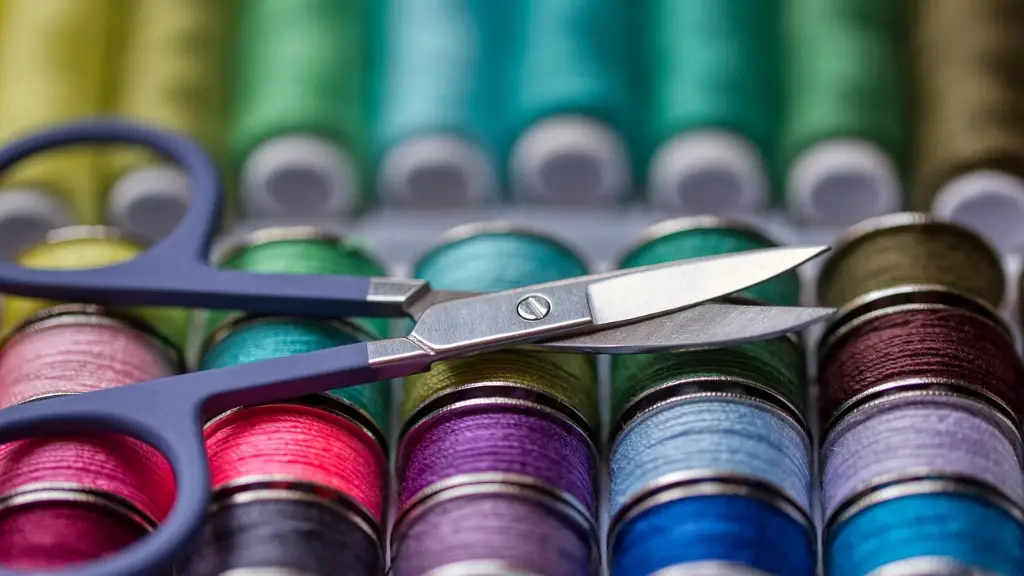
Sewing is a great hobby, and having the right materials can help you do it more efficiently. One of the most important steps in setting up your sewing machine is properly winding and inserting the bobbin. It’s a basic sewing skill, but it can seem like a tricky task if you haven’t done it before. Taking the time to understand how to correctly wind and insert your Singer sewing machine’s bobbin will help ensure that your sewing projects go smoothly.
Before you get started, there are a few important things to consider. First, make sure that your Singer sewing machine is turned off when pulling out the bobbin case and re-inserting it with a new bobbin. Second, make sure that you refer to your Singer sewing machine’s manual when inserting a new bobbin. Manuals will usually include diagrams detailing how to properly perform the bobbin winding task.
Now it’s time to get started. Begin by taking the bobbin case out of your Singer sewing machine. You can do this by finding the small lever that releases the bobbin case from the machine. This lever is usually located near the bobbin case itself. After you’ve released the bobbin case, check to make sure that it is clean and free of any lint buildup.
Next, place the bobbin onto the bobbin winder. You can do this by ensuring that the bobbin’s label is facing up, then pressing the bobbin winder’s spindle down until it clicks. This will secure the bobbin in place so that it doesn’t move as you wind it.
Now you’re ready to begin winding the thread around the bobbin. Begin by pressing the bobbin winder’s start button. Once this is done, the machine will start to wind the thread. Make sure to keep the tension of the thread consistent and ensure that the thread is winding around evenly. When you’ve finished winding, the bobbin should be full and the wound thread should be securely held in place.
Once your bobbin is wound, remove it from the bobbin winder and locate the Singer sewing machine’s bobbin case. Place the bobbin case back into the machine, be sure that it is correctly seated and that the spool of thread is aligned in the same direction as the arrow or notch on the bobbin case, then press down the bobbin case latch.
Now you’re ready to begin stitching with your Singer sewing machine. Insert the thread onto the needle bar so that it is pulled up around the tension disc and through the bobbin case. You can then pull the thread from the spool and begin sewing. To check that you’ve correctly inserted the bobbin into your Singer sewing machine, make sure that the bobbin thread is being pulled above the cloth as you start to sew.
Prepare the Thread
Before winding your bobbin, it is important to prepare the thread. To do this, lay the thread over the spool pin and wrap it around it a few times. Then, apply tension to the thread by holding it to the right of the pin, and Tension Disc at the same time, to create a tight loop. From here, you can guide the thread to the bobbin winder before starting the winding process.
Threading the bobbin winder can depend on the model of Singer machine you have, so it’s essential to refer to the owner’s manual for detailed instructions. However, generally, you can thread the bobbin winder by pushing it back and pushing the thread through the guide slot. Then, feed it through the tension spring and take it round the front of the bobbin winder.
Winding Directions
To make sure that you wind your bobbin correctly, be sure to check the direction of winding. The thread should go onto the bobbin in the same direction that it will be going as it comes off the bobbin when you begin to stitch. This is usually indicated by an arrow on the bobbin. If the arrow points to the right, thread will be wound in a clockwise direction. If the arrow is pointing to the left, the thread should be wound in a counter-clockwise direction.
After winding has been completed, you should check that the thread is wound evenly and securely. To do this, hold the bobbin up to the light and make sure that it is not over-filled with thread. Too much thread can create tension issues as you’re stitching, so be sure to unwind any excess thread as needed.
Time to Begin Stitching
Now that you have followed all the steps for winding and inserting the bobbin into your Singer sewing machine, you can finally begin stitching. Start by pushing the bobbin winder in, this will bring the needle down, and when the thread has been threaded onto the needle, you can begin sewing. Make sure to adjust the tension of the thread depending on the type of fabric you are working with and that the needle is set at the correct tension for the fabric.
Sewing with a Singer sewing machine is a fun and rewarding activity. Having the knowledge and understanding of how to correctly wind and insert the bobbin into the machine can go a long way in making your sewing projects successful. Taking the time to familiarize yourself with your Singer machine can help prepare you for any bobbin winding or stitching task that you may face.
Read the Manual
When you are preparing to wind and insert a bobbin into your Singer sewing machine, it is important to read your Singer sewing machine manual. Referring to the manual can help ensure that you understand the proper steps for the winding and insertion process. Additionally, the manual may provide helpful diagrams that will give you a further understanding of the entire process and clear instructions in case you are uncertain of something.
Knowing and understanding the instructions in your Singer sewing machine manual will make it easier for you to properly wind and insert the bobbin. This knowledge can prevent any issues that may arise while you are sewing as well as ensuring that you receive optimal performance from your Singer sewing machine.
Consider Using Pre-Wound Bobbins
Pre-wound or pre-filled bobbins can be incredibly helpful for sewing projects. These bobbins already contain a specific amount of thread that is precise for the fabric you are working with and your Singer sewing machine model, so you can be sure that your project will be successful. Not to mention that pre-wound bobbins are incredibly convenient and will save you time from having to wind the thread onto the bobbin yourself.
Additionally, winding bobbins on a Singer sewing machine can be a difficult task. Even if you wind the bobbin correctly, once the thread is used within your project, the bobbin may be imbalanced and the threads can become disconnected. For this reason, pre-wound bobbins make the entire process a lot easier and help ensure that the bobbin is perfectly balanced.
Use Good Quality Thread
Using good quality thread is essential when you are working with a Singer sewing machine. Cheap, low-quality thread is prone to breaking easily, which can easily cause a jam in your sewing machine. Quality thread not only provides a consistent performance but also ensures that your Singer sewing machine is running smoothly. Additionally, quality thread is less likely to tangle or knot, so it can prevent any disruption to your work.
It’s also a good idea to use the same kind of thread for both the bobbin winder and for the fabric you’re stitching. Different threads may have different thicknesses and types of knitting, which can cause issues when you are working with a Singer sewing machine. This can affect the overall tension of the thread, which in turn can cause a disruption within your project.
Repair Issues
If you are having issues with your Singer sewing machine while you are trying to wind or insert your bobbin, you may need to seek proper repairs. Even the slightest disruption can cause the needle to get stuck in the fabric or the thread to become tangled, which can be extremely frustrating. In this case, attempting additional repairs at home may not be the safest option.
There are professionals who can provide repairs and maintenance for your Singer sewing machine. These professionals specialize in dealing with common sewing machine issues and can help put your sewing machine back in working order. Seeking repairs can be the most efficient way to ensure that your Singer sewing machine is functioning properly and is ready for any sewing project.
