Introduction
Putting a presser foot onto a Singer sewing machine is an important task that requires great attention to detail and accuracy. It is an essential part of the sewing machine that allows the fabric to be held in place so that the stitches remain even and the garment is neat and professional looking. There are different presser feet for different types of fabric and different tasks, but all of them are easy to attach and require no specialist tools or part replacement.
Selecting the Correct Presser Foot
Before you begin, you need to make sure that you select the correct presser foot for the fabric and task that you are working on. A universal presser foot can be used on most fabrics, but to get the best finish, you may need to use a specialty presser foot. For example, a zipper presser foot is designed to help you attach a zipper to a garment, while an overlock presser foot is designed to help you join pieces of fabric together by stitching them together with an overlock stitch.
Preparation
Once you have chosen the right presser foot, it is time to attach it to your machine. Before you start, make sure that the bobbin is wound and the machine is threaded properly. You should also check the fabric that you are going to sew to make sure that it is strong enough to withstand the power of the needle. Once you have done this, you can be confident that the stitching will be neat and even.
Attaching the Presser Foot
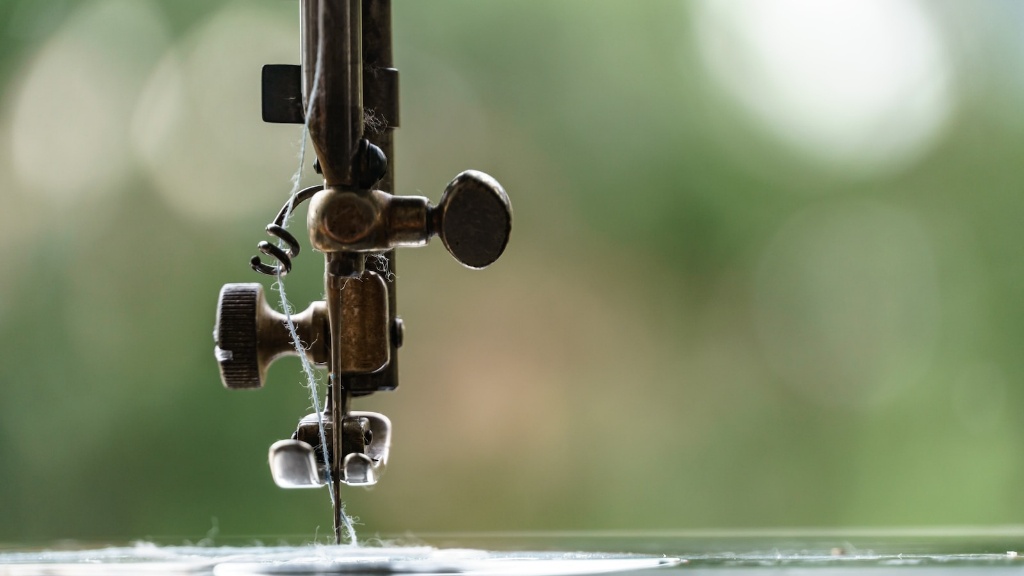
The presser foot is easily attached to the Singer sewing machine. First, raise the presser foot lever to the highest position. Then, release the presser foot holder by pushing down the lever on the top of the holder. Position the presser foot directly beneath the presser bar and slide it onto the presser bar until it clicks into place. Make sure that the presser foot is firmly attached to the presser bar. Once the presser foot is secure, you can lower the presser foot lever and you are ready to sew.
Checking the Stitch
In order to make sure that your stitches are even and neat, it is important to check them before you begin to sew. Make a few small stitches on a piece of scrap fabric and then examine the stitches closely. Make sure that the stitches are even, the length is right and that the fabric is not twisting or bunching up. If the stitches look good, you are ready to begin sewing.
Using the Presser Foot
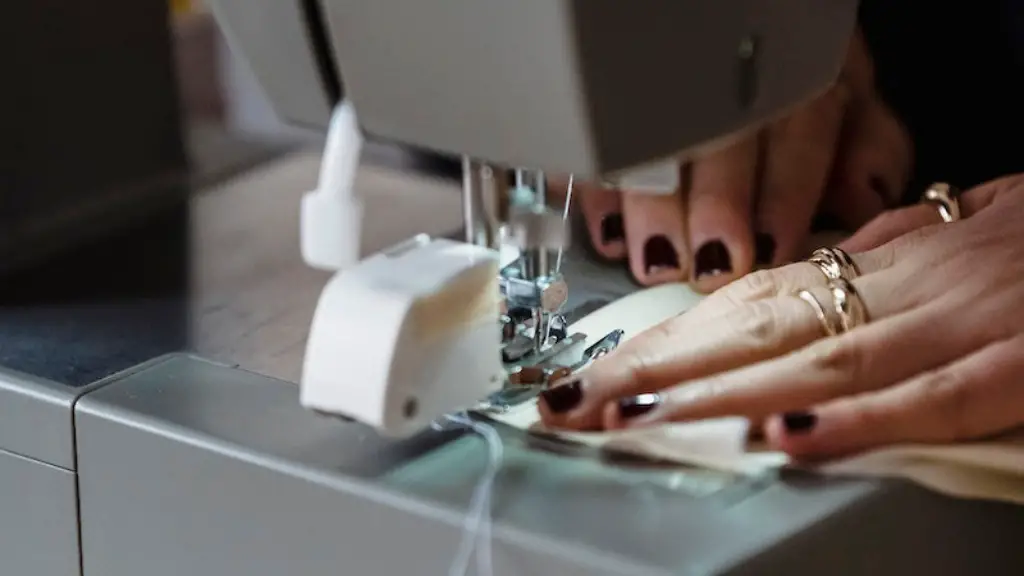
Once the presser foot has been attached to the Singer sewing machine and the stitch has been checked, you can begin sewing. It is important to remember to keep the presser foot lever down while you are sewing. This will help keep the fabric in place and will prevent it from slipping or shifting while you are working. As you sew, you can adjust the tension setting on the machine if needed in order to get the perfect stitch.
Removing the Presser Foot
When you are finished sewing, it is important to remove the presser foot from the machine properly. First, raise the presser foot lever to the highest position. Then, slide the presser foot off of the presser bar. If the presser foot does not come off easily, you can press down on the lever to release it. Place the presser foot onto a clean surface and make sure to store it in a dry place.
Maintenance
In order to keep your Singer sewing machine in good working order, it is important to check the presser foot regularly. Make sure that it is secure and clean, and check that it is in the correct position on the machine. This will help to ensure that your machine works smoothly and efficiently with no issues.
Safety Precautions
It is also important to take safety precautions when you are attaching and removing the presser foot to your Singer sewing machine. Make sure that your hands are away from the needle and presser foot. Additionally, make sure that you are wearing the correct protective gear and are aware of the danger of needles, pins and other sharp objects around the sewing machine.
General Tips and Tricks
When you are putting a presser foot onto a Singer sewing machine, it is important to remember that practice makes perfect. Take your time and follow all the steps carefully to ensure the best results. Additionally, if you ever encounter any difficulties or have any questions, don’t hesitate to seek advice from an expert.
Choosing the Right Singer Machine
When selecting a Singer sewing machine, there are a few factors to consider. The type of fabric and tasks that you will be working on will determine which model is right for you. If you plan on doing more complicated projects, then you should opt for a model with more advanced features. Additionally, you should test out several different models before making your final decision.
Cleaning and Maintenance
It is important to properly maintain and clean your Singer sewing machine in order to extend its life and keep it in the best working order. It is recommended that you regularly change the needle and oil the machine as necessary. Additionally, you should wipe down the machine with a soft cloth after each use to remove any dust or debris.
Storing Your Machine
When it is not in use, it is important to store your Singer sewing machine properly. Make sure to keep it away from heat and dust, and choose a storage space that is easily accessible. When the machine is unplugged, cover the entire machine with a clean cloth to protect the machine from dust and debris.


