Identify the Types of Sewing Machine Needle
Before you can begin to thread a sewing machine needle, you need to identify the type of needle that is suitable and compatible with your machine. Depending on the model of the machine and the materials you plan to sew with, the needle point and its size will need to differ. Generally, needles come in 9, 11, 14 and 16 sizes and types, such as Universal, Sharp, Ballpoint and Twin needles. Knowing what needle you need is essential for a successful threading process.
Place the Needle in the Sewing Machine
Now that you have identified the appropriate needle, it is time to place it in the sewing machine. Most general sewing machines will have a clamp near the needle zone. To secure the needle, loosen the clamp and insert the needle with the thicker and flat part on the top. Slide the needle until its shaft seats into the groove in the clamp seat. Once the needle is securely held, tighten the clamp to prevent the needle from coming loose during stitching.
Thread the Needle and Remove Slack
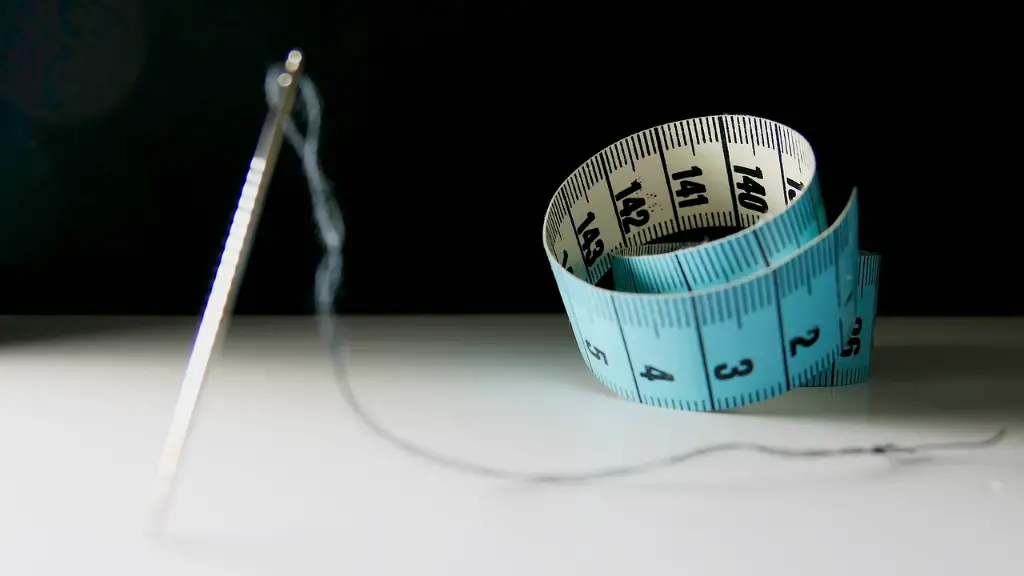
Threading the needle is the most important step in the entire process, and it is recommended to spend plenty of time threading the needle correctly. To start, take the thread placed in the top spool and then feed it down through the thread guide or over the take-up lever. Slide the thread through the needle eye from the left to the right side, and then pull the thread through the eye, but only about half-an-inch long.
Pull the Thread Taut and Lock It in Place
Cut the remaining thread from the spool and make sure it is taut. Pull the thread taut and then lower the presser foot for the next step: locking the thread in place. Hold the thread down below the presser foot and press the back pedal slowly. The needle will start to move and draw the thread downward until looped properly. Lift the presser foot and the thread will be automatically locked in the correct position.
Check the Threading with a Stitch Test
Once the thread is in the correct position, you can test the threading by making a few stitches. Press the back pedal and the needle should start to move and create a chain-like stitch on the fabric. If the thread runs smoothly without jamming or getting stuck, the threading is successful.
Replace the Needle for Different Projects
When you work on different projects with your sewing machine, the needle will require replacing. It is important to use a new needle for every project you undertake in order to ensure the best sewing results. To do this, turn off the machine, unscrew the needle clamp and remove the needle. Insert the new needle, tighten the clamp and start sewing again.
New Needles and Proper Threading
New needles should be used every few months in order to guarantee the best stitching quality. Even if the needle is still strong, the needle’s eye will become enlarged overtime, which can cause thread breakages, poor stitches and fabric damage. Additionally, it is important to follow the above-mentioned steps for proper threading: identify the types of needles, place it in the sewing machine, thread the needle correctly and check the threading with a stitch test.
Reasonable Stitch Lengths and Selection
Before you start sewing, it is important to pay attention to stitch lengths and stitch selection. For best results, use a small stitch length for thin fabric such as silks and delicate materials, as long stitches tend to create an undesired effect. For thin fabric, it is recommended to set the machine’s length to 1.5 to 2mm. Conversely, for thick fabric such as denim and upholstery, use a longer stitch length of 3 to 4mm. When it comes to stitch selection, the options include straight, zigzag and three-step zigzag. Choose the correct stitch selection to get the best results.
Types of Thread and Tension Settings
The common types of threads used with a sewing machine include cotton thread, polyester thread, nylon thread and all-purpose thread. This depends on the fabric being used, so make sure to select the appropriate type and not mix two different materials together. To ensure there is minimal thread breakage, adjust the machine to the low tension setting. If you experience too much pull on the fabric, increase the tension. Experiment with the tension settings until you find the perfect balance.
Pressure Foot Adjustments and Helpers
When it comes to threading a needle, pressure foot adjustments are important to ensure the thread is drawn up correctly. Make sure the pressure foot is slight raised from the fabric, releasing some of the thread’s tension. For those with visual impairments, sewing needle threaders are available to insert the thread through the eye of the needle effortlessly. This metal device can easily insert the thread through the needle by capturing the thread and then pushing it through the eye.
Cleanliness and Lubrication of the Machine
Finally, it is important to keep the sewing machine clean and well-lubricated for long-term use. Make sure to regularly clean out lint, dirt and threads from the bobbin and all other parts of the machine. Apply a few drops of sewing machine oil around the internal parts of the machine and remain caution when using oil around the needle zone. This will help maintain your sewing machine’s performance, ensuring the best threading experience.


