How to Put Thread in an Old Singer Sewing Machine
Singer Sewing Machines are known for their quality, durability and longevity. Although these machines are a bit more expensive than other sewing machines, you can rest assured that you will get your money’s worth. But if you’re wondering how to put thread in an old Singer Sewing Machine, don’t fret. It’s actually quite simple once you know the basics.
Identifying Parts of the Machine
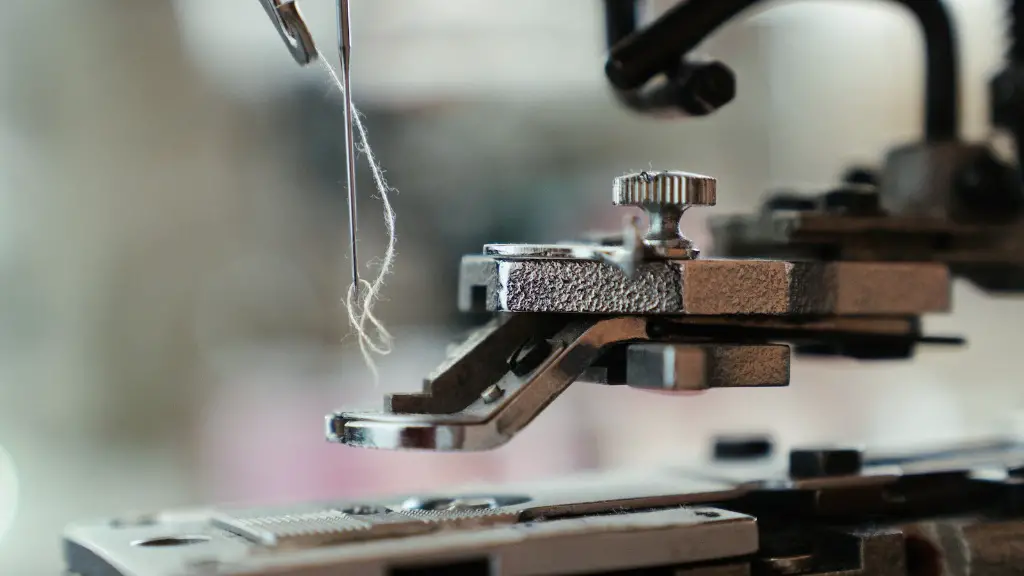
Before we start any sewing, we need to familiarize ourselves with the parts of the machine. First, we have the needle, which is the main device responsible for stitching. We also have the bobbin, which is the spool that holds the thread and is hidden beneath the machine. Then there’s the shuttle, which is the flat plate that carries the bobbin thread and loops it around the needle. Finally, we have the thread take-up lever, which helps tensions the thread and keep it in place when the needle is moving up and down.
Understanding Thread Tension
Once you’re familiar with the different parts, the next steps involve understanding how thread tension works. Thread tension is the amount of force that the machine applies to the thread as it moves through the system. This is important because it controls the amount of pull the thread has as it forms the stitches. Too much tension can cause the stitches to tighten and become hard to remove. Too little tension can cause the stitching to unravel.
Re-threading the Bobbin
Next, we need to re-thread the bobbin. Take the bobbin out of its compartment by pressing the latch and then threading the thread through the eye on the bobbin’s top. Make sure the thread is wrapped around the bobbin in the same direction as the arrow that is imprinted on the bobbin. Re-thread the bobbin by wrapping the thread from the spindle, through the guide, around the bobbin and around the take-up lever.
Re-threading the Needle
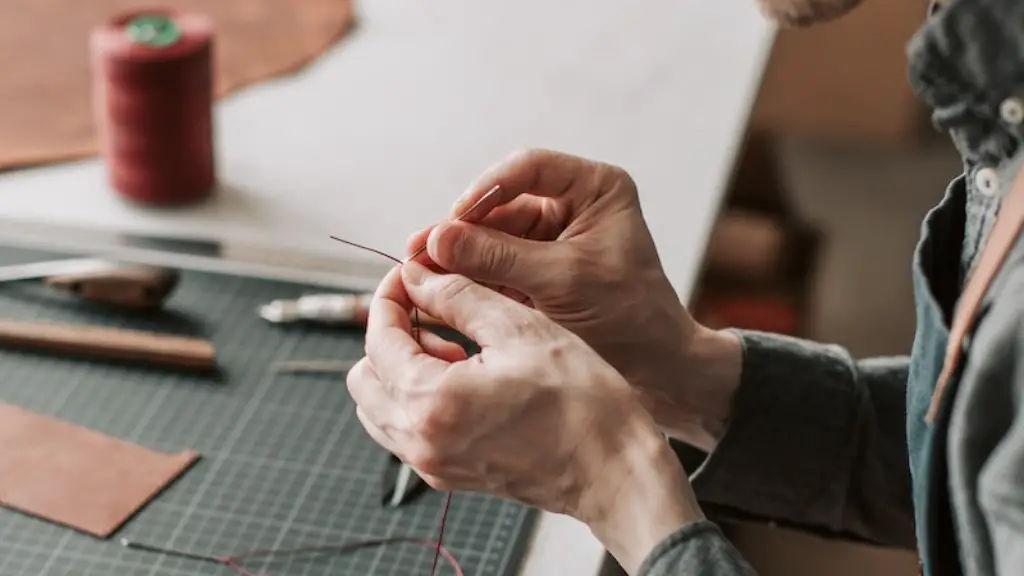
Now it’s time to re-thread the needle. This can be done by threading the thread through the first thread guide, then through the tension disk, and then through the needle. Make sure that the thread is firmly looped around the tension disk. Once the thread is looped through the disk, pull the thread up until it’s taut. Then loop the thread around the take-up lever and then lower the presser foot.
Testing the Stitches
Finally, we need to test the stitches. Put the machine into stitch mode by turning the dial to the specific pattern you want to use. Put the fabric under the presser foot and begin stitching. Check for any skipped stitches or tension issues. Once everything is working correctly, you can start sewing.
Caring for Old Singer Sewing Machines
When it comes to caring for old Singer Sewing Machines, there are a few simple steps we can take to ensure the machine runs smoothly for many years to come. First off, regular maintenance is key. This includes cleaning and oiling the machine, as well as changing the needle and bobbin regularly. Additionally, it’s important to store the machine in a dry and dust-free environment.
Cleaning the Machine
To clean the machine, start by wiping down the exterior components with a clean, damp cloth. This will remove any dirt, dust or debris that may have built up. When wiping down the exterior of the machine, avoid using any harsh chemicals. These can damage the delicate parts inside the machine.
Oiling the Machine
In order to keep the sewing machine running smoothly, it’s important to oil it regularly. To do this, use one drop of top-quality sewing machine oil. Place the drop of oil on a cotton swab and spread it over the interior components of the machine. Avoid over-oiling, as this can also cause damage to the machine.
Changing the Needles and Bobbins
Singer Sewing Machines come with a variety of needle and bobbin sizes, so it’s important to choose the right one for your project. Additionally, it’s recommended to change the needle and bobbin regularly to maintain the quality of your stitches. When buying a replacement needle, make sure it’s the same size and type as the original.
Troubleshooting Issues with Old Singer Sewing Machines
Sometimes issues can arise with an old Singer Sewing Machine and it can be difficult to determine the source of the problem. The most common issues with these types of machines are skipped stitches, tension issues, thread jams, and poor stitch quality. To troubleshoot these issues, disassemble the machine and look for any debris or thread that may be stuck in the mechanism. Additionally, make sure the needle is properly threaded and the thread tension is set correctly.
Skipped Stitches
If the machine is skipping stitches, make sure that the needle is the correct size and type. Additionally, make sure that the thread tension is set correctly and that the needle thread is not looped through any of the hook grooves. If the needle is bent, replace it with a new one.
Tension Issues
If the tension of the thread is not set correctly, it can lead to poor stitch quality. To manually adjust the tension, use the tension wheel on the top of the machine. Turn the wheel until the stitches look even and you can pull the thread without it being too tight.
Thread Jams
Thread jams can occur if the thread has been caught in the hook grooves. To fix this issue, remove the needle plate and use tweezers to gently pick out any tangled thread or debris. Additionally, make sure the thread is not too tight between the bobbin and the shuttle.
Poor Stitch Quality
If the stitches are looking uneven or wobbly, make sure the thread tension is set correctly and that the needle is not bent or dull. Additionally, check for any debris stuck in the hook grooves. Once everything is cleaned and the tension has been adjusted, the stitches should look even and professional.
Conclusion
Threading an old Singer Sewing Machine might seem intimidating at first, but with a little patience and some practice, it can be done. But it’s also important to care for the machine regularly and troubleshoot any issues that arise. With a little bit of maintenance and troubleshooting, you can ensure that your old Singer Sewing Machine will last for many years to come.
