Threading the Sewing Machine
When it comes to stitching garments and materials, using the right thread and properly threading the sewing machine is essential. Sewing thread is typically classified by weight and ply, and when used together with the correct sewing machine needle and sewing machine tensions, will produce an even stitch.
Fortunately, the process of threading the sewing machine is one of the easier tasks you should be able to carry out with a little guidance. If you buy a new sewing machine, it is often supplied with a threader, and a number of comfortable how-to instructions.
The following steps are general instructions which should be used as a guide for all brands of sewing machines.
Step 1- Thread the Spool
Firstly, check the thread tails before putting the spool on the machine. If there are any knots on the thread, use a needle to untangle it and then cut the thread tails properly. Place the spool on the spool pin inserting with the thread unrolling from the bottom. Guide and hold the thread with one hand and press the thread holder to ensure the spool is in the correct position. Lift up the thread take-up lever and use the fingers to turn spool counter clockwise. This action will help the thread more freely around the spool pin.
Step 2- Thread the Tension Discs
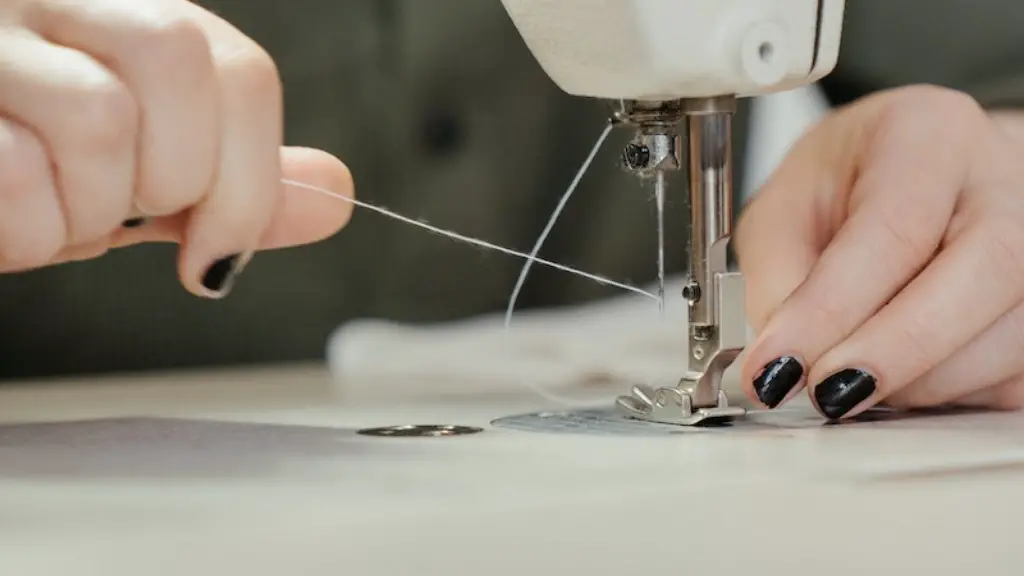
Place the thread behind and around the tension holder in the back of the machine. Then feed the thread through the left-hand tension disc and guide the thread right up to the top of the needle. Make sure the thread is inside the tension arm and turn the tensions disc a few times until the thread is held in place.
Step 3- Guide the Thread
Draw the thread back and then up through the thread guide near the tension discs. Draw the thread back up to the spool pin till the thread is well in the take up lever. Then pull the thread straight down and behind the thread guide of the presser foot.
Step 4- Thread the Needle
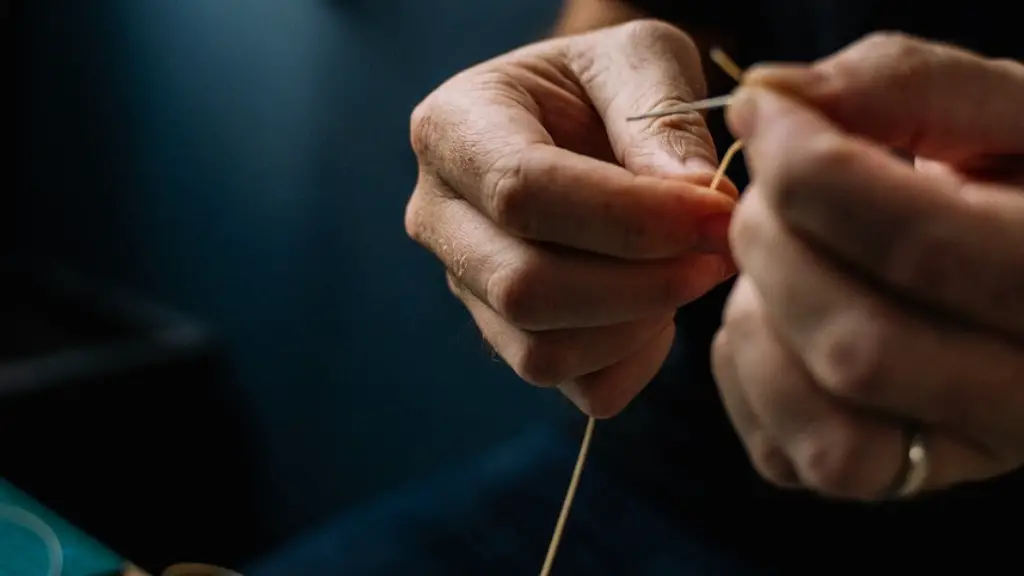
Bring the thread back up to the top left-hand side of the machine. It should come back up to the right-hand side of the threaded needle. Make sure the thread lies flat against the needle and give the needle a turn clockwise. Then lower the presser foot and thread the needle through the eye of the needle, which lies in its centre.
Step 5- Pull the Thread Back
Once you have threaded the needle, pull the thread back to your left in one long loop. Then insert the thread in the tension discs making sure it pulls back in the same thread loop and doesn’t form a second loop. You can now lift the presser foot above the fabric.
Step 6- Test the Tension
You can now test the tension of the thread by putting a piece of scrap fabric under the presser foot. Lower the presser foot and sew a few stitches, then observe the appearance of your stitches. If the threads look too loose or too tight, you will need to adjust the tension of the machine. Depending on the machine, that could mean turning the knob at the front or back of the machine to increase or decrease tension levels.
Step 7- Finish Threading
Once you have perfected the tension for your chosen fabric and thread, you are now ready to sew. You can now disengage the presser foot and cut the thread with scissors, leaving a few inches of the thread at the end.
Understanding Sewing Thread Materials
Sewing thread can be made from natural materials, such as cotton and linen, as well as synthetic materials, such as polyester and polyamide. Natural fibres have a tendency to shrink slightly when washed, but synthetic threads have the advantage of being colourfast and more resistant to shrinking, stretching, and tearing.
The most common types of weight are 50, 60, 70, and 80. The higher the weight, the thicker and stronger the thread. Although threads with a lower weight can be used in most machines, heavier-weighted threads are better for thicker fabrics, such as furniture upholstery and denim. Although a higher weight can be easier to work with, you should always buy thread that is appropriate for the type of fabric you are working with.
Threads can be bought in different colours and the colour should complement the colour of the fabric and the item being made. In most cases, the colour should be a match or at least a good contrast.
Sewing Machine Needles
Whilst all sewing machines should come with a standard needle, it is important to note that you should use the right type of machine needle for the fabric that you are using and for the task that you are carrying out. For example, if you are attempting to stitch a thick fabric, such as denim or upholstery, you should use a needle with a larger eye and a thicker shaft, such as a heavy duty needle.
It is also important to note that needles should be replaced regularly, as much as once every 8 hours of sewing. A dull needle can easily cause puckers, skipping stitches, and worse; it can even damage the fabric.
By taking note of the fabric weight, and the types of needle and thread tensions available, as well as understanding how to thread the sewing machine in the proper way, you should be able to create quality garments more easily.
Changing the Thread and the Needle
Changing the thread and the needle can be slightly more challenging, but with a few key points to remember it can be an easy task. Start by disengaging the presser foot, turning the hand wheel counterclockwise, and raising the needle completely.
Next, raise the presser foot lever so the presser foot is out of the way and you have access to the bobbin area. Unthread the machine by pulling the thread to the back, and then to the left. Cut the thread at the top of the machine, then switch out the needle. Once the needle has been changed, cut the thread tail at the bottom of the machine.
To re-thread the machine, start by inserting the new thread following the same instructions as when threading the machine initially. Push the thread through the left-hand tension disc and make sure it goes around the tensioner arm to hold the thread in place. From here, draw the thread up to the spool pin, and follow the original steps to thread the machine.
Problem-solving and Maintenance
Sewing machines can suffer from various problems, such as tension issues, bobbin issues, and skipped stitches. In order to troubleshoot the machine, it is best to first check the manual or search for the problem online. If the repair is beyond your capability, it is best to take it to a professional repair centre.
Aside from regular maintenance, carrying out minor repairs, such as oiling and cleaning the machine, can be done by a competent person. Make sure you purchase appropriate oils and cleaning agents to carry out the job correctly so there is no further damage. Although some machines may require specialised cleaning fluids, in most cases a basic aerosol or cracker dust will help clear out the build up of lint.
If you are a beginner to sewing it is certainly worth noting that the key to successful sewing is to ensure that the thread is well tensioned, with the appropriate needle and thread for the fabric and task. Following the steps above should help you thread your machine and set the tension perfectly.
Sewing Machines and Computerised Machines
Whilst the steps outlined above are for traditional machines, it is worth noting that computerised machines often feature an automated threading system. If you have an automatic machine, there will usually be a threading path printed on the thread take-up lever. Simply follow the instructions and it should be much easier to thread the machine.
Computerised machines are also increasingly being used by professional sewers and the home sewer alike. Unlike traditional machines, the computerised machines offer a wide range of functions, such as stitch selection, thread tension, and needle position. All of these can be easily changed with the press of a button, allowing the sewist to create designs which are accurate, consistent and professional looking every time.
Accessories That Can Help
Many sewing machines also come with accessories, such as threading aids, needle threaders, and tweezers. These all make the task of threading the machine much easier and faster. Needle threaders, for example, are metal rods with a hook at one end and a wire loop at the other. The hook is used to hook and guide the thread through the eye of the needle, and can be a valuable time-saver when threading the machine.
Apart from accessories, there are also a variety of tools that can be used to make the threading process even more efficient. For example, embroidery scissors are great for cutting away excess thread and clipping thread tails. This can be particularly useful when threading the needle, as you will need to cut the thread tails before starting to sew.
Finally, a seam ripper can be very helpful in quickly removing any stitches which have been incorrectly sewn. The sharp point of the seam ripper helps to cut the threads, which makes it easy to work through the stitching and remove any unwanted stitches.
