Part 1 – Basic Quilting
Quilting is a traditional craft dating back centuries. Quilted items may be used as bedding, clothing, and can also be decorative wall hangings or throws. To create a quilted top, three layers of fabric are used – two thin layers of fabric and one thin layer of batting in between.
For quilting on your sewing machine, begin by pinning the three layers of fabric together with an equal number of pins both horizontally and vertically. This will prevent slipping while sewing and make the quilting process easier. When choosing your fabric, select fabrics that are made from similar fibers and are the same weight, as this will produce a better finished product. You may use lightweight cotton fabrics in various colors and prints for your quilt.
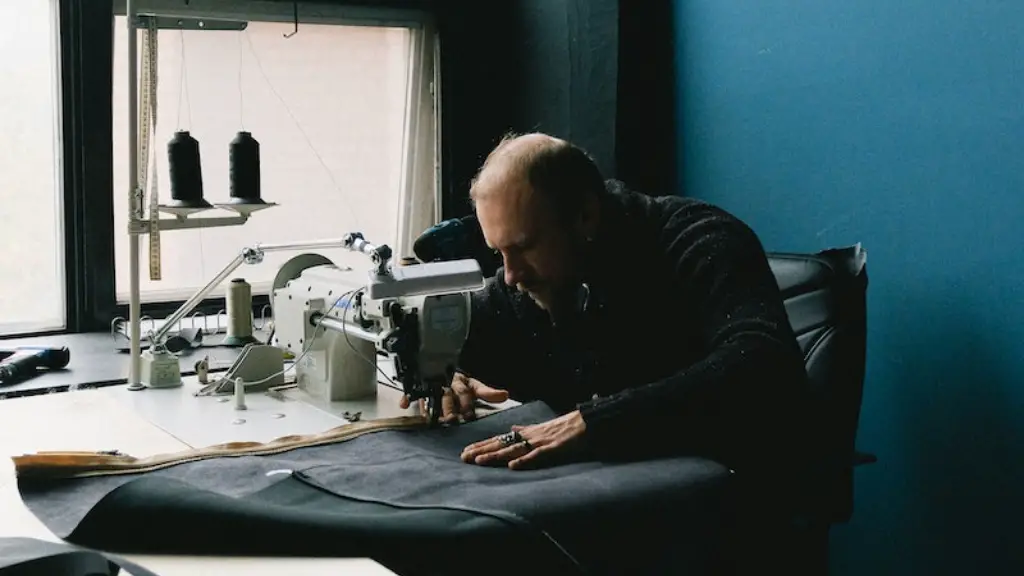
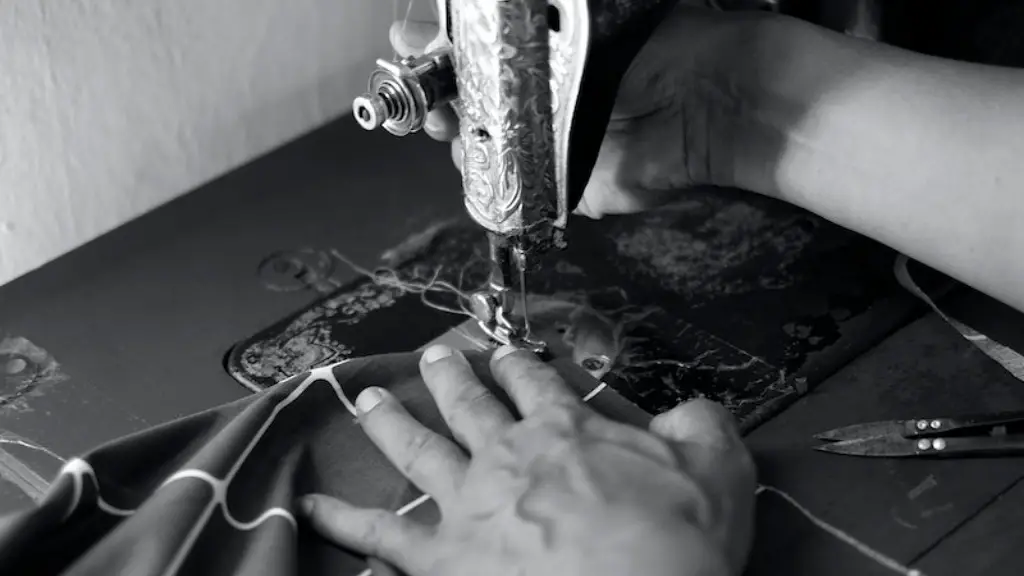
Once your three layers are pinned together, thread your machine with your desired color thread and set the stitch to a length that is no shorter than 11 stitches per inch. Place your pinned quilt on the bed of your machine, making sure that it is centred and secure. Begin quilting by sewing straight lines, either horizontally or vertically, at a distance of 2-3 inches apart. When quilting, sew slowly and evenly with both feet on the machine, allowing the movement of the fabric to stay level. As you quilt, pay attention to fabric bunching to prevent stretching.
Continue quilting in this manner until your entire quilt top is quilted. To finish a line of quilting, be sure to leave the needle in the down position and lift the presser foot. Cut the thread in the reverse, taking both upper and lower threads up and out of the fabric.
Part 2 – Adding Borders
Once the quilt top is completed, you may wish to add a border of fabric to give the quilt a finished look. To do this, use a 3-4 inch strip of fabric and repeat the previous steps. Place the border fabric onto the remaining sides of your quilt, folding one end into the center and pinning the corners. Stitch in place using the same steps as with the quilt top.
When attaching borders, pay attention to the seams allowances on the corners of the quilt top and be sure to match when you sew them in place. You may also wish to add decorative trims of fabric and/or ribbons to the edges of your quilt. If this is the case, simply pin the trim to the quilt top then stitch in place by sewing over the edge of the trim and through the quilt layers.
Part 3 – Layering the Quilt
The next step in creating your quilt is layering. To layer a quilt, begin by cutting a piece of batting larger than your quilt top. Drape the batting over the quilt and pin in place, stretching the batting slightly in order to eliminate any wrinkles or folds. After the batting is pinned in place, cut a piece of backing fabric that is larger than your batting and quilt top.
Pin the backing onto the top of the batting on the quilt. Once pinned, layer the quilt top on top of the batting and backing. Good quilting requires that the backing and batting be pulled taut before the quilt top is added. Once all layers are securely pinned in place, you will be ready for the final quilting.
Part 4 – Final Quilting
To complete your quilt, use an overcast stitch (such as a zig-zag) to secure all layers together. The stitching should be six to eight stitches per inch and should be done approximately one quarter of an inch from the edge of the quilt top. Doing this will ensure that all layers are securely bonded together.
Once the final quilting is complete, use a rotary cutter to trim away any excess batting and fabric around the edges of the quilt. Finally, bind the edges of your quilt using coordinating or contrasting fabric to make a clean and neat finish. This can be done easily with a sewn or tied binding.
Part 5 – Quilting Designs & Patterns
Adding quilting designs to your quilt will give it that extra bit of pizzazz. Traditional quilt designs include flower, heart, star, diamond, and curved-line patterns. You may also combine designs or even create your own custom pattern. Quilting patterns may be created with the use of a free motion quilting foot, allowing you to move the fabric freely beneath it as you stitch.
Once you have chosen your design, the pattern can be traced onto the quilt top using a marker or chalk. Start quilting your design from the center and work your way out. Use a consistent stitch length and remember to take your time to ensure accuracy and uniformity.
Alternatively, if you would like to keep it simple, try using a different colored thread for outlining each patch on the quilt. This will give it a patchwork effect without having to do intricate quilting designs.
Part 6 – Quilting Tools & Tips
When quilting on a sewing machine it is important to have the right tools and know the dos and don’ts. It is essential to use a machine-quilting presser foot and needle. This type of presser foot is specifically designed to help hold the layers securely and prevent the fabric from shifting.
Sharp machine needles are also a must when quilting, as they will help prevent skipped stitches and other issues that could spoil the finished product. It is also important to remember to clean your machine after each quilting session, as lint and dust can damage the parts and lead to costly repairs.
Part 7 – Quilting On a Frame
If you do not have a sewing machine, or if you prefer to quilt your quilt top by hand, you may do so using a quilt frame. These frames hold the layers securely, allowing you to quilt without having to worry about the fabric slipping or shifting as you stitch.
In addition to providing extra security, quilt frames also allow for easier and better quilting, as the fabric will stay taunt, in the same way it is when quilting on a sewing machine. Hand quilting can also be easily done on a quilt frame, simply by stitching through all layers of the quilt.
Part 8 – Finishing Touches
Once the quilting is finished, it is time to add the finishing touches. Hand quilted items may require special attention, such as steam pressing, to achieve a neat and finished look. When steam pressing, pay attention to the temperature setting of the iron, as too much heat may damage the fabric.
In addition to steam pressing, adding a label to the quilt is another great way to finish the quilt and give it a personal touch. Labels may include the quilter’s name, date, and any other relevant information. Labels may be made with fabric, parchment paper, or even printed on an inkjet printer.
Finally, once the quilting has been completed, give your quilt a good shake and hang it up to admire your masterpiece. With a bit of time and patience, you will be able to create a beautiful quilted top that you can be proud of.
