Introduction
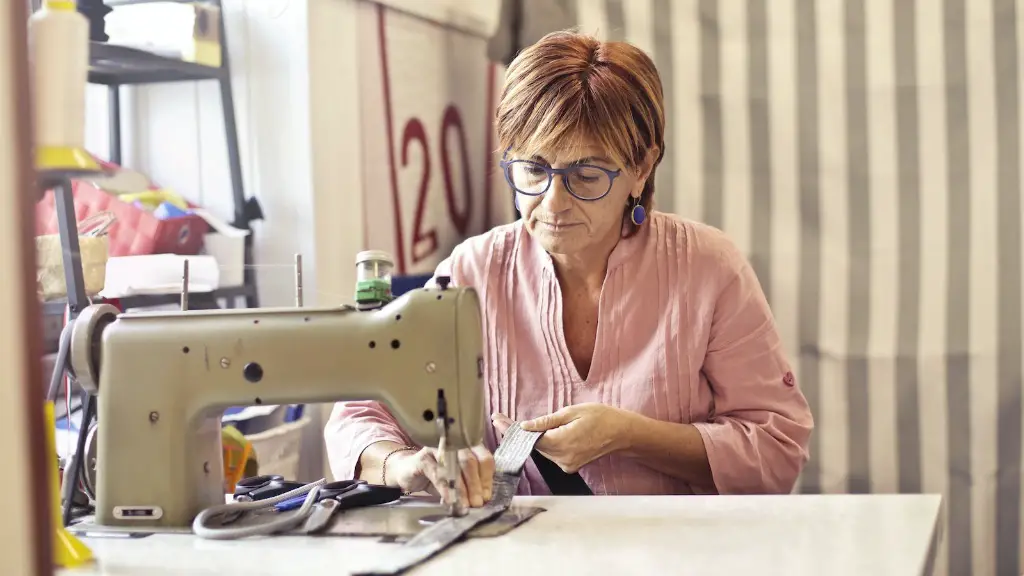
Quilting is a popular craft that has been enjoyed by generations, providing both a creative outlet and a unique way to express yourself. For those who don’t have the space for a large quilting machine, learning how to quilt on a small sewing machine can be an accessible and economical way to get started. In this article, we’ll look at the steps you need to take to quilt on a smaller machine.
Select a Small Sewing Machine
When selecting a smaller sewing machine, there are a few things to consider. Many of the more modern machines have more features and add-ons, while more basic models offer more economy, so choose the option that best fits your budget and needs. Look for machines that have a needle-threader, designed specifically for quilting, a larger tabletop working surface, and the ability to handle thicker quilting fabrics. Make sure to take the size and weight into account, as some machines can be quite heavy, making them difficult to move or store.
Prepare the Machine
Once you’ve selected the machine, make sure to prepare it for its new home. Sewing machines come with several accessories, such as bobbins, thread racks, needles, and foot pedals. Assemble the machine and familiarize yourself with the controls and settings. For example, if your machine has a free-arm feature that allows you to sew sleeves and pant legs more easily, it will be easier to learn how to quilt using this feature. Ready your machine’s bobbin in order to start quilting.
Choose the Quilting Fabric
Choosing the right kind of fabric is an essential step in quilting success. For small sewing machines, choose light to medium weight cottons, such as quilting cotton, chambray, organic cotton, and gingham. Avoid using fabrics that are too stiff, such as denim and canvas, as these can cause unwieldy problems. Look for quality fabric that is 100 percent cotton, pre-washed, and free of excess finishing treatments. There are a lot of fun fabrics and prints to choose from, so take the time to try different fabrics to see which one you prefer for quilting.
Get Ready to Quilt
Once you’ve assembled the machine and your fabric, it’s time to start quilting. Make sure to prepare the fabric for sewing by pre-washing, pre-shrinking, and pre-pressing it. If you have access to a quilting frame or hoop, it can help provide a consistent tension and allow the quilter to be hands-free while quilting on the small machine. Set up your machine according to the manufacturer’s instructions and practice stitches on scrap fabric before starting your main project. To begin quilting, you’ll want to use a quarter-inch seam allowance first and then work on increasing the accuracy and consistency of your stitches as you go.
Use Effective Quilting Techniques
For those working on a small machine, there are certain effective techniques that can help simplify the process. Instead of cutting the fabric into large pieces, focus on cutting the pieces into smaller components before joining them together. This way, you can work on one smaller piece at a time and then assemble the entire sections into a finished product. Also, look into techniques to help keep the fabric stable while quilting and to prevent bunching and fraying, such as using straight pins or clamps. As you practice, you’ll find out what techniques work best for your particular machine and fabric preferences.
Working with a Professional
For those who are serious about quilting on a small machine, working with a professional quilter can help them learn the basics and improve their skills. Working with a professional can provide useful advice on everything from fabric selection and patterns to proper setup and stitching techniques. In addition, a professional quilter can provide the latest trends and tips for those who want to take their quilting to the next level.
Maintenance and Safety
When quilting with a small sewing machine, regular maintenance and safety measures are key. Keep an eye out for any loose threads and knots as you sew and trim them off as soon as they appear. If the fabric tension appears to be off, make sure to adjust it properly. Also, be aware of any loose parts on your machine that could come off and cause injury. Lastly, make sure to read the machine manual carefully and familiarize yourself with the operations and safety guidelines.
Finishing a Quilt
Finishing a quilt is a critical step in the quilting process. Before binding the quilt, measure it to make sure the size is even. Then, press the pieces of the quilt to remove any wrinkles. Finally, attach binding to the edges and hand-stitch or machine-stitch it in place to complete the quilt. Learning these steps for finishing a quilt will ensure a professional finish to your project.
Choosing the Quilting Pattern
Choosing the quilting pattern is the fun part of quilting. There are an endless number of designs and patterns to choose from, ranging from the traditional to the more intricate and complex. At the beginning, choose patterns that are simpler and don’t require too many extra steps. With time, you’ll feel more comfortable and be able to tackle more ambitious designs. When selecting a quilting pattern, also remember to leave some room for modifications to ensure that the quilt will fit your project properly.
Creating a Design
When creating a quilt design, it’s important to keep it simple. Instead of tackling a complex quilt design right away, start with more basic shapes and then work your way up. Consider the colors you want to use, the type of quilt top you’d like, and the overall design to determine how you want to approach the quilt. As you progress, try to include intricate details or whimsical touches to add some personality to your quilt.
