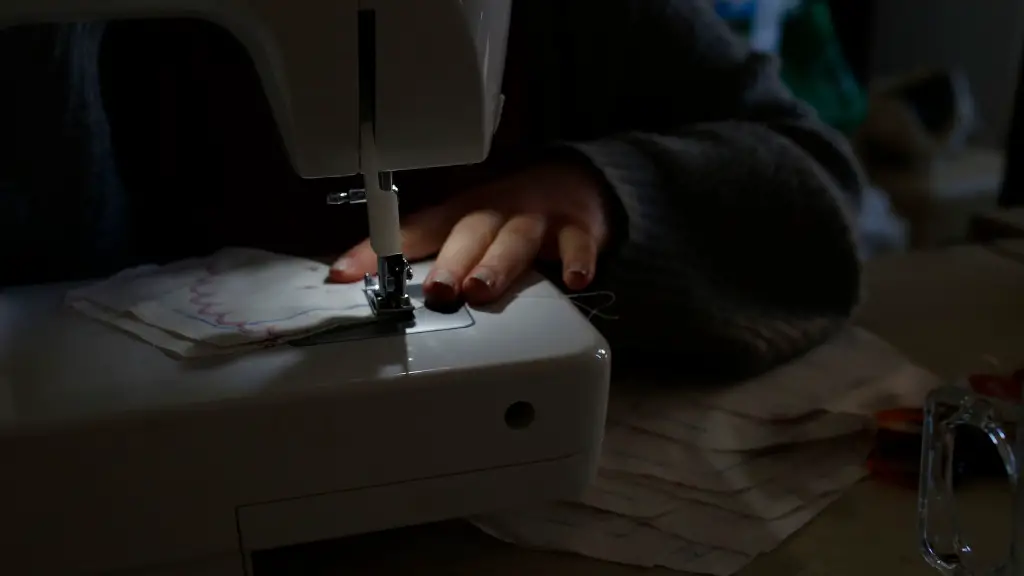
Directions for Quilting on a Standard Sewing Machine
Quilting can be a wonderful way to express your creativity and to create something original and beautiful. One of the most cost effective ways to start quilting is to use your standard sewing machine. Many people can learn to use the techniques of quilting with their standard machine. Here are some basic steps to get you started.
Setting Up the Sewing Machine
The right set-up is essential for successful quilting on your standard sewing machine. The most important components for setting up the machine for quilting are the presser foot and the presser foot tension knob. The presser foot pressure should be adjusted to the lightest setting possible so that the fabric can be moved freely. The exact amount of pressure depends on the machine and the fabric that is being used. A bobbin tension should also be adjusted, so that it is the same as the stitch length.
Choosing the Thread
The type of thread used for quilting is an important factor for successful quilting. Polyester thread is usually the best choice for quilting because it is strong and doesn’t break easily. For quilting on standard machines, it is recommended to use a heavier weight thread (30-weight or above) that is designed specifically for machine quilting.
Working with Batting
The batting is the material that provides the layers of insulation in quilts. It is important to choose batting that is designed for machine quilting, as regular batting can create too much bulk under the presser foot. When preparing to sew through the batting, set the presser foot pressure to the heaviest setting and stitch at a lower speed.
Adjusting the Quilting Stitch Length
The quilting stitch length should be set to about 10-14 stitches-per-inch (SPI). This will create a strong, even stitch pattern in the quilt and will also prevent any puckered patches in the fabric. For denser quilting, the stitch length can be increased a bit more, but it is important to take into consideration the thickness of the layers of fabric and batting.
Pre-marking the Quilt
To get started, the quilt should be measured and pre-marked with the desired pattern or design. There are a variety of templates, stencils and rulers available to guide the quilting process. The marks should be visible on both sides of the quilt, so that the pattern is easy to follow as the quilting progresses.
Pinning the Quilt Layers Together
Using pins to attach the layers of the quilt together is an important step for successful machine quilting. The fabric layers should be pinned together at 3-4 inch intervals. This helps to keep the fabric layers from shifting and stretching during the quilting process.
Practicing Quilting Stitches
Before starting to stitch the quilt together, it is important to practice the quilting stitch patterns on a scrap piece of fabric. This helps to develop the confidence and proficiency to move the fabric smoothly while working with the quilting stitch length.
Make Quilting Easier with a Walking Foot
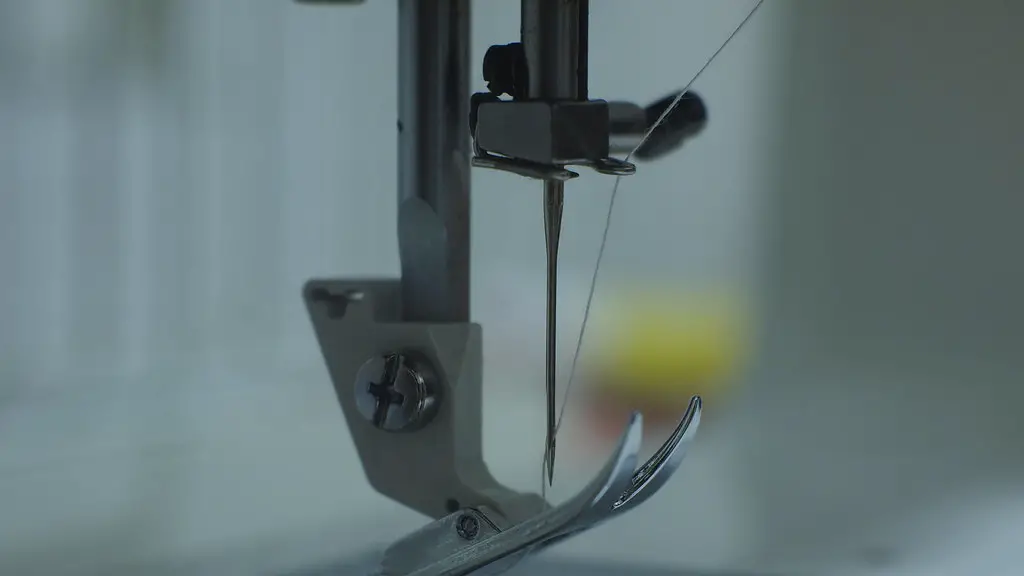
A walking foot is an invaluable tool for quilting on a standard machine. It is a type of presser foot that is used for top-stitching and quilting. The walking foot allows you to move the fabric more smoothly under the presser foot and distributes the pressure more evenly, which makes the quilting process much easier.
Alternatives to Quilting on a Standard Machine
For those who want to make quilting easier, there are other options available. Dedicated quilting machines are designed specifically for quilting and are much easier to use than standard machines. These machines are more expensive than standard machines, but they can be a great investment if you plan to make quilting a regular hobby.
Finishing Your Quilt
Once the quilting is complete, the edges of the quilt can be finished with a binding stitch. This can be done by hand or on the machine. If you choose to use a machine, use a longer stitch length and a thicker thread than the quilting thread. This will help to secure the binding and make it look clean and neat.
Adding Embellishments to Your Quilt
Many people like to add extra embellishments to their quilts to add a unique touch. Embellishments include ribbons, buttons, beads, and other decorations. These can be added before the quilting is finished, or after the quilting is complete. It is important to choose embellishments that are designed for use on quilts, as some may not be strong or thick enough to withstand the quilting stitches.
Finishing Touches
Once the quilting is finished, the quilt should be examined for imperfections and any loose threads should be tied off. Before using the quilt, it should be washed and dried to make sure that the fabric and quilting stitches are secure. This will also help to make the quilt softer and more comfortable.
Adding a Label to Your Quilt
The final step in the quilting process is to add a label. The label should include information about who made the quilt, when it was made, and any special instructions for caring for the quilt. This will ensure that the quilt is properly cared for and that its legacy is passed down to future generations.
Quilt Care and Storage
Proper care and storage of your quilts is important to ensure that they last for many years to come. Quilts should be stored flat or hung up, avoiding any folding or tight storage. The quilt should also be protected from sunlight and dust. It should also be kept at a comfortable humidity and temperature level.
Cleaning Your Quilt
Proper cleaning of your quilts is essential in order to keep them looking their best. Quilts should be cleaned with a gentle, lint-free detergent, and tumbled in a cool dryer. Quilts should not be wet or bleached, and should never be put into the dryer at a high temperature. It is also important to avoid using harsh chemical cleaners or spot removers on quilts.
Quilting Techniques for Experienced Quilters
Experienced quilters may be interested in trying different quilting techniques on a standard machine. Density quilting, channel quilting and thread painting are just a few of the techniques that can add interest and detail to quilts. These techniques require practice and patience, so it is important to look for tutorials and resources to help get started.
Creating a Quilting Plan
Before starting any quilt project, it is important to create a plan. Consider the size and shape of the quilt, the type of fabric to be used, the design or pattern, and the size and shape of the stitches. This will help to make the quilting process easier and will help to ensure the success of the finished product.
