Background
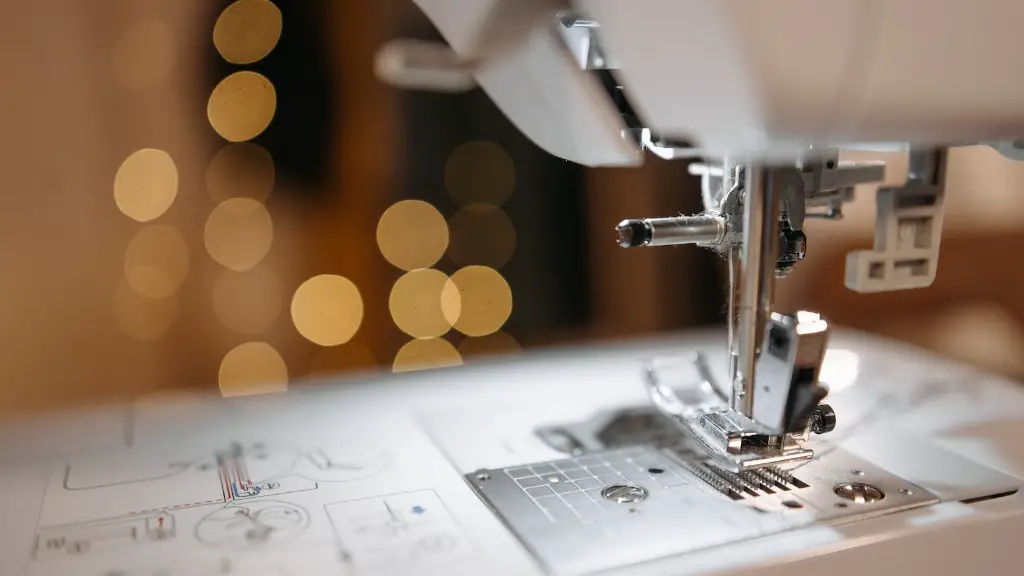
Sewing machines have been around for centuries, bringing a whole new level of creativity and convenience to garment-making. One of the most important components of any sewing machine, is the foot — a.k.a. the presser foot. It’s the part that creates pressure on the fabric as you sew, holds it in place, and ensures the fabric won’t slip or be pulled away in the middle of your seam. To be able to use a sewing machine, you must be familiar with the presser foot and how to raise it.
Raising the Presser Foot
The presser foot is most commonly moved up and down by a lever on the right side of the sewing machine. To raise the foot, simply move the lever up. For some machines, you may need to press a button near the lever or a foot switch on the floor. It’s also possible to have a button on the control panel, which allows you to control the presser foot from the control panel.
Raising for Free Motion Quilting
Free motion quilting is a type of machine quilting where you use the sewing machine like a free-hand drawing tool and move the quilt in various directions. To do this, the foot must be in the raised position, as it allows you to push the fabric around freely. To raise the presser foot for free motion quilting, you’ll need to lift the foot lever and press a button near it.
Raising via Automatic Options
Some new sewing machines come with an automatic presser foot lift feature, where the presser foot is moved up and down automatically when starting a seam. To activate this feature, look for the related button or lever on your sewing machine and press it.
Raising via the Control Panel
For some advanced embroidery machines, you can control the presser foot from the control panel — usually with a button. On machines with this feature, it’s possible to raise the foot several times within a single stitch.
Closing the Foot before Sewing
It’s important to close the presser foot of your sewing machine before embroidering or sewing. This will ensure that the material doesn’t move while sewing and will create the best results. To close the presser foot, simply move the lever down until it clicks.
Tools for Raising
When raising the presser foot, it’s best to use the right tool. If you don’t have a lever or button on your sewing machine, you can purchase a presser foot lifter, which is a tool that looks like a hook and is used to lift the presser foot manually.
Cautions while Raising
When raising the presser foot, be careful not to snag the fabric or damage the needle. Also, it’s important to make sure the foot is properly positioned before beginning a project, as the machine won’t sew properly if the foot isn’t in the correct position.
Setting the Presser Foot Tension
The presser foot tension determines how tightly the presser foot holds down the fabric while sewing. It’s important to adjust the presser foot tension to the right level so that the fabric doesn’t move during sewing. To adjust the presser foot tension, look for the knob on the side of the machine. Most machines have a “tension adjuster” knob or dial — this is the one that controls the tension.
Adjusting the Pressure
It’s also important to adjust the pressure of the presser foot. Most sewing machines have a knob that allows you to adjust the pressure. This adjustment will ensure that the presser foot holds the fabric in place without slipping or bunching up.
Raising for Flip Stitches
Raising the presser foot can also be useful for certain sewing techniques, such as flip stitches. To do this, move the presser foot up and insert your needle down into the fabric. Then, move the presser foot down and slowly pull the fabric back while keeping the needle in the fabric. This will create a flip stitch, which is a nice decorative touch to any project.
Raising for Bobbin Winding
If you need to wind a bobbin, it’s important to raise the presser foot while doing so. This will allow the bobbin to spin freely and make it easier to wind a bobbin. To raise the presser foot for bobbin winding, simply lift the foot lever or press the button near it.
Testing
Once you’ve learned how to raise the presser foot, it’s a good idea to run a few tests and experiment with different tension and pressure settings. This will help you understand the effects of different settings, and will give you a better idea of the best settings and techniques for your particular project.
Training
If you’re new to sewing, it’s advisable to take a sewing class or two. This will allow you to get a hands-on experience and learn how to use a sewing machine properly. Most sewing classes will cover the basics, including presser foot raising, seam finishing, and various stitches.
Maintenance
Finally, it’s important to keep your sewing machine in good condition. Regularly check for loose screws, worn needles, and other signs of wear and tear. Doing this will ensure that your machine works properly and will help you avoid problems with your presser foot.


