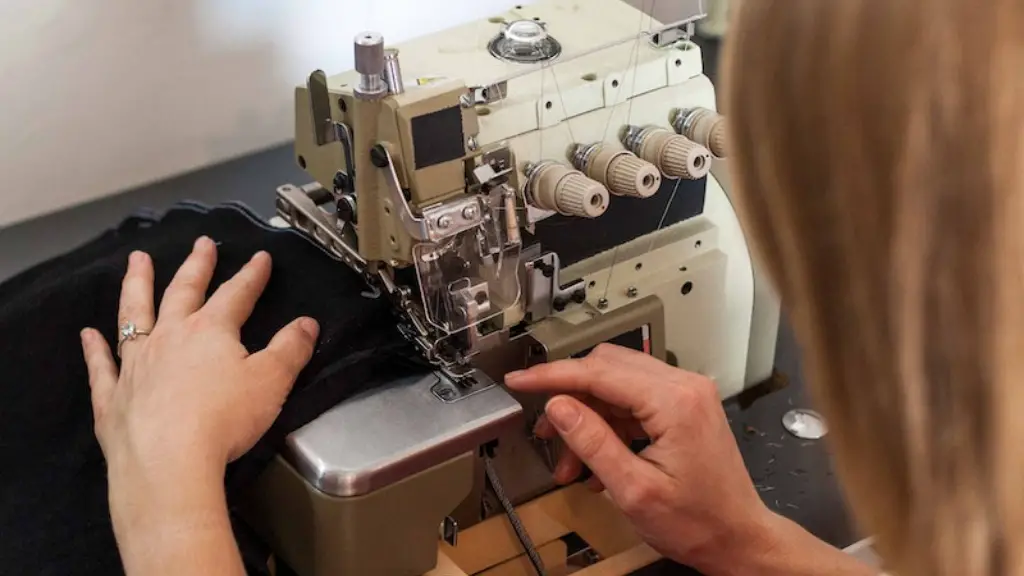
Using a sewing machine can be daunting for some, but when a needle gets stuck, it can seem almost impossible. Whether the needle got caught and won’t move, you hit a snag mid-stitch and it bent, or it just broke off, we’re here to help. Understanding the different types of needles and how to safely remove them will make your sewing projects run more smoothly.
When you are removing a stuck needle, always switch off the machine, unplug it, and take out bobbin and thread before doing anything. If there is no bobbin case and you cannot access the area where the needle is stuck, then you will need to consult your sewing machine manual for instructions on how to access it. If the needle is visibly damaging the machine, then it’s best to call a professional for assistance.
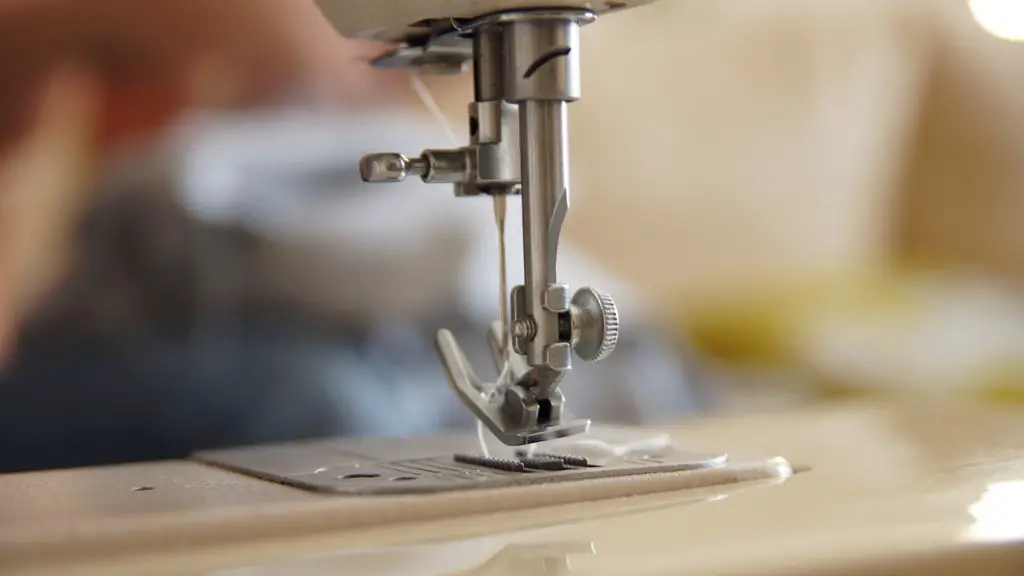
First, you will need to take out the presser foot, throat plate, guard, and face plate. These parts are easily removed with a screwdriver. Then, turn the handwheel located on the right side of the machine counterclockwise until the needle is in its highest position. This will allow for easier access to the needle.
Next, use a pair of pliers to carefully remove the needle from the machine. If the needle is bent, you can try straightening it with the pliers, but be very careful as it can easily break or cause further damage to the machine.
If the needle is stuck and seems stuck fast, use a needle threader to try and loosen it. With the needle positioned in its highest point, use the needle threader to push the eye of the needle down. If it doesn’t work, you may need to use a pair of needle-nose pliers to gently twist and pull the needle out.
Finally, always replace the needle with a new one when removing one from a sewing machine. Old needles may appear to be undamaged and can still be used, but they have been through a lot and could easily break or cause more damage.
Replacing A Needle In A Singer Sewing Machine
The first step in replacing a needle in a Singer sewing machine is to shut off and unplug the machine. Before replacing the needle, be sure to consult the user’s manual regarding the specific type of needle for your machine. Singer recommends using needles made for their machines for best performance and durability.
To insert a needle, first loosen the needle clamp screw until the clamp opens slightly and the needle can be inserted. Slide the new needle into the clamp and tighten the screw.
Once the needle is firmly inserted, turn the handwheel to lower the needle into the needle plate and make sure the eye is facing the back of the machine. Check to make sure the needle is secure and that the machine is securely threaded.
Raise the presser foot lever and slide the needle threader through the eye of the needle. Sew a few stitches on scrap fabric to test that the needle is in the correct position and that it is correctly threaded. If everything looks good, you are ready to start your project!
Picking The Right Needle For Singer Sewing Machine
Choosing the right needle for your Singer sewing machine is very important. Not every type of needle will work in every Singer machine, so it is important to understand the types of needles and when to use them. The most commonly used Singer needles are the universal, jersey, and ball point.
Universal needles are all-purpose needles that work with most fabrics and provide the best results for regular sewing. The jersey needle is for knits fabrics and has a special design that prevents skipped stitches and helps to create an even stitch. The ball point needle is for stretchy fabrics and has a rounded tip that moves between fibers without cutting them and causing puckering.
The size and type of needle used will depend on the type of fabric you are using and the type stitching you are doing. For example, heavier fabrics will require a larger needle, and finer fabrics will require a smaller one. Be sure to read the instructions of the fabric before selecting a needle.
In addition to selecting the right needle, it is important to take good care of it. Needles should be cleaned and inspected after each use and replaced when necessary. Dull or broken needles can cause poor stitching and further damage to the fabric.
Common Problems With Singer Sewing Machine Needles
One of the most common issues with Singer sewing machines is needles breaking or bending. This is usually due to hitting a snag while stitching or due to a defective needle. If this happens, it is important to properly remove the needle and replace it with a new one. Regularly replacing Singer sewing machine needles will help to avoid breakage and ensure smoother stitching.
Another common issue is that the needle can become stuck in the machine. If this happens, switch off the machine and unplug it. Do not attempt to force the needle out with pliers as this can cause further damage to the machine. Instead, focus on removing the other parts and accessing the needle before attempting to remove it.
Dirty needles can also cause issues such as mismatched stitching. Needles can easily become clogged with dirt or residue from the fabric which can cause the stitches to be uneven. It is important to clean the needle after each use and inspect it regularly to avoid any problems.
Tips For Sewing With Singer Sewing Machine Needles
When sewing with a Singer sewing machine, it is important to select the right needle. Not all needles will work with every type of fabric, so read the instructions on the fabric before selecting a needle. In addition, it is important to replace the needle regularly and clean it after each use.
It is also important to pay attention to the type of thread and proper stitch tension when sewing. Thread that is too thick for a regular needle can easily cause the needle to bend or break, resulting in poor stitching. The tension of the stitches is also crucial for achieving an even stitch and avoiding puckering. Ensuring the proper stitch tension will help to make perfect stitches every time.
Finally, it is important to keep the presser foot clean and lubricated. This will help to reduce friction and ensure smoother stitching. A lubricated presser foot also helps avoid damage to the needle, fabric, and stitches. Regularly cleaning and lubricating the presser foot will help to ensure perfect stitching.
