Gathering Materials
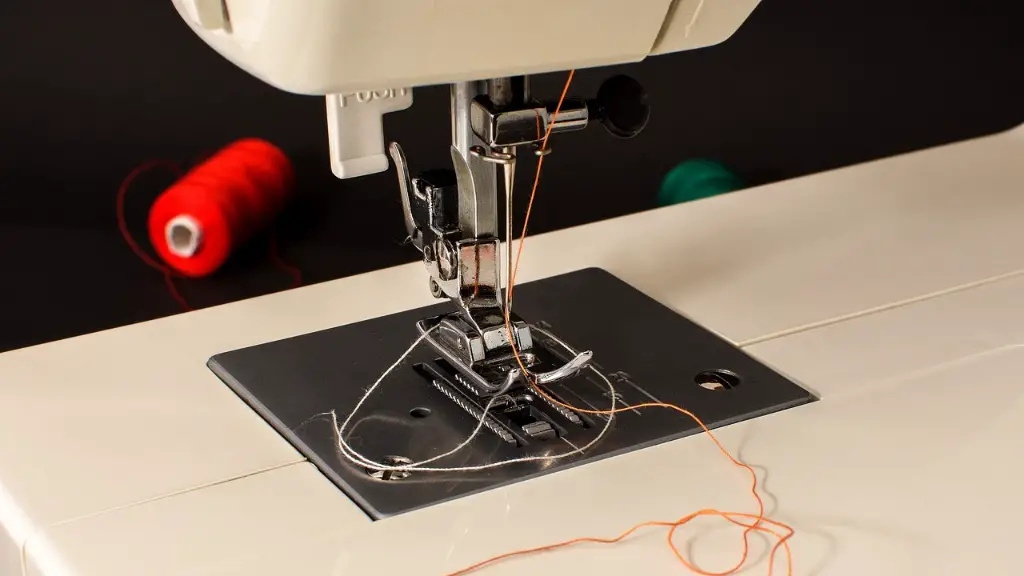
For this project, you’ll only need a few materials. What you’ll need to get started is a screwdriver, your sewing machine’s manual, and the right needle for your machine. Once you have these, you can start to remove the needle from your sewing machine.
Warning
Please note, however, that you should turn off your sewing machine before working on it. Although you don’t need to be an expert mechanic to replace your machine’s needle, you should keep safety in mind and unplug your machine before attempting any repairs.
Steps to Remove
Once your machine is unplugged and you have all of your materials ready to go, it’s time to start removing the needles. Make sure that you have your screwdriver ready, as the needle is most likely held in place by a screw. To remove it, you’ll want to carefully unscrew the screw. Then, carefully pull the needle out of the machine.
Difficulties
For some machines, however, the process can be a bit more difficult. Some vintage or older models may require the use of a special tool to remove the needle. If this is the case, you may need to consult with a sewing machine specialist or a repair shop for advice and assistance.
Replacement Parts
Once you have removed the old needle from your machine, you’ll want to replace it with the new one. Make sure that you get the right size and type of needle for your sewing machine. Different machines need different needles, so it’s important to make sure that you buy the right one for your machine. If you don’t, the needle may not fit properly, or your machine may not run properly.
Fitting the Needle
When fitting the new needle, you’ll want to make sure that it is tight and secure. It should fit firmly in the machine, and it should be easy to unscrew when you need to replace it again. Once the needle is securely in place, you can then plug your machine back in and start using it again.
Making sure the Needle is in Properly
When the new needle is secured, it’s important to make sure that it is properly in place. To do this, you can use the manual that came with your machine or consult a repair shop if necessary. You should also make sure to keep track of the size and type of needle that you are using, as this will make it easier to replace the needle in the future.
Removing Threads
In addition to removing and replacing needles, you may also need to remove the threads from your sewing machine. To do this, you’ll want to make sure that the machine is unplugged and the needle is out. You’ll then want to use a small brush to remove any threads that may be stuck in the needle or bobbin.
Using the Right Feed Dog
When replacing the needle, it’s also important to ensure that you are using the right feed dog. The feed dog moves the fabric through the machine as you sew and it should be compatible with the needle. If the feed dog and needle don’t match, it can cause problems with your sewing and could damage your project.
Using Safety Precautions
Finally, when removing and replacing needles and threads, you should always use safety precautions. Make sure that your machine is unplugged, wear safety glasses, and be careful when handling the needle. With the right safety precautions and guidance, you can easily remove the sewing machine needle and replace it successfully.


