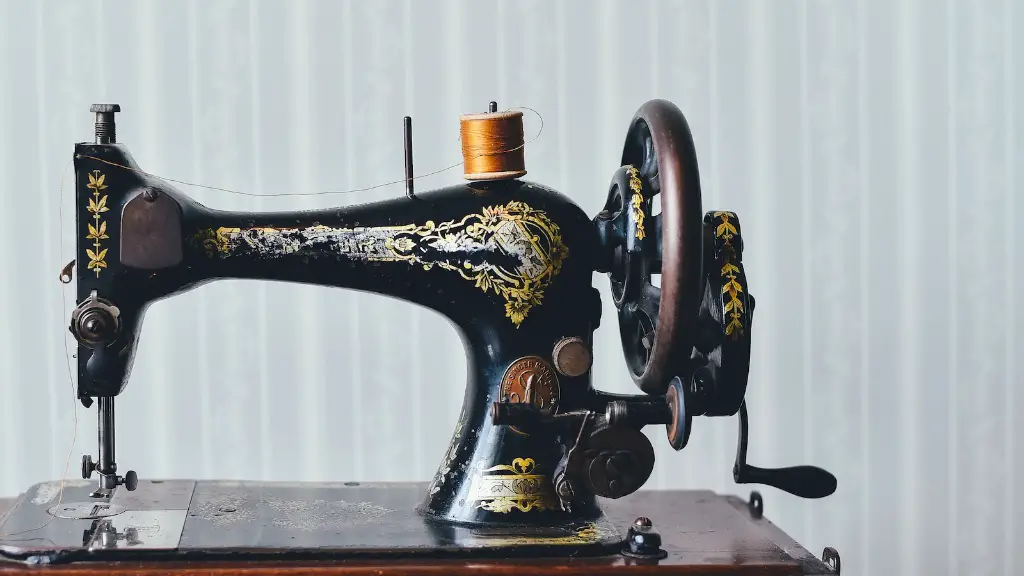
Sewing is a creative and therapeutic activity often associated with an image of a grandmother sitting at her sewing machine. However, despite its pleasant visuals, the process of stitching a garment, bed sheet, or any other textiles can be full of unexpected hiccups along the way. Most of these problems occur because of the thread, which can get tangled and caught in the innards of the machine, causing the entire process to grind to a halt. It’s frustrating but thankfully these issues can be remedied simply by removing the thread from the sewing machine. The following is a step-by-step guide on how to do it.
Step One: Cut the Thread
The first step involves the wielder of the scissors. Carefully take a pair of scissors and snip off the thread that has caused the problem. Depending on the severity of the issue, it may require some strategic snipping of various spots in the thread. The key is to take your time and be precise in order to minimize the amount of thread on the surface.
Step Two: Use a Petit Screwdriver
Once the thread has been snipped away, the next step is to use a petit screwdriver. A petit screwdriver is a tiny screwdriver that can fit into the tight corners of the sewing machine. This is particularly useful if the thread has wrapped itself around the spool pins or the needle. Using the screwdriver, slowly and gently begin to untangle the thread until it is completely removed.
Step Three: Check for Snagged Thread
Once the obvious threads and tangles have been removed, it is important to check for any snagged or embedded thread. To do this, use a light source or magnifying glass to examine the parts of the sewing machine where the thread may have been caught. Carefully run your fingers along these parts in order to search and remove any threads that may have embedded themselves within the casing.
Step Four: Clean the Machine
Now that all of the thread are removed, it is time to do some cleaning. Use a cloth and a vacuum cleaner to get rid of any dust that may have accumulated while the machine was in use. Pay attention to the internal components of the sewing machine, as dust can prevent the components from functioning properly.
Cleaning the machine once in a while is a great way to keep it running smoothly for longer periods of time. It also helps ensure that there is no excess thread build up that could potentially get tangled in the internal mechanisms and cause damage.
Step Five: Re-thread the Sewing Machine
Once everything is clean, it is time to re-thread the sewing machine. Start by threading the spool and bobbin through the correct passageways, following the manual’s instructions. Once the thread is in place, it is time to connect the needle. This is a vital step, as it ensures the fabric remains firmly attached to the machine. Finally, make sure that the thread is tightly secured to the machine.
Step Six: Test the Machine
Once the thread has been rethreaded, the sewing machine must be tested in order to verify its readiness for use. Begin by switching the machine on and examining the motion of the needle. Make sure that it is going up and down as it should. After that, start using small pieces of fabric to test the thread tension and the stitch quality. This simple test can reveal whether or not the thread has been correctly secured to the machine. If the thread is not tight enough, periodically check between stitches that the thread is securely in place.
Step Seven: Further Maintenance
No matter how carefully the sewing machine has been threaded and tested, it is still vulnerable to thread issues. So it is important to practice proper maintenance in order to minimize the chances of thread problems occurring. This can include regularly cleaning the machine and checking it for any signs of thread entanglement. Additionally, it is a good idea to occasionally apply sewing machine oil in order to lubricate the internal components. This will ensure that the machine will remain functioning well for years to come.
Control the Thread During Sewing
The best way to avoid thread entanglements is to pay extra attention when sewing. This may sound obvious, but it is the easiest way to ensure that the thread remains in the proper place and does not become tangled. The key is to keep an eye on the thread as it passes around the various spindles and mechanism of the sewing machine, and make sure that it is secure and in the right place.
Thread Carefully After Sewing
Once the project is finished and the fabric is neatly stitched with the thread, it is important to handle the thread with care in order to avoid any loose threads that could cause problems. Start by gently pulling the thread away from the fabric in order to secure it tightly. You can then carefully trim off any excess thread or knots that may have formed during the stitching process. Finally, cut off the remaining thread at the knotted end. This will ensure that the thread does not get tangled in the sewing machine when it is being stored away.
Detecting Thread Tension Issues
Thread tension issues are one of the most vocal culprits when it comes to sewing machine problems. Too much or too little tension on the thread can cause the stitching to become loose, uneven, or simply fail altogether. This issue can be detected easily by running a quick test on the machine. All you need to do is sew a few stitches on a scrap piece of fabric and then pull on the thread. If the stitch remains tight and there is little give, then your thread tension is just right. If it is too loose or too tight, then you may need to adjust the machine according to the manual’s instructions.
Replacing the Needle
A needle that is worn down or dull can be very problematic for successful sewing. A needle that is in good condition can pull the thread securely as it stitches, and therefore helps prevent the thread from becoming tangled. If you notice that the stitching is becoming loose or uneven, then it may be time to replace the needle. Doing this will ensure that the thread passes through the fabric securely and accurately.
Regular Thread Cuts and Trims
Although snipping the thread periodically may not seem like the most important thing, it can make all the difference when it comes to preventing thread entanglement. Trimming off the excess thread can help minimize the chances of it becoming tangled in the machine, as well as reducing the risk of the thread being cut off when the stitching is finished. Trim the thread off at least once every inch of fabric, and occasionally check the bobbin for any excess thread.
Repair and Lubricate
In some cases, the internal mechanisms of a sewing machine can become worn down. As this happens, it can cause a drop in the machine’s performance and increase the chances of thread entanglement. If this is the case, then it is important to take the machine to a repair shop where it can be repaired and lubricated. It is also a good idea to perform this type of maintenance on a regular basis, as it can help keep the machine running smoothly for years to come.
Prevent Pre-stretching or Over-stretching
Stretching the thread while sewing is a major issue that can cause severe thread entanglement. This occurs when the thread is pulled too tight or too loose while stitching. To prevent this from occurring, it is important to pay attention to the tension of the thread as it passes from the needle to the fabric. Make sure that the thread is neither pre-stretched nor overstretched, and ensure that it is kept under tight control. If the thread is not tightly secured, then it may become tangled in the machine’s internal mechanisms and cause problems.
Frequent Cleaning and Maintenance
In order to prevent thread-related issues, it is important to perform regular cleaning and maintenance on the sewing machine. This can include dusting off the machine frequently, applying sewing machine oil to the internal parts, and replacing the needle when needed. Doing this on a regular basis will help the machine run smoothly and increase the lifespan of the machine.
