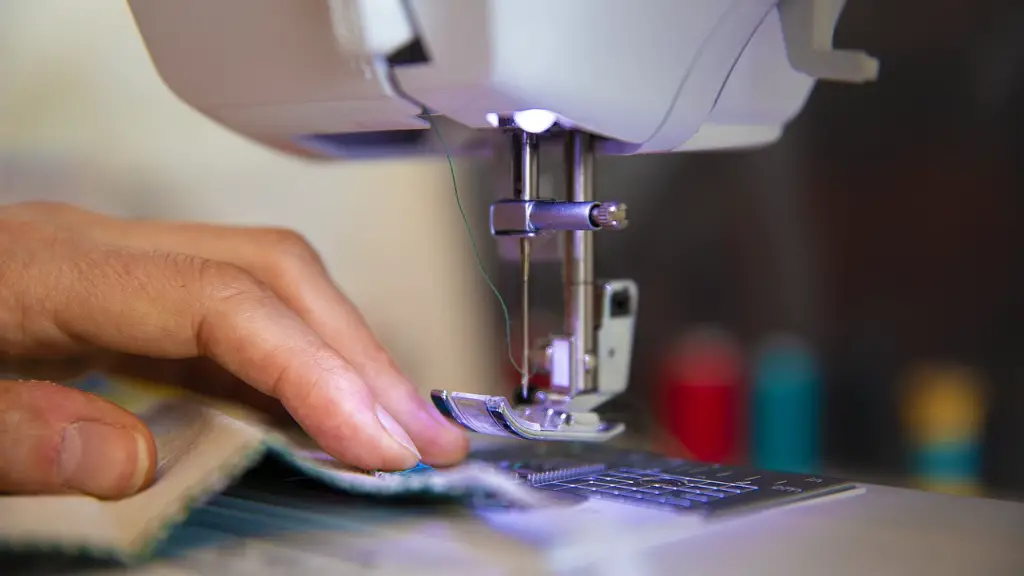
Whether you are a professional tailor or a person who does alterations for themselves and their family, as a sewing machine user, you know that it’s inevitable that your machine will get stuck at some point. Although it can be a stressful experience, with patience, the right tools and appropriate knowledge, repairing a stuck sewing machine is possible and is not as difficult as it may seem.
Below, is a step-by-step guide on how to repair a sewing machine when it has got stuck.
Step 1: Turning off The Sewing Machine
The first step in repairing a stuck sewing machine is to turn the power off to the machine. Doing this will complete the power circuit and eliminate the risk of electric shock. Additionally, if the sewing machine is unplugged, it will reduce the risk of further mechanical damage.
Step 2: Determining the Problem
The second step for a successful repair is to accurately identify the source of the problem. Carefully examine the sewing machine for common stuck machine problems such as jammed needles, stuck shuttles, or a broken belt or drive belt. Be mindful of any clippings, fabric dust, and extra thread that may have become jammed in the machine.
Step 3: Disassembling the Sewing Machine
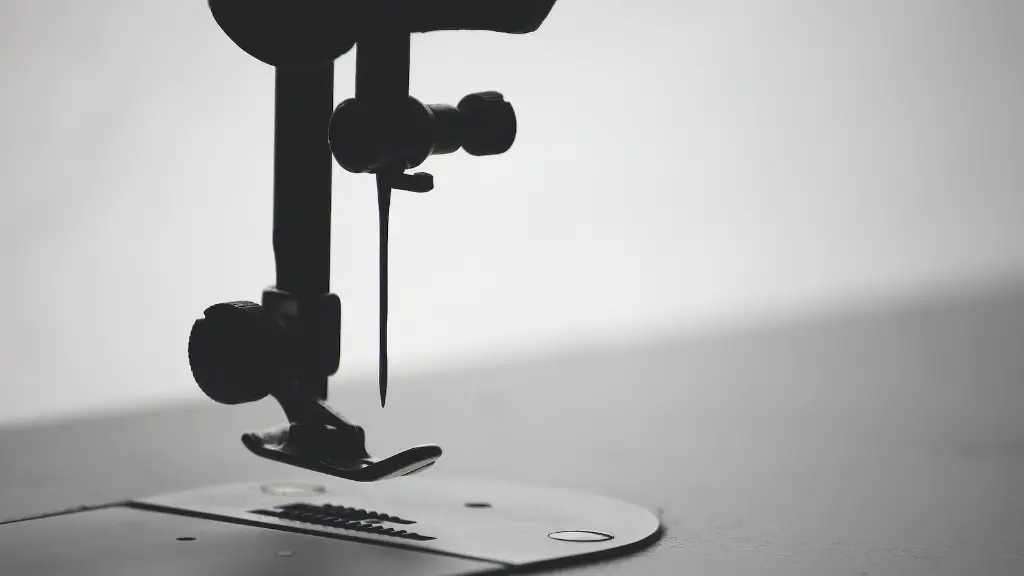
The third step involves turning the machine upside down and gently disassembling the machine. Gently unscrew and remove the faceplate, bobbin case, hook assembly, and take off all accessories such as the finger guard and foot. Place each part aside so they can be put back together again.
Step 4: Cleaning the Machine
The fourth step requires a thorough cleaning of the machine. Regularly dust the inside of your machine and check for fabric particles, dust, and loose threads, which can cause the machine to get stuck. Use compressed air to help clean debris from hard-to-reach places. You can also use a vacuum cleaner or a canister with a brush to help remove dirt and debris from the machine.
Step 5: Inspecting the Parts
The fifth step of repairing a stuck sewing machine is to inspect each part for damage or any signs of wear. Examine the parts for any dirt or debris that may have become lodged inside and carefully check for any signs of fraying, damage, or destruction. The hook assembly, needle plate, presser foot, and feed dog should also be inspected. The feed dog and presser foot should be carefully examined to make sure they are not damaged and are operating correctly.
Step 6: Oiling The Machine
The sixth step requires oiling the machine to help ensure that all of the parts are properly lubricated. Start by applying a few drops of machine-grade oil to each of the moving parts. Oiling the machine is one of the best ways to help keep it functioning properly and reduce the risk of it getting stuck again.
Step 7: Finishing Touches
The seventh and final step is to put everything back together. Carefully reassemble the parts in the reverse order that you took them off. Make sure to check each part for correct placement and correct tension. Once everything is back together, turn the power on and test the machine for operation. If it is still not working, repeat the process and check for any components that may have been overlooked.
What To Do When The Problem Is Unsure
If the problem is uncertain, it is best to contact a certified technician to help diagnose and repair the sewing machine. It is possible to find information online on how to repair a stuck sewing machine, but it is important to be mindful of manufacturer- recommended repairs, as some parts may be covered by a warranty.
Cautions for Repair
When repairing a sewing machine, it is important to take caution and handle the machine with care. When taking apart the machine, always use the appropriate tools to ensure that the parts do not become damaged. Additionally, when using compressed air, wear eye protection to protect against dust and debris that can be released during the cleaning process.
Safety Tips
When repairing a sewing machine, it is important to take the necessary safety precautions.To ensure the safety of yourself and your machine, always make sure the power is completely off before troubleshooting. Additionally, never attempt to repair any electrical problems yourself. If you are uncertain of your skills and abilities, contact a certified technician.
Prevention of Further Issues
To help prevent future issues, clean your machine regularly and inspect it for signs of wear or damage. Regular cleaning and maintenance will help ensure the longevity of your machine. Additionally, always make sure the power is off before performing any maintenance.
Replacement Parts
If parts need to be replaced, check your manufacturer’s website for replacement parts or contact them directly for assistance. Oftentimes, the replacement parts may be covered by the original warranty, so it’s important to check what is covered and what is not. Alternatively, most industrial and domestic sewing machines can be found online and in stores.
Testing The Machine
After the sewing machine has been repaired, it is important to test the machine and ensure it is working properly. Make sure to inspect all the parts individually and try the machine out. If something is still not working correctly, then it is best to contact a certified technician to help diagnose and repair the machine.
Knowledge is Key
Most importantly, gaining knowledge and educating yourself on the basics of sewing machine repair is the key to successful repair. It is important to be aware of the common problems that could occur with a machine, and to properly inspect and clean the machine regularly to help prevent and/or reduce the chances of it getting stuck or broken.
