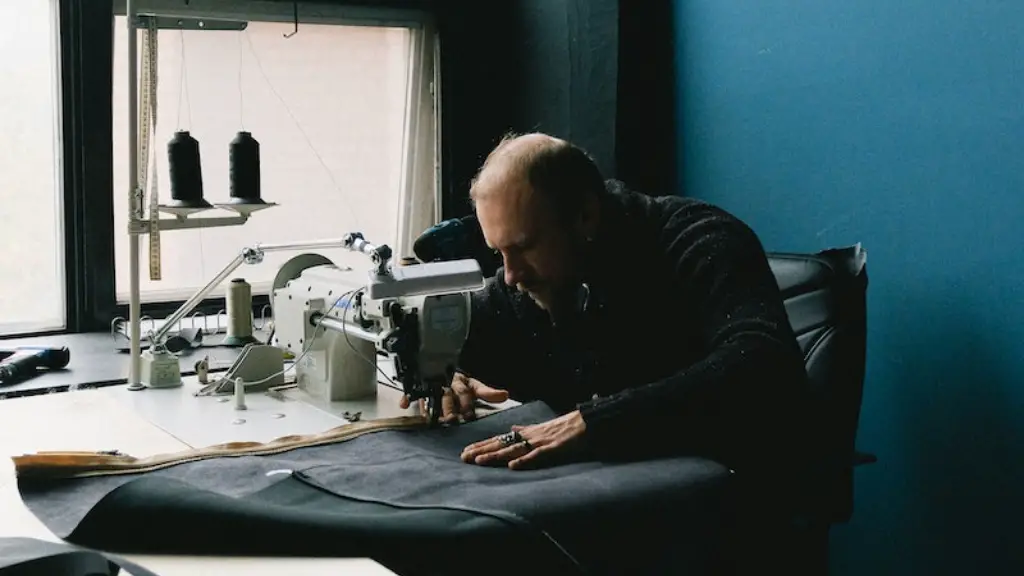
Proper Use of a Sewing Machine
Using a sewing machine properly is essential to ensure you have a smooth experience when using it. First and foremost, you should read the instruction manual that comes with your sewing machine. This will tell you how to thread the machine, change the needle, and make other adjustments. It’s important to make sure that you use the correct thread and needle type for the project you’re working on. The manual should give you the correct measurements for both items.
It’s also a good idea to take the time to clean your machine regularly. This will keep it working better and help to avoid tension issues. Using a brush or a vacuum can help to clear away any dust and particles that may have accumulated over time. Additionally, you should oil any moving parts as recommended by the manufacturer.
In addition to these regular maintenance steps, you should make sure that you are winding the bobbin correctly. The bobbin should always spin freely, and you should make sure that the tension is set appropriately for the project you are working on. If the tension is too tight, then it could cause problems with the stitching.
The thread should also be tensioned properly. When it’s too loose, it can slip off the take-up lever, which can lead to thread breakage. To check the tension, you should pull the thread from the spool, and then check it against the tension gauge on the machine. There should be no slack in the thread when it is pulled.
Checking the Sewing Machine Timing
Since sewing machines are complex machines, it’s important to make sure that all the parts are working correctly. One of the most important parts to check is the timing of the machine, which refers to when the parts of the machine interact with one another. If the timing is off, it can cause tension issues that can affect the quality of your stitching.
To test the timing, you should first disconnect the power switch and lift the presser foot. Then, you should rotate the hand wheel by hand until you can see the take-up lever just above the needle. If the take-up lever is too close or too far from the needle, then the timing may need to be adjusted. You may need to consult a professional for help with this.
Once the timing is adjusted, you should reconnect the power and check the tension again. If everything is still off, then you may need to check the tension wheel, which is located near the bobbin for some machines. This wheel regulates the tension and can be adjusted with an appropriate screwdriver.
Making Any Necessary Repairs
If all of the above fails, then it may be time to make any necessary repairs on the sewing machine. The most common repairs are to the tension disks, which can become worn with time. Replacing them is relatively easy and inexpensive and can solve many tension issues.
Another common issue is a worn needle plate, which can cause the fabric to feed incorrectly. Replacing the needle plate can help to ensure that your fabric is being fed smoothly. You should make these repairs as necessary, as they can help to ensure the longevity of your sewing machine.
Identifying Any Other Issues
If you’re still having tension issues after making any necessary repairs, then you may need to check for any other issues. It’s possible that the bobbin case may be contaminated with lint, which can reduce tension. You can fix this by cleaning out the bobbin case with a brush and replacing the bobbin.
It’s also possible that the bobbin case is not inserted correctly. If it has been inserted in the wrong direction or the wrong way up, then it could cause tension issues. To solve this, make sure that the bobbin case is correctly inserted and that the bobbin is correctly installed inside the case.
Checking the Stitch Settings
Finally, you should check that the stitch settings on your sewing machine are set correctly. Different stitches require different tensions, and if the tension isn’t set correctly, it can cause issues when stitching. Make sure that you consult the instruction manual and adjust the tension accordingly.
You may also need to check the stitch length and width settings. Stitches that are too short or too long can affect the tension and cause the fabric to gather or bunch up. Adjust the stitch length and width to the appropriate settings and then re-test the tension.
Testing the Repair Job
Once all of the repairs have been made, you should test it out on a scrap piece of fabric. This will help to ensure that the tension is correct and that the stitches are even. If the stitches don’t look right, then it could still be a tension issue. If this is the case, then you should go back and make the necessary adjustments.
It’s also a good idea to keep track of the adjustments that you have made on the machine. That way, if you ever have tension issues again in the future, you’ll know exactly which settings need to be adjusted.
Conclusion
By following the steps above, you should be able to successfully repair the tension on a sewing machine. Taking the time to properly maintain and adjust your sewing machine will go a long way towards ensuring that you have a successful sewing experience.
