How To Replace Needle on Singer Sewing Machine
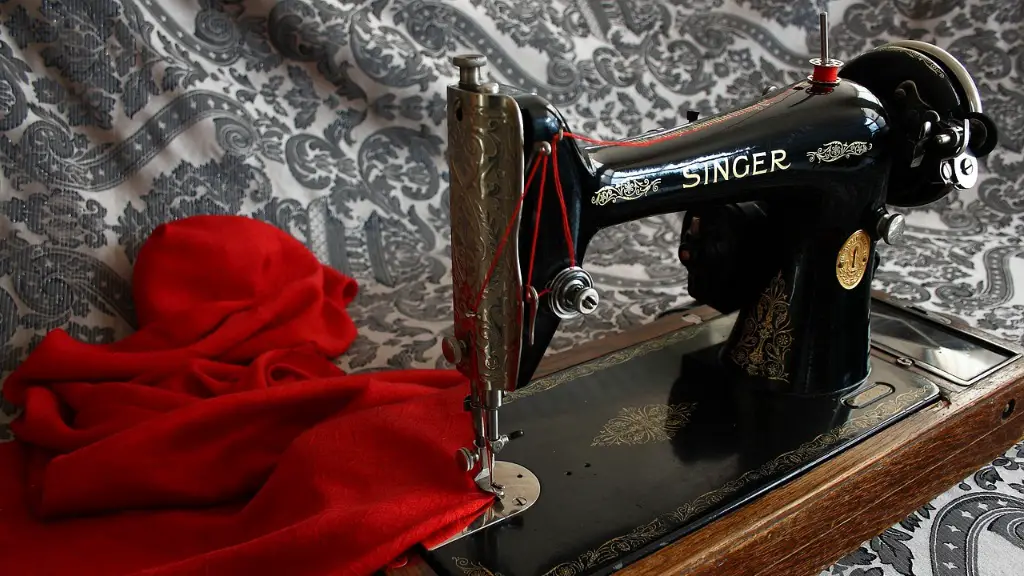
Whether you are a seasoned Singer sewing machine user or a beginner finding the right sewing machine needle is part of a successful sewing project. Changing a Singer sewing machine needle can be tricky if you are unaware of the nuances of the machine and its parts. However, if you take the time to properly research on the subject you can ensure a seamless replacement. Knowing the basics of Singer sewing machine needles, their different functions and sizes is imperative while choosing the right one. Here is a step by step guide of how to replace a needle in your Singer sewing machine.
Firstly, inspect the condition of your worn needle. You must take it out of your Singer machine before you buy a new one. To accomplish this, turn off the power and unplug the device. Open the top of your Singer machine and locate the thumb screw which secures the presser foot to the appropriate piece. Then you need to raise the presser foot bar, holding the presser foot up from the base of the sewing machine with your thumb.
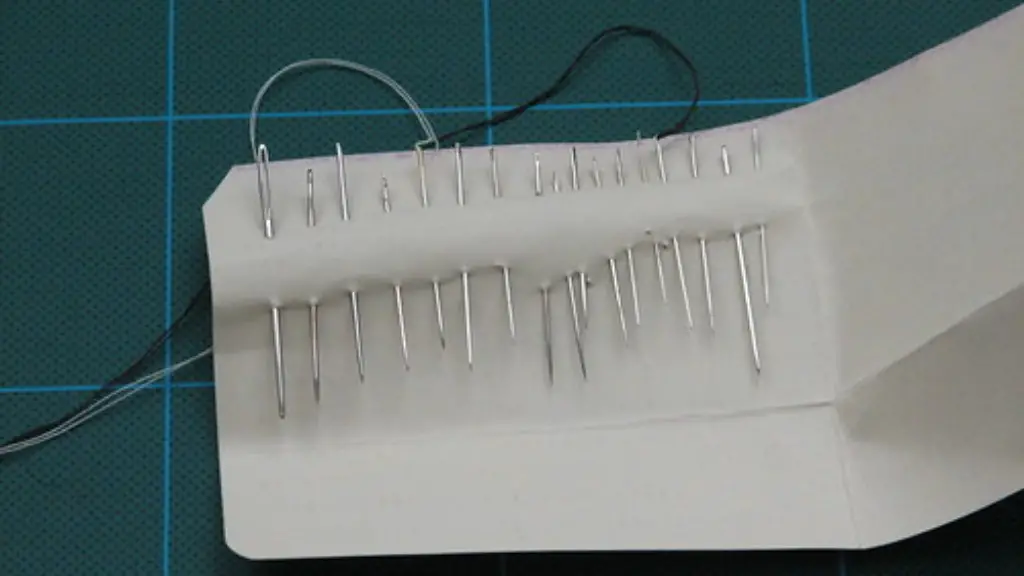
Once you are able to see the needle, take a small screw driver to loosen the needle clamp. Grip the needle with needle nose pliers and pull it up and out form the machine. It is important to remove the thread and old needle in order to ensure the smooth transition to a new needle. Measure the needle size and make sure you correctly match the needle size with the type of fabric you are working with. It is important to buy the right size needle. Different fabrics require different needles.
Next, you will have to insert a new needle into your Singer sewing machine. Make sure that you have properly inserted the needle so that the flat side of the needle faces the back of your Singer machine. Then lock the needle in place by tightening the needle clamp with the small screw driver.
Finally, you must adjust the needle height in accordance with the thickness of the fabric. Loosen the small screw at the top of your Singer machine and move the needle bar up or down until the point of the needle lays at the desired height. Secure the small screw after you have adjusted the needle bar to the desired height.
Threading A Singer Sewing Machine
Threading your Singer machine is important for a successful sewing project. Before threading, make sure that the needle of the machine is correctly installed and the presser foot is in its right place. To properly thread your Singer sewing machine, start by putting the spool of thread on the spool pin at the top of your machine. It is important that you use thread ribbons on a spool pin instead of cones.
Next, pull a strand of your thread to the guide of your machine’s tension discs if your has a guide. Pull the thread behind the take-up lever. Check the path of your threading and make sure that it is properly threaded through the tension discs and the upper thread guides. Hook your thread around the lower thread holder, pull the thread from the bottom to the top of the needle.
Once you have threaded the needle, pull out the strand of thread so that you can measure the threads tension. Take your thread tail and pull it behind the take-up lever. You can adjust the thread tension with the tension knob on the knot. Here you should check for any excess threads and cut any extra strands off with a pair of scissors.
Tips to Ensure a Smooth Sewing Process
It is important to replace the needle in your Singer machine regularly. Whenever your bobbin and the upper thread are not evenly distributed or your seams look too loose you should consider replacing the needle. Furthermore, change needles after any five or six hours of continuous sewing in order to avoid any kind of jamming of fabric and thread.
If you are sewing on different types of fabrics with the same needle, it is recommended that you change the needle regularly. This is because different fabrics require different needles in order to get the best results from your Singer machine. Also, if you are using metallic threads with your Singer machine then it is essential to use a sharp needle in order to have a flawless sewing.
In addition to changing needles, you should consider polishing your machine’s throat plate on a regular basis. This will keep excess lint and thread particles around the needle head to a minimum. Furthermore, you should lubricate the interior of the machine on a regular basis in order to keep it running smoothly.
Common Problems with Singer Sewing Machine
Some common problems that can occur with your Singer machine may include machine jamming, skipped stitches, and thread breakage. If the fabric keeps bunching, then you may need to reset the tension discs. If the thread breaks, you may need to check the spool pin or replace the needle as the edges of the needle may be too dull for the fabric you are working on.
In order to fix skipped stitches, lift the presser foot and then press the needle to its highest position. Pull the bobbin thread so that it is even with the upper needle thread. Then lower the presser foot and start stitching again. Adjust your thread tension if the problem persists.
If you notice any cracking sounds coming from your Singer machine, open the top of the machine and examine the tension discs. It is also possible that the lubrication of the machine is insufficient, therefore you should pour a few drops of oil into the feeder gears.
Maintenance of a Singer Sewing Machine
Regular maintenance of a Singer machine is necessary if you want to get the best stitching performance. You should lubricate your machine on a regular basis, clean the lint and thread receptor. Make sure the plug is clean and dust free and periodically check the power cord.
Furthermore, keep your needles sharpened and well-maintained. Replace needles when starting a new fabric or after several hours of continuous sewing. You should keep extra needles of different sizes with you to meet your sewing needs. Also, keep extra spring loaded bobbins with you to replace your empty bobbins if needed.
As an additional measure, you should inspect the lint and thread receptor after every sew. This will help you identify any issues like an excess in lint and thread particles faster. Clean your Singer machine with a cleaning brush every once in a while. This will help keep your machine clean and running smoothly.
Troubleshooting Techniques for Singer Sewing Machines
If your machine does not respond to the power switch then you may need to open the top of the Singer machine and manually unjam the machine before sewing. If the bottom thread does not come up through the top fabric then check for misthreading or jammed thread in the tension discs. If the thread continually knots, then replace your needle as the needle may not be compatible with the fabric or the needle could be blunt.
If your seams look tight then you may need to adjust the tension on your Singer machine. Also, inspect the needle to make sure that it is a suitable size for the type of fabric and thread you are working with. If you are having problems with thread breakage, then raise the presser foot and change your needle. Make sure that you keep a stash of extra needles in different sizes.
If you are having problems with fabric puckering then you may need to adjust the machine’s feeder. You may also need to change the presser foot if the fabric keeps bunching up. Lastly, check for any lint or thread particles that may be stuck in the throttle plate.
Conclusion
Replacing a needle in a Singer sewing machine is simple and straightforward if you follow the steps throughout this guide. Knowing the basics of how a sewing machine operates and works will help you be successful when replacing the needle. Additionally, regular machine maintenance and troubleshooting techniques will also help facilitate a smooth sewing experience with your Singer machine.
