Sewing machine needles are one of the most important tools for any sewer. Without the right needle, your project can be damaged and you won’t get the results you’re looking for. Replacing a sewing machine needle isn’t always easy, but it’s important to follow some steps to ensure that you do it right. Knowing how to replace a needle correctly is essential to ensure that your machine functions correctly and to help you avoid costly repairs.
Before replacing the needle, it’s important to make sure that it’s actually the needle that needs to be replaced. Check the needle for any visible damage, such as burrs, needle eyes, and needle tips. If you don’t see any damage, then it’s likely that the problem is something other than the needle. However, if you do see damage, then it’s likely that the needle needs to be replaced.
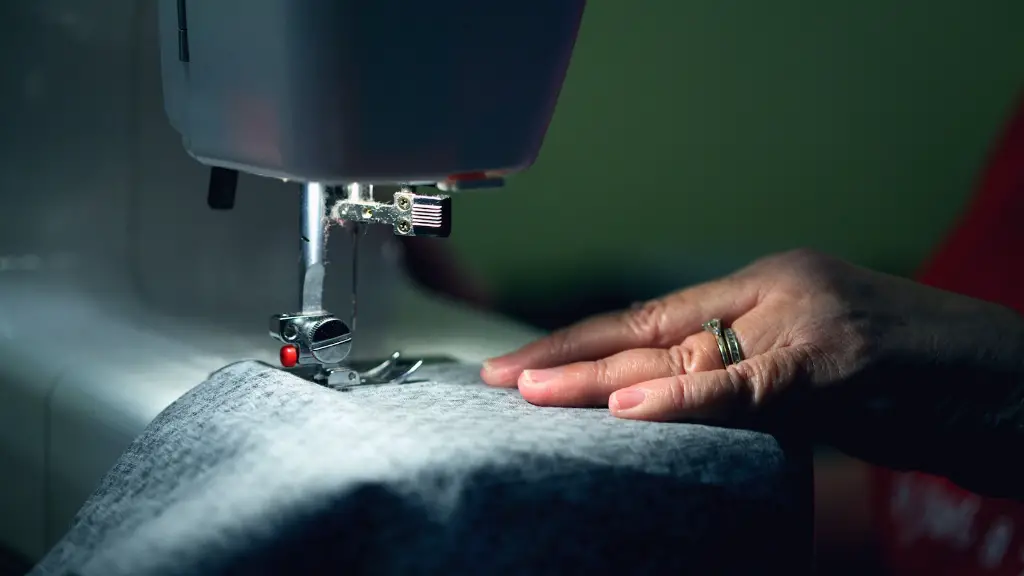
Next, you’ll need to remove the old needle. You should use a pair of needle-nose pliers to remove the needle from the machine. You should also take the time to clean the machine to get rid of any lint or dust. This will help prevent any future problems with your machine.
Now it’s time to install the new needle. Make sure that the needle is the correct size and type for your machine. Different machines require different sized needles, so make sure you get the right one. Once you have the right needle, you’ll need to insert it into the machine. Again, you should use needle-nose pliers to do this.
Once the needle is in place, you’ll need to tighten the screw that holds the needle in place. It’s important not to overtighten it, as this could damage the needle. You should also make sure that the needle is seated correctly in the machine. If it’s not, it won’t be able to function properly.
Finally, you should test the needle to make sure that it’s functioning properly. To do this, you should sew a test piece of fabric. If the fabric comes out with even stitches, then the needle is working. If not, then you may need to make adjustments or replace the needle again.
Safety Precautions
It’s important to take safety precautions when replacing a sewing machine needle. Make sure that you unplug the machine before you start, as this will prevent you from getting shocked. You should also wear safety glasses to protect your eyes from flying debris. Finally, make sure that you handle the needle with care when removing and installing it in the machine.
Frequency of Replacing Needle
How often you need to replace your sewing machine needles will depend on the type of fabric you are sewing and the frequency with which you use the machine. Generally speaking, you should replace your needle every two to four months, depending on how much you use your machine. If you notice that the fabric isn’t coming out with even stitches, then it’s time to replace the needle.
Alternatives to Sewing Machine Needle
In some cases, you may be able to avoid having to replace your sewing machine needle by using needle alternatives. For example, you can use a serger needle, which can last much longer than a regular sewing machine needle. Additionally, you can use an embroidery needle, which can also last longer than a regular needle. Both of these alternatives can be used in place of a sewing machine needle, but it’s important to make sure that you are using the right type for your machine.
Purchasing the Right Sewing Machine Needle
When it’s time to purchase a new sewing machine needle, make sure that you buy the right type for your machine. Look for needles that are specifically made for your machine’s make and model, as this will ensure that the needle fits properly. Additionally, you should look for needles that are made from high-quality materials and that are designed to last. Finally, make sure you buy needles from a reputable supplier to ensure that you are getting the best quality needles.
Maintenance Tips
There are also some maintenance tips that can help you keep your machine in top shape and avoid having to replace the needle as often. Make sure that you always clean the needle when it’s being taken out of the machine. Additionally, keep the machine away from dusty areas and keep it covered when not in use to help prevent dirt and lint from getting into the machine. Finally, you should oil the machine regularly to keep the parts working smoothly.
Overall Summary
In summary, replacing a sewing machine needle isn’t difficult, but it’s important to take the steps necessary to do it correctly. First and foremost, make sure that the needle is actually the problem and then make sure that you get the correct size and type of needle for your machine. Once the needle is in place, make sure you test it with a test piece of fabric before you begin your project. Finally, take safety precautions and employ proper maintenance and cleaning habits to help keep your machine running smoothly and avoid having to replace the needle as often.


