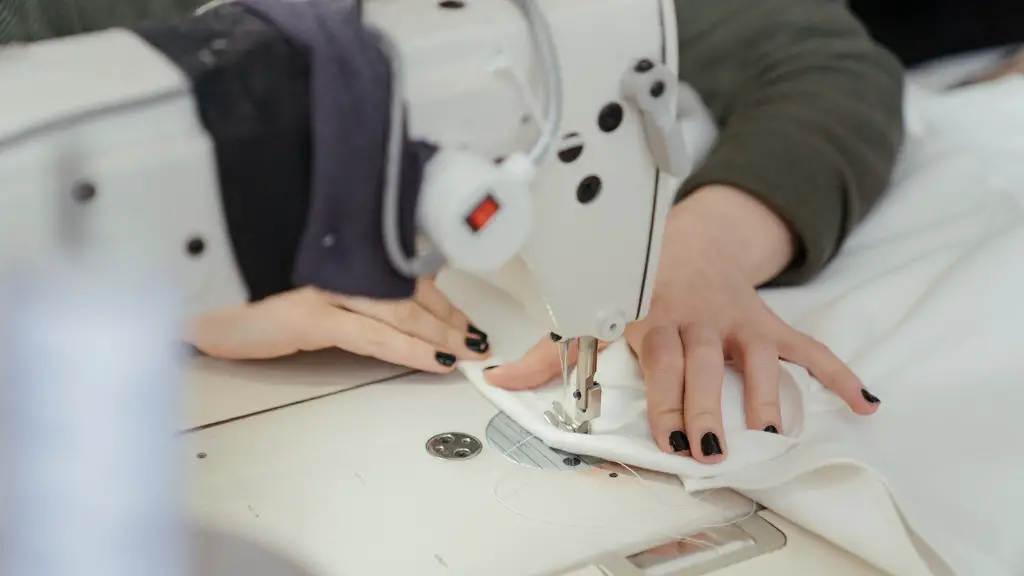
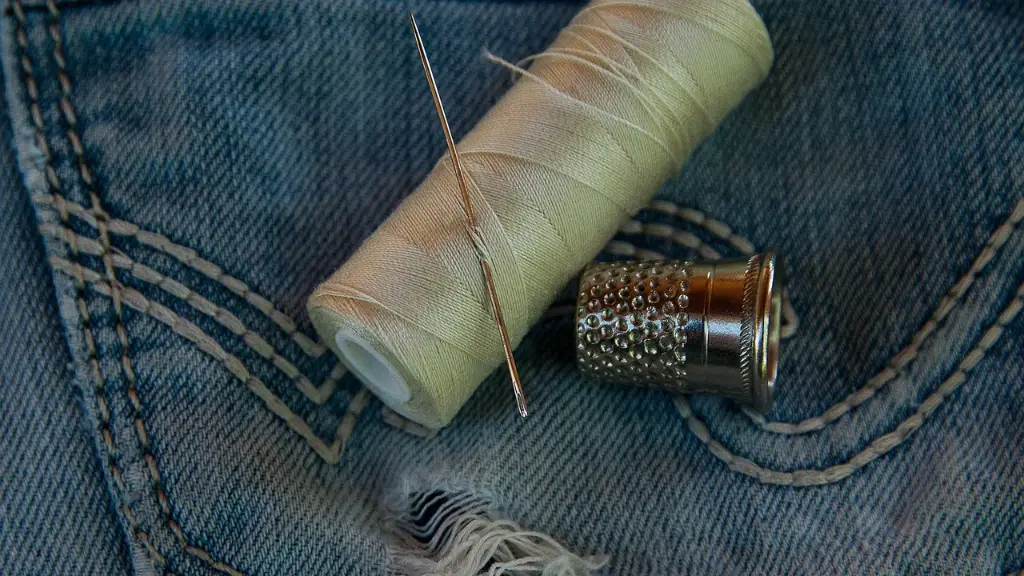
Many beginner sewers show great interest in owning a Singer sewing machine, as these are known to be one of the most reliable models in the market. Unfortunately, many of these machines, especially when bought secondhand, will eventually require their needles replaced. Even those with the highest quality, may need the needle replaced a few times a year, or once in every few months. Knowing how to replace the Singer sewing machine needle is an important part of general sewing machine maintenance. This article provides comprehensive steps for replacing the needle for your Singer sewing machine.
Checking the Needle
Firstly, before you replace the needle, it is important to confirm that it is indeed the needle that needs replacing and not another element of the machine. Generally, the needle will be located at the front of the foot and held in place by a screw. After unscrewing the screw, you can carefully remove the plate that simply unscrews from the machine. Once removed, the needle will be visible at the end of the presser foot arm. Check to make sure that the needle has not been bent, damaged or corroded. If any of theses is visible, the needle definitely needs to be replaced.
Selecting the needle
Secondly, once you’ve confirmed that the needle needs to be replaced, you’ll need to choose the right needle for your machine. When selecting a needle, there are four different criteria to consider; the type of needle, the size, the shape and the material. Singer makes different varieties of needles that are suitable for different fabrics and textures. You should check with the manufacturer’s instructions regarding the type of the needle that is recommended, as well as the size and shape of the needle. Generally, the size and shape of the needle is displayed on the top of the needle and the type and material of the needle is usually printed on the side.
Installing the Needle
Thirdly, once you’ve selected the correct needle, it’s time to install it onto the machine. Firstly, ensure that the power is off, then unscrew the needle plate, remove the old needle and dispose of it safely. Next, insert the new needle into the machine, making sure that the flat side of the needle is facing the back of the machine. Then, by using the small screw provided with the machine, tighten the needle into place. Check that the needle is firmly secured with no sign of movement, as a loose needle can cause major damage. Once secured, reattach the needle plate to the machine and use the screw to secure the needle plate.
Testing the Needle
Fourthly, once the needle is installed and the hardware is secured, switch the machine on and test the machine. With the power switched on, carefully bring the needle down and up a few times and check that it is working properly. The needle should be able to move up and down freely and securely with no resistance. If the needle is not moving or there is resistance, it means that the needle has not been properly installed and needs to be re-installed.
Other Elements to Consider
Finally, when replacing your Singer sewing machine needle, it’s important to keep in mind that the needle should always be changed in conjunction with a new bobbin and thread. This is important because it’s the bobbin that feeds the top thread into the needle, and if the bobbin is not working properly, it can cause the needle to snap or break. Generally, the bobbin should be changed every time the needle is replaced, as it is an important step in making sure that the machine works properly.
Cleaning the Machine
In addition to replacing the needle, it’s important to keep the machine clean and lubricated regularly. Regular cleaning and lubrication helps to keep the machine working properly and prevents rust and other problems from developing. Generally, the cleaning process includes cleaning the feed dogs, sewing bed and bobbin case, as well as lubricating the gears and other moving parts of the machine. You should check with your manufacturer’s instructions for specific cleaning and lubrication instructions for your model.
Replacing the Bobbin
Another important part of machine maintenance is replacing the bobbin from time to time. Generally, Singer bobbins and needles should be replaced at the same time, as the needle and bobbin work together to make sure that the machine is functioning properly. Replacing the bobbin requires unscrewing the bobbin case, removing the old bobbin, inserting the new bobbin and re-screwing the bobbin case. Again, check the manufacturers instructions for specific instructions and make sure to use the right bobbin for your machine.
Adjusting the Thread Tension
The final step in Singer sewing machine maintenance is to adjust the thread tension. The tension on the thread should be adjusted correctly in order to make sure that the thread is not too tight or too loose, as the wrong tension of thread can cause the threads to break or come undone. Generally, the tension is adjusted by turning the tension knob on the side of the machine, but depending on the model, it may also involve adjusting the take up lever. Again, check the manufacturer’s instructions for specific instructions regarding adjusting the tension of your machine.
Storing the Machine
When you’re done sewing with your machine, it’s important to store it properly. This includes cleaning, lubricating, and dusting the machine before storing it away, as well as making sure that it is stored in a cool, dry place. Avoid storing the machine in damp or humid places and be sure to cover the machine when storing it away for long periods of time.
Regular Maintenance Checks
Finally, it’s important to keep a regular schedule for regular Singer sewing machine maintenance checks. This should involve regularly cleaning and lubricating the machine, checking the needle and thread tension, and replacing the needle and bobbin as needed. Generally, this should be done on a monthly basis, or whenever you’re done with a significant sewing project. Replacing the Singer sewing machine needle is an important part of regular sewing machine maintenance and following these steps can help ensure your machine remains in good condition.


