One of the greatest challenges in the sewing world is styling and adding details to fabric. Ruffles, though small in size, can add a lot of texture and interest to clothing and accessories alike. Transferring this delicate design from one material to another can be difficult; however, with the right know-how and patience, this task can be achieved with good results.
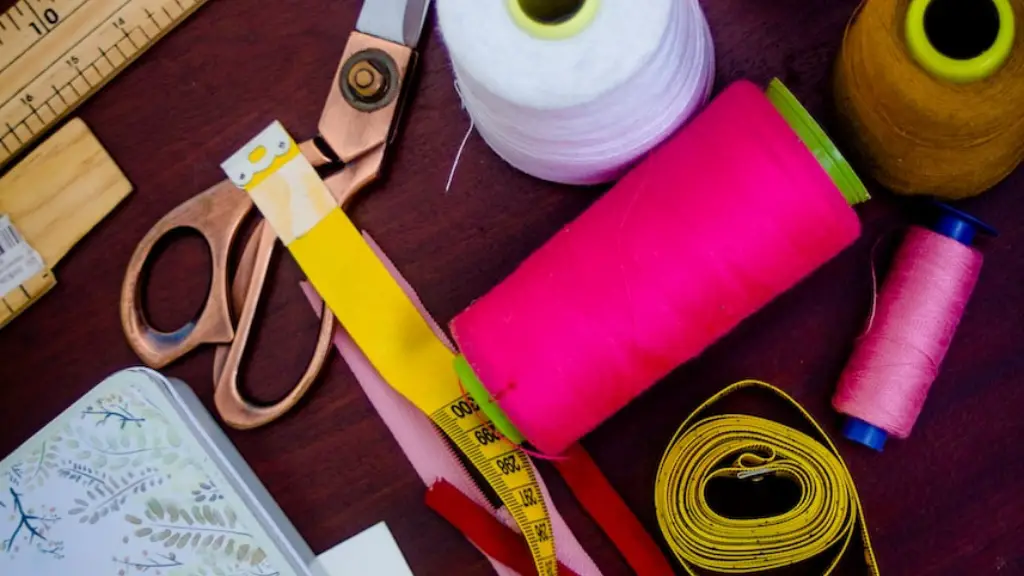
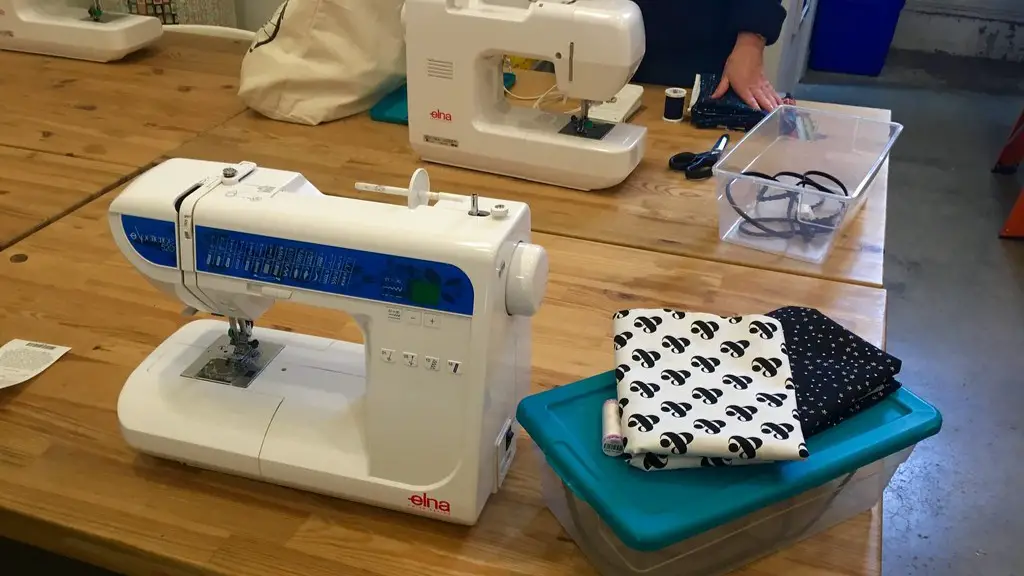
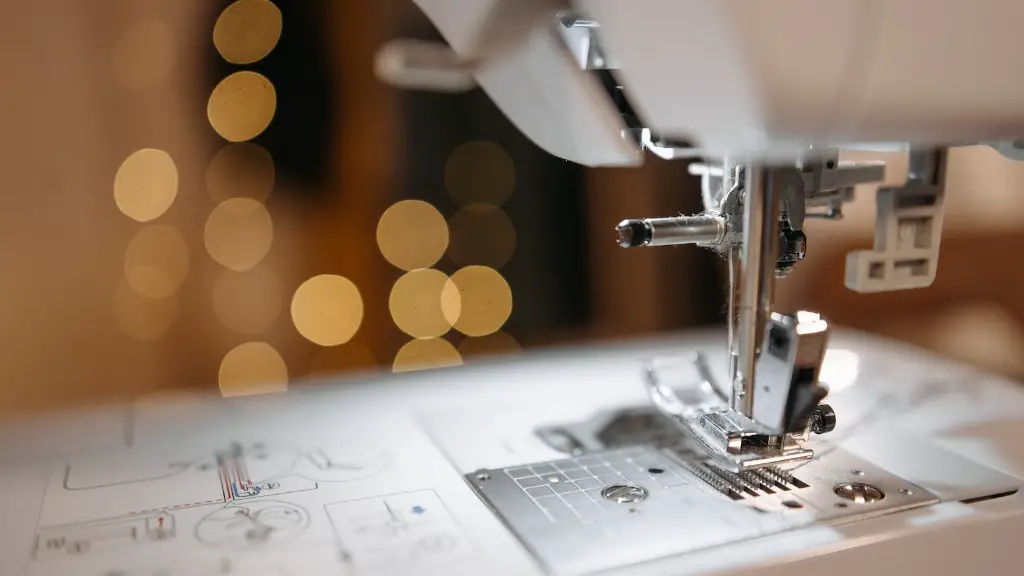
In order to properly ruffle fabric with a sewing machine, you will need some supplies. Most notably, you will need a sewing machine – preferably one with a ruffle foot. Your own thread should coordinate with the fabric being used, and a variety of needles may come in handy if the material is thick. Of course, don’t forget the fabric itself! The measurements of each piece can be dependent on the ruffle you are looking to create, but it is best to begin with longer strips when starting out.
One of the most important steps in the ruffle-making process is choosing the thread. The tension of the thread will help give the fullness of the ruffle, as well as the amount of loops, so it is important to find the right balance when picking out thread. An easy way to find the perfect tension for the ruffle is to experiment with different thread tensions until one is found that works. After selecting the thread, stabilize the fabric by basting the pieces together. This process will ensure that the ruffle fabric does not move too much or become distorted during the ruffle process.
The ruffling process itself will depend on the type of ruffle you are looking to achieve. Generally, for a basic ruffle, set the stitch length to the longest on your machine, and select a needle size that is suitable for the fabric being used. Once the fabric is stabilized, sew a straight stitch along the length of the fabric and tie off. Do not cut the thread! Instead, gently lift the presser foot and slightly tug the fabric towards the back of the machine. Then, lower the presser foot, and continue to sew a straight stitch and repeat the above steps. This process will create the basic ruffle.
To add further detail and fullness to the ruffle, sew one or two sets of parallel rows in between the main sets of ruffles. For the smaller details, use inverted pleats or the shirring technique. For a shirred ruffle, set the stitch length to the longest setting, and change the needle size to the smallest size. Sew two parallel sets of straight stitches, ensuring that they are a few stitches apart. Binding off between each stitch sets will create a bumpy, textured fabric.
Once the ruffle fabric is complete, it can be used to sew together a variety of items. For a shirt or blouse, the ruffle fabric can be used as a decorative trim. If you are looking to create a scarf or other pieces, the ruffle fabric can be used to make an interesting texture. Making the perfect ruffle may take some practice, but it will be worth the effort.
Making Ruffles on Thin Fabrics
Making ruffles on thin fabrics does not need to be difficult. In order to get a good result, it is important to choose the right needle and thread, as well as stabilize the fabric. A delicate needle should be chosen for the lightweight fabrics, and the stitches should be closely spaced. Additionally, the tension should be set on a lower setting – this will reduce the amount of gathering that occurs.
Once the fabric is stabilized, a zigzag stitch should be used to complete the ruffle. The zigzag stitch will ensure that the fabric is securely sewn together, as well as provide a consistent gathering that is more aesthetically pleasing. The stitch length should be kept short, as this will help create a tight, uniform gathering. The shorter the stitch length, the more pronounced the ruffle will be.
In addition to sewing a basic zigzag stitch on the fabric, the stitch length can be further adjusted to create different textures. For example, a longer stitch length will create a looser, more relaxed ruffle, while a shorter stitch length will create a firmer, structured ruffle. Experimenting with the stitch length can be a fun and creative experience for anyone looking to add a unique touch to their projects.
Once the ruffle is complete, it can be used to embellish a variety of items. Whether it is a dress, a top, or any other apparel, the ruffle can be used to create a unique and eye-catching look. By following the tips above, you will be able to create a beautiful ruffle on your next project with ease.
Making Ruffles with Thick Fabrics
Making ruffles with thick fabrics can be a daunting task, but it is by no means impossible. The key to making a successful ruffle on thick fabric is to ensure that the stitches and tension are correct, as well as having the right tools to complete the job.
If the fabric is too thick for a regular needle, then a heavy-duty needle should be used. This will ensure that the stitches are secure and can withstand the weight of the fabric. Additionally, be sure to use a high-quality thread such as polyester or nylon, as these will have the strength to hold up against the fabric’s weight.
For the ruffling process, it is recommended to use a narrow zigzag stitch for thick fabrics. This stitch will help to keep the fabric securely in place, as well as provide a good level of fullness to the ruffle. Additionally, it is important to have the stitch length and tension set correctly. A longer stitch length and tighter tension will create a denser ruffle with less fullness, while a shorter stitch length and loose tension will create a fluffy, textured ruffle.
In addition to a zigzag stitch, the ruffling process can be further enhanced by using techniques such as shirring or pleats. These techniques can turn the basic ruffle into something more intricate and elaborate. For those looking for an even more intricate look, multiple ruffles can be stitched together, creating a layered ruffle effect.
Once the ruffle is complete, it can be used to create a variety of stylish garments. Whether you’re looking to make a skirt, a top, or anything in between, a ruffled fabric can add a unique touch to any project.
Applying Ruffles to Clothing
Adding ruffles to clothing can be a great way to upgrade an existing garment, or to create a completely new one. Applying ruffles to clothing is no small task, so it’s best to know the basics before tackling this project.
It is important to remember to always stabilize the fabric before sewing. This will help ensure that the fabric doesn’t move too much or become distorted during the sewing process. Once the fabric is stabilized, it will be easier to get the desired results.
To apply the ruffles to the clothing, sew the fabric onto the hem or neckline of the garment. If sewing directly onto the garment, be sure to use a few strips of stabilizer on the reverse side to keep the garment from stretching out or becoming distorted. For easier application, double-fold the seam allowance and press the folds with an iron. This will help create a clean and crisp hemline.
When attaching the ruffle to the garment, sew the right side of the ruffle to the wrong side of the garment. Then, turn the garment right side out and topstitch the ruffle in place. This will give the finished product a more secure and professional look.
If using a ruffled fabric, it can be helpful to use a zigzag stitch to attach the ruffle to the garment. When using a zigzag stitch, the tension should be set low, as a higher tension can cause the ruffle to be pulled into the fabric and create an undesired effect. Also, a longer stitch length will help to keep the ruffle from gathering too much, which can also create an undesirable effect.
Once the ruffle is attached to the garment, it can be trimmed down to size. This will give it a more polished and finished look. Finally, for added embellishment, fun decorative touches such as buttons, beads, lace, or even rickrack can be added to the ruffles for a unique design.
Adding Ruffles to Accessories
Adding ruffles to accessories is a great way to add texture and interest to any item. Whether it is a handbag, a scarf, or any other accessory, ruffles can be used to create an eye-catching design.
When adding ruffles to accessories, it’s important to first choose the right type of fabric. A lightweight, non-stretch fabric is best for ruffling, as it will not be too bulky and will create a clean, professional look. Additionally, ensure that the fabric is stabilized before ruffling to prevent the fabric from becoming distorted.
Try using a variety of techniques to create texture and fullness to the ruffle, such as shirring or pleats. Additionally, a variety of decorative embellishments can be added to the ruffles for a unique touch. Beads, buttons, and lace can all be used to create a unique and eye-catching look.
When attaching the ruffle to the accessory, be sure to use a secure stitch. For the best results, try using a zigzag stitch, as it will provide a secure hold and will not be visible from the outside. Additionally, a low tension should be used to ensure that the ruffle does not pull inwards too much and create an undesired effect.
The finished ruffle can be used to embellish a variety of items, such as handbags, scarves, or any other accessory. By following the tips above, you will be able to create a beautiful ruffle that can add a unique touch to your next project.
