Threading and Bobbins
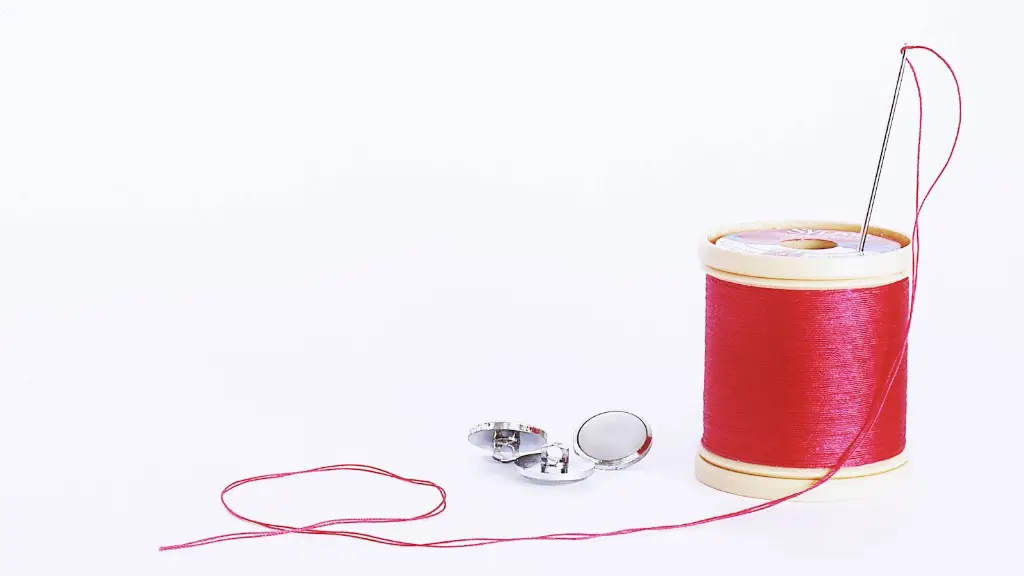
Singer sewing machines are extremely convenient and easy-to-use sewing machines for various sewing tasks. It is important for a beginner to understand how to thread the machine and install the bobbin correctly. Assemble the threading following the manual guidelines. There are U-shaped thread guide on the top of the machine, which the thread should pass through. The bobbin, inserted on the top of the machine, should be loaded with the correct type of spool, wound with thread and adjusted in the correct position.
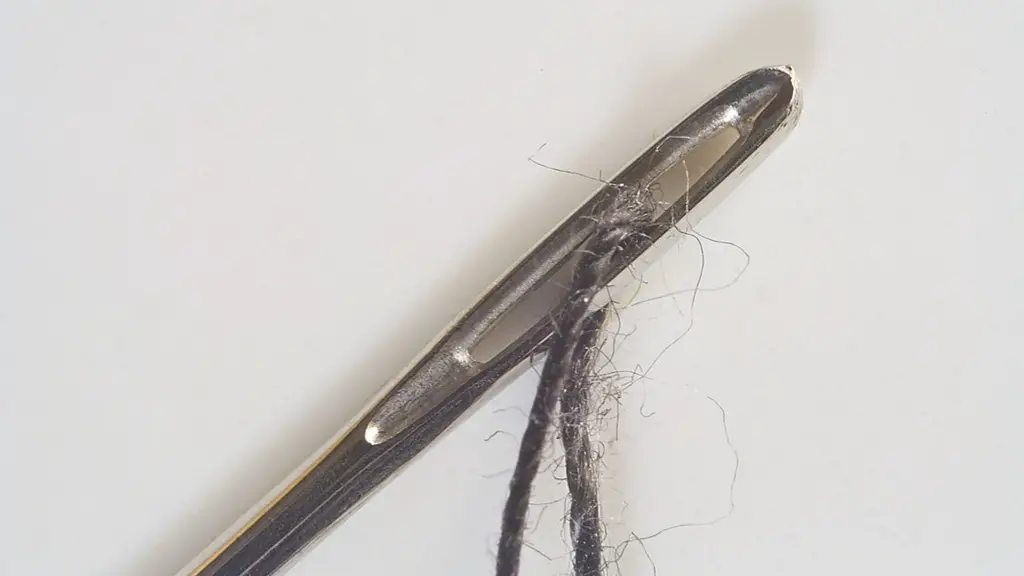
Then, lift the pressure foot lever and pull the thread up to the top of the bobbin area, winding it clockwise several times round the bobbin before placing it into the bobbin case. Ensure to close the latch correctly and lower the pressure foot. Anchor the end of the thread in the left needle plate slot. Finally, insert the needle through the slit and pull the thread downwards. The singer machine is now ready to begin sewing.
Selecting the Needle and Stitch Types
After the thread is correctly set up in the Singer sewing machine, the next important step is to select the correct type of needle for the chosen fabric. Factors to consider include fabric type, thread weight and length. However, selecting the wrong type of needle can damage both the fabric and the thread in the machine. Commonly used types of needles in the Singer machine include universal, jeans, metallic and topstitch.
Another crucial step to running the Singer machine is choosing the stitch type. Depending on the type of fabric and project, multiple variations for stitching are available. Heat pressing the fabric before stitching is recommended for a smoother stitching. Adjust the stitch size and length according to the desired pattern.
Lowering the Feed Dogs and Adjusting the Tension
For free motion quilting, the feed dogs should be lowered. The feed dogs are the ridged components present underneath the needle. These should be moved down using the black bar present in the back of the machine. To adjust the tension, it is important to turn the tension dial according to the number selected for that particular pattern. This can be done using a screwdriver for more accuracy.
The right tension is essential for comfortable stitching. Uneven tension can ruin the entire project, which is why adjusting and controlling tension is important in this process. Moreover, the tension can vary depending on the thread size and number of thread layers.
Stitching and Finishing Touches
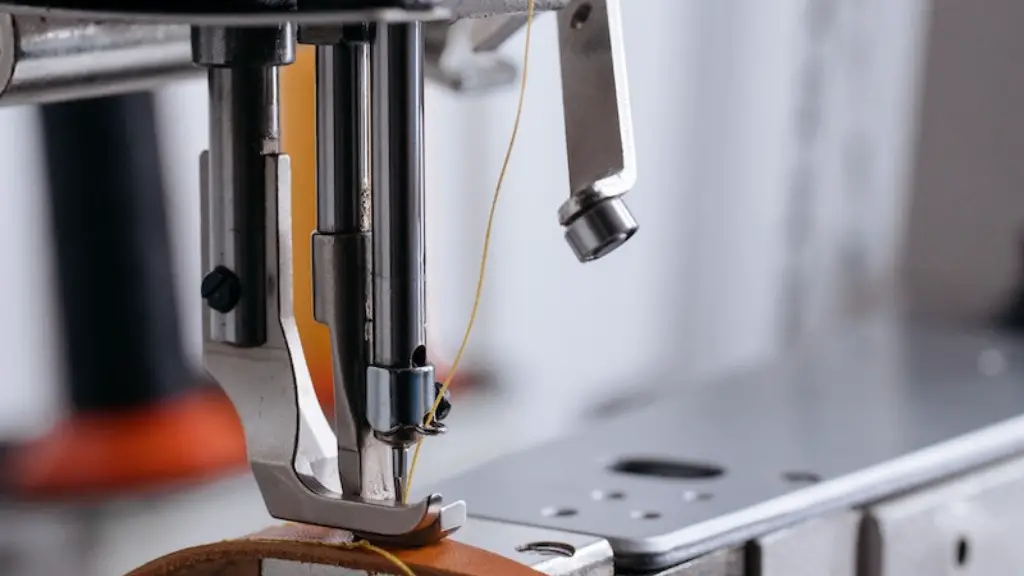
Now, the fabric is ready to be quilted. Use a gap produced between the presser foot and the lower thread as a guide. Place the fabric edges below the presser foot, as this will keep the fabric in position during stitching. Guide the fabric with your hands and hold it firmly, without pulling it. Gradually increase the speed of the thread as you progress. To finish, cut off the excess material about 0.5 inch from the stitches.
Finishing the Edges
Using the Singer machine, carefully finish the edges of the fabric to add a neat look to the project. To do this, operate the zig zag option, which should be adjusted to a medium width and length. Sew along the edges and cut the extra threads. This is an important step as it will make the fabric look more professional and secure.
Cleaning and Safety
Cleaning is an important step to ensure that there is no damage done to the machine and its parts. Wipe off any dust with a duster and use compressed air to remove any dirt accumulated inside the machine’s body. While operating the Singer machine, safety should also be considered. Keep all body parts and long hair away from the moving parts of the machine and disconnect the power after cleaning or when not in use. Ensure that the machine is in an open and ventilated area where sparks or overheating do not occur.
Regular Maintenance
To keep a Singer machine in good condition, it is important to carry out a few preventive maintenance. Inspect the machine for any broken or worn-down parts, replace any missing screws and replace the old needle when required. Lubricate the moving parts when needed.Check the stitch quality by making samples using different fabrics. Clean the lint from around the bobbin and other ports as needed. Finally, replace the presser foot for steady stitching.
Accessories and Extras
The Singer sewing machine comes with a wide range of accessories which makes it useful for both domestic and professional sewing tasks. It includes multiple presser feet which helps one to finish a project quickly. Furthermore, with the quilting bar and free motion quilting accessories, one can achieve perfect free motion quilting. Another important accessory is the walking foot, which helps one to evenly feed thick or multi-layered fabrics. Accessories make the sewing process simpler and more efficient.
Using the Stitch Regulator
For quilting, there is also the stitch regulator, usually used for more professional quilting projects. This is a device which helps to regulate consistent stitches without any overlapping. It can be adjusted according to the length of the stitch desired. Additionally, the stitch regulator is designed to provide perfect stitches even if the speed of the Singer machine is changed.
Changing the Foot for Special Stitches
Singer sewing machines come with a variety of special feet, designed to create different types of stitches in different fabrics. Such feet are ideal for creating intricate stitches such as blind hemming, zippers, buttons and decorative topstitching. For special stitches, all the user has to do is change the foot and select the required stitch pattern. This is a great way to take stitch quality up a notch.
Using Embroidery Attachments
The Singer machine also comes with an extensive embroidery option, which allows users to add patterns to fabric. Fabric sheets with already cut and printed patterns can be used. Then, the user should place the fabric underneath the embroidery attachment and use the pre-programmed settings to create the desired pattern. This attachment makes it possible to make highly intricate embroidery designs quickly and easily.


