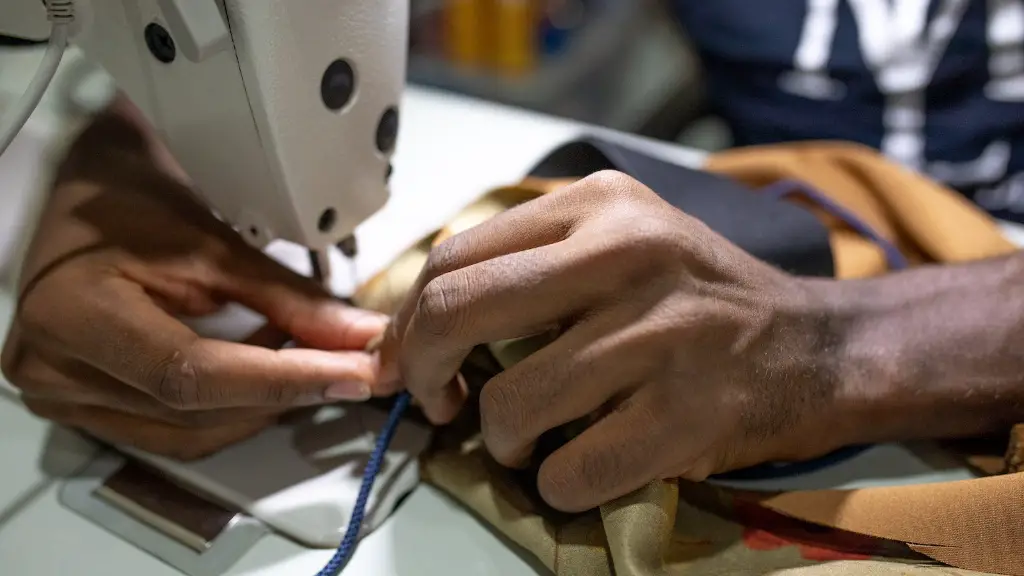
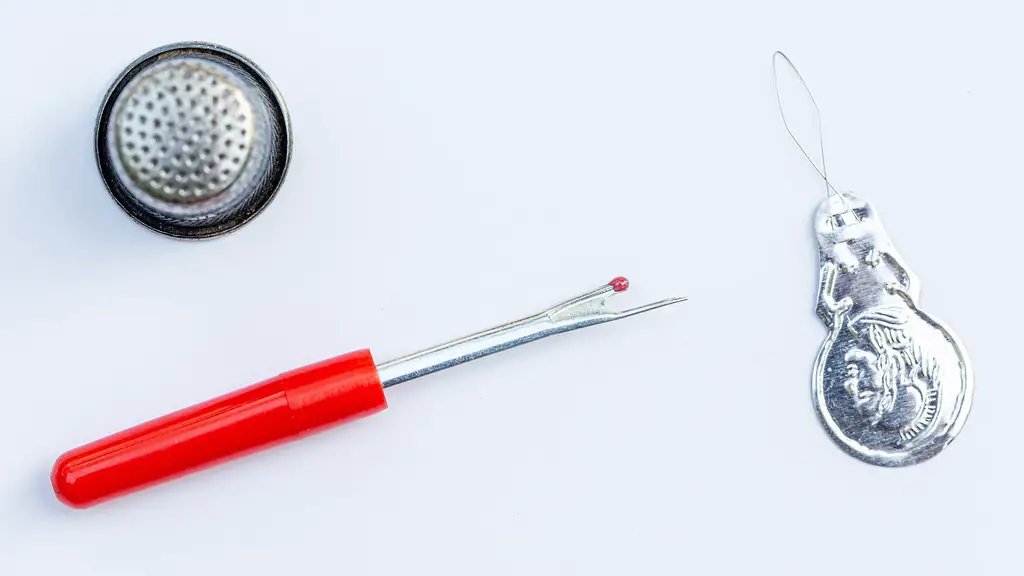
Have you ever wanted to start sewing, but weren’t sure how to secure your stitches on a sewing machine? With the right tools and techniques, securing your stitches is not only easy – but can become a breeze once you know how. In this article, we’re going to guide you through the basics of how to secure stitches on a sewing machine, as well as some tips and tricks to make the job easier.
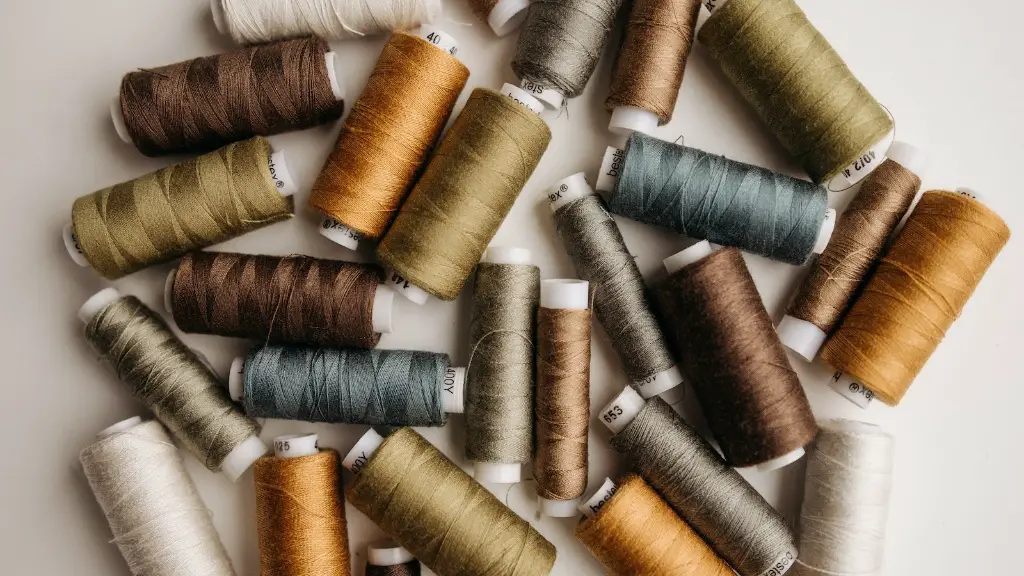
To begin, you’ll need to identify the correct thread and needle for your project. This can vary, depending on the type of fabric you’re using and the size of the stitches you wish to create. Generally speaking, the heavier the fabric, the thicker the needle needs to be. Consult your sewing machine’s manual to ensure you are using the right type of needle and thread.
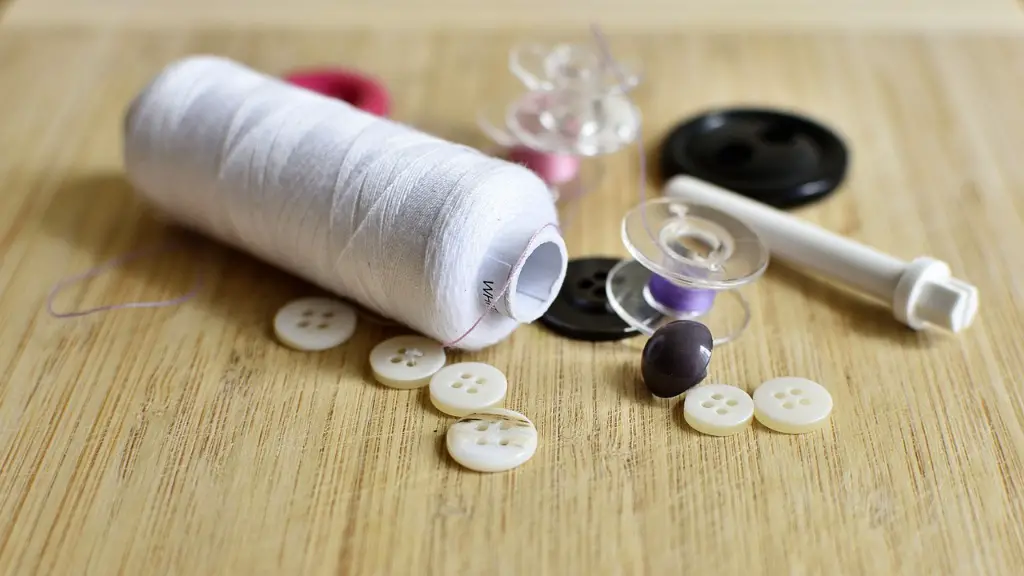
Now that your thread and needle are ready, you’ll need to make sure your machine is set up correctly. Start by adjusting the stitch length based on the project and your own preferences. Next, adjust the presser foot of your machine so the needle can penetrate your fabric – the pressure of the foot determines how wide the stitches on your fabric will be. Lastly, make sure your upper thread is properly tensioned and properly wound onto the bobbin.
Once your machine is set up to sew and you have your fabric prepped, it’s time to start stitching. As you sew, periodically lift the presser foot and pull the fabric behind and in front of the needle. Doing so will lessen the chance of puckering your fabric. If you do experience any puckering while sewing, means the tension between the upper thread and bottom thread is not correctly adjusted. Also, avoid over-stretching the fabric while sewing.
Finally, it is important to secure each edge of the stitches you are in the process of creating. To do so, you can use a common technique called ‘knotting’. Put the needle down on one side of the fabric; raise the presser foot, then bring the lower thread up to the top of the fabric and wrap it around the needle two or three times. This should secure the stitch. Alternatively, you can also use a stitch lock setting on some machines to keep your stitching in place.
Preventing Threads from Unraveling
If the fabric you are working with has loose or delicate threads, you may want to invest in a fabric stabilizer to keep these threads in place while you’re stitching. This can be particularly important when working with woven fabrics such as cottons or linen, which tend to unravel quickly. You can find stabilizers in most sewing stores, and some machines even have an automatic stabilizer setting.
If you don’t have access to a stabilizer, you can still stop your fabric from unraveling by using a starch solution. Mix water and a teaspoon of starch in a bowl, and then apply the mixture to the fabric with your fingers or a clean cloth. Allow the solution to dry before beginning to sew. This will help to keep the stitches from unraveling or pulling.
If you’re working with knits or other stretchy fabrics, you may want to use a stretch stitch instead of a straight stitch. Stretching the fabric as you sew will help to keep the stitches in place and make sure that the fabric doesn’t unravel over time.
Trim YourThread Tails
Once you’ve finished stitching your fabric together, it’s important to trim the excess threads. This will help to make sure that none of the threads get caught on other pieces of fabric and pulled out later. You’ll also want to tie any loose threads in a knot, to make sure they don’t come undone.
When cutting the threads, it’s important to be careful not to damage the fabric. Use sharp scissors or a thread snipper to make sure you get a clean cut. Also, be sure to leave enough thread at each end to make sure the knots don’t come undone.
Using the correct tools, techniques, and setting up your machine correctly, securing your stitches on a sewing machine can be a breeze. With this article, we hope to have given you the confidence to get started on your own sewing projects – safe in the knowledge that your stitches will stay secure.
Securing Stitches without a Thread Lock
Some machines have a thread locking feature, which can be used to secure stitches without having to manually knot them. However, if your sewing machine doesn’t have this feature, don’t worry – you can still lock stitches without it. To do so, all you need is a small piece of thread or yarn. Cut about 4 inches of threads, and pass it under the needle, looping it around the already-stitched fabric. Thread your needle through the two ends of the loop, and pull gently. This “knotless” locking stitch is a good alternative if your machine doesn’t have a thread locking feature.
For extra security, you can also sew an extra lock stitch on the back side of your fabric. This will create a secure and hidden stitch, and will help to make sure that your stitching doesn’t come undone once the fabric is finished.
Finally, it’s also a good idea to add a few stitches of zigzag stitching at the end of a seam. This will provide extra security and prevent the edges of the fabric from fraying and unraveling.
Learn To Sew Confidently
Securing stitches on a sewing machine can be a daunting task, especially for those new to sewing. However, with patience and practice, it can become second nature in no time. The best advice we can give is to arm yourself with the right tools, and practice, practice, practice. The more you practice, the more comfortable you’ll become with the technique and the more confident you’ll be in your sewing projects.
The great thing about sewing is that you can experiment and try out different techniques to find out which works best for you and your projects. Have fun with it, and don’t be afraid to ask for help from other sewers if you ever get stuck. With the right tools and techniques, you’ll soon become a sewing master in no time.
Using a Serger to Secure Stitches
A serger is an essential tool for finishing seams and securing stitches, especially when you’re working with knits. A serger, or overlock machine, uses blades to trim the edge of the fabric while attaching the thread in a secure locking stitch. This provides extra strength and stability to the seams, as well as preventing the fabric from fraying over time.
If you’re new to using a serger, there are lots of tutorials available online which can show you the basic techniques. You’ll also want to consult your machine’s manual, to make sure you understand the various settings and how to use them correctly. Once you’ve mastered the basics, there are lots of fun and creative techniques you can do with a serger – from decorative stitching to waistbands – so it’s worth investing the time to learn.
Serging is a great way to make beautiful, high-quality finished seams and secure your stitches. By learning how to correctly use a serger, you’ll be able to create garments that look and feel professional.
Tips and Tricks For Securing Stitches
Now that we’ve discussed the basics of how to secure your stitches on a sewing machine, let’s take a look at some tips and tricks to make your sewing smoother and more enjoyable.
Firstly, always use the correct needle and thread for the job. Different fabrics require different types of needles and threads, so be sure to consult your machine’s manual and the fabric’s label before you begin.
As you’re sewing, be sure to periodically lift the presser foot and move the fabric behind and in front of the needle. This will help to keep the stitches even and reduce the chance of puckering.
Always trim the thread tails when you finish sewing. This will ensure that none of the threads get caught on other pieces of fabric. You should also tie any loose threads in a knot, to make sure they don’t come undone.
Finally, experiment with different stitches to find the one that is best suited to your project. Every stitch has a different purpose, and the right one can make all the difference – so take the time to explore and find the stitch that works for you.
