Overview of Setting a Sewing Machine
Sewing machines are a versatile tool for professionals and hobbyists. If you want to make any kind of clothing or accessory, you’re going to need to know how to set your machine up properly. Having the right setting is important – it affects how the fabric looks when you sew it, and how it wears. So, making sure you know how to set your machine to straight stitch is essential.
The Tools and Materials You’ll Need
Before you start setting up your machine, make sure you have all the necessary tools and materials on hand. You’ll need your sewing machine and the instruction manual, a few spools of thread, a ruler and/or measuring tape, a pair of scissors, a seam ripper, and several sizes and colors of fabric.
Steps To Setting Your Machine to Straight Stitch
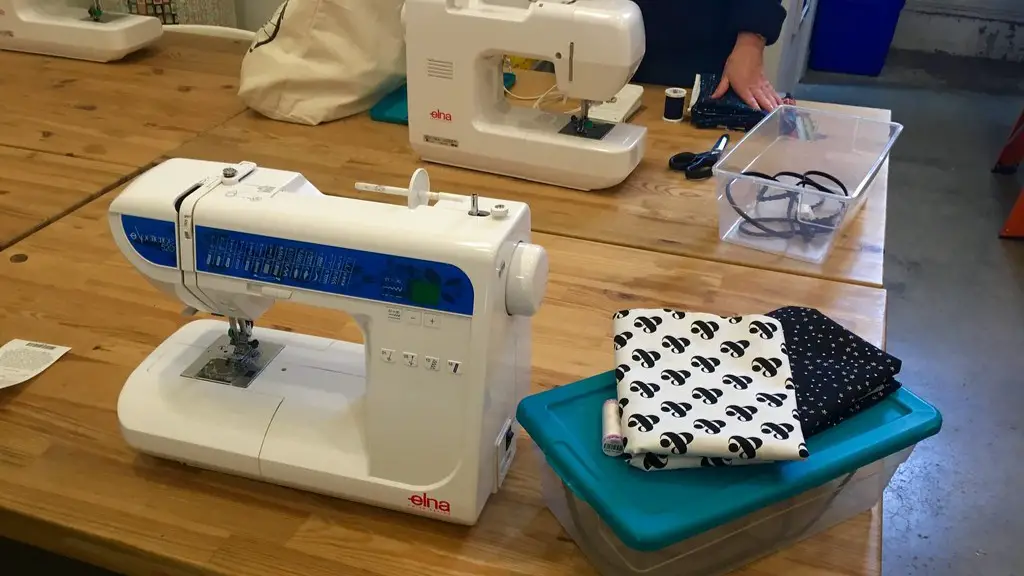
Once you have your supplies gathered, you can begin setting up your machine. The first step is to select the straight stitch setting. Depending on your machine, this might be indicated by a digital display, a dial, or the press a button. Refer to your instruction manual for more detailed instructions.
Next, you’ll need to thread your machine. Start by threading the upper thread from the spool to the needle. Then, fit the lower thread onto the bobbin, and slide it into the bobbin case. Finally, attach the bobbin case to the machine. Again, refer to your instruction manual for more specific instructions.
Now that the machine is threaded, you’ll want to make sure the tension is set properly. You can test this by turning the machine on and doing a few test stitches on some scrap fabric. You can adjust the tension by turning the tension dial until the stitches look even on both the top and bottom. It’s important to keep checking the tension while you sew to ensure the best results.
Fabric Selection
The next step is to select the fabric you want to work with. Different fabrics require different needle sizes and tensions, so you may need to adjust the tension again depending on the type of fabric you’re using. It’s always a good idea to test the fabric on a scrap piece first before beginning on the project at hand.
Sewing
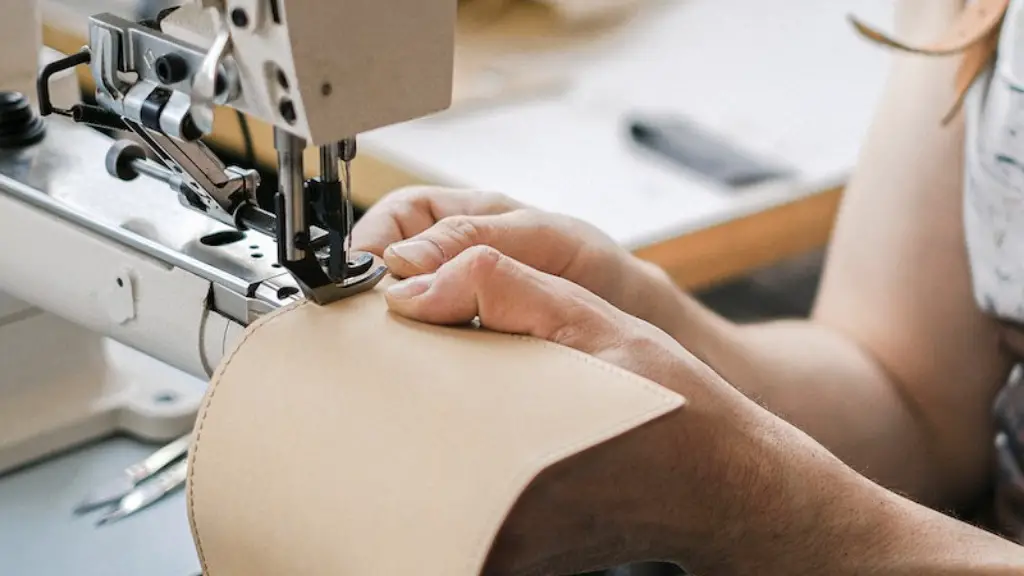
Once you have the machine set up, you can start sewing. Read the instruction manual for any specific instructions specific to your machine. Move the fabric through the machine slowly and make sure you keep an even tension. If the fabric starts to bunch up, you may need to adjust the tension.
Maintenance and Troubleshooting
Regular maintenance and cleaning of your machine is crucial to its longevity. Make sure to clean out the lint and fabric pieces after each use. If you notice the stitches getting uneven, inspect the needle for any debris or signs of damage. You should also inspect the bobbin case for any lint or dirt that can interfere with the stitch.
How To Deal With Jammed Stitches
If you ever find yourself in a situation where the needle is jammed beneath the fabric, don’t panic. Grab the seam ripper and carefully unthread the needle. Then try to loosen the tension on the upper thread using the tension dial. Once the needle is freed up, you can try rethreading the machine and continuing on with the project.
Adjusting Thread Tension To Avoid Uneven Stitches
Setting the correct tension is essential for creating even and consistent stitches in your sewing projects. Lightweight fabrics require lighter tensions, while heavier fabrics require heavier tensions. If the tension is too tight, the stitches may look puckering and the thread may break when you sew over thicker layers or pressing down on the presser foot. Alternatively, if the tension is too loose, the stitches may look too loose or sloppy. You’ll need to adjust the tension to get the look you’re after.
Altering Thread Quality To Prevent Knots
Using high-quality thread is one of the best ways to prevent your stitches from forming knots. Natural fiber threads, such as cotton or silk, are best for delicate fabrics, while synthetic blend threads, such as polyester and rayon, are better for heavier fabrics. Switching to a higher-quality thread can make a difference in the life of your stitches.
Using an Adjustable Needle
If you’re working with multiple layers of fabric, or sewing multiple pieces together, you may need to use an adjustable needle. An adjustable needle is designed to automatically adjust the stitch length, so that you don’t have to manually change the settings each time you need to change the stitch length. This can save you a lot of time when working on projects that need multiple layers or lots of pieces.
Testing Seam Stitching Strength Before Cutting
It’s always a good idea to double check the strength of your seam before cutting. You can do this by pulling on either end of the fabric, or tugging the seam with your fingers. If the seam looks like it’s going to unravel or pull apart, you may need to rethread the machine or adjust the tension on the upper thread.
Storing The Machine and Fabric properly
When you’re done with your project, make sure to store your machine and fabric properly. Your sewing machine should always be covered and stored away from direct sunlight and heat. Fabric should be stored in a cool, dry place to prevent discoloration or damage due to light and humidity.
Trust Your Judgment
Above all, the most important thing is to trust your judgment. Every machine and fabric type is different, and it’s important to pay attention to the details of the project. If something isn’t quite right, don’t hesitate to adjust the tension or make other tweaks to get the best results. With a bit of practice and patience, you can easily set your machine to straight stitch, and take your sewing projects to the next level.


