How to Set Up a Dressmaker Sewing Machine
Mastering a dressmaker sewing machine is a career-booster for many a modern tailor. With a few simple steps, you can learn how to develop your skills and perfect your craft. From the novice dressmaker to the more experienced professional, it is easy to customize and fine-tune the details of your pieces with the power and convenience of a dressmaker’s machine.
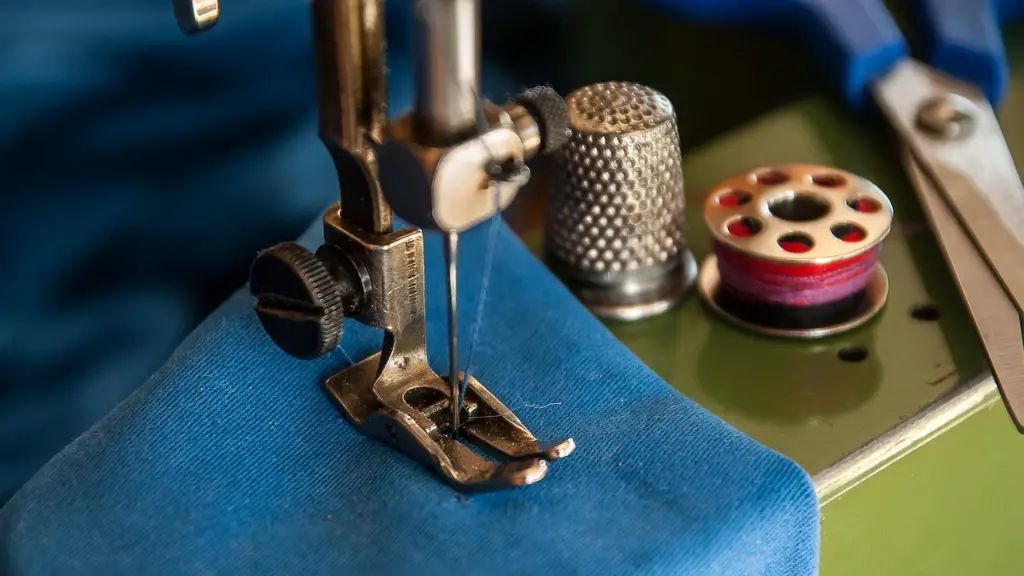
The first step in learning how to set up a dressmaker sewing machine is to assemble the frame. Such machines are usually fully assembled, however, it is always prudent to take a few moments to inspect the contraption beforehand for any loose screws or screws that could cause the machine to vibrate during operation. It is also essential that you check the manual for instructions on how to set up the power connection.
Once the machine is properly set up and connected to a power source, it is then important to check the settings on the main assembly. Make sure the thread is properly attached to the needle, and the fabric is securely held in place on the machine’s bed. It can also be helpful to familiarize yourself with the machine’s foot pedal, so you can easily access the different speed settings. If a manual is not available, you can also refer to a tutorial to understand the machine’s basic functions.
When it comes to designing the patterns, the novice dressmaker may find the process daunting. However, technology has made it easier to first lay out the pattern pieces on the material and then, using a tracing tool, mark the lines that need to be sewn. Specialized dressmaker software is available for the pattern-making process, so you can easily follow the instructions and have the pattern perfected with precision.
Once everything is in position and the pattern is finalized, it is time to get to the actual sewing. To ensure that all pieces are correctly sewn and fit together nicely, it is crucial to follow the pattern’s guidelines and adjust the machine’s settings accordingly. This includes adjusting the stitch type, tension, and needle size. You should also ensure that the fabric is minimized to the right size before beginning to sew; this will help you save time and fabric.
Finally, always use the right needle. The wrong choice can cause fabric damage or result in uneven or misshapen stitches. A proper needle size and point type should suit the fabric so it can be sewn correctly and look neat when the project is finished.
Using the Right Threads
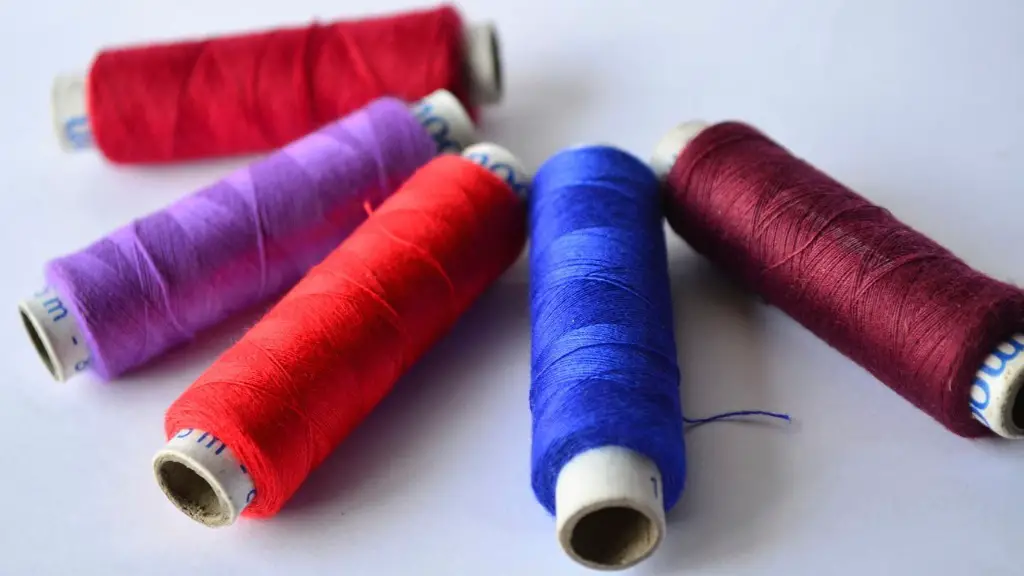
Choosing the right thread for the job is also essential for a dressmaker’s success. Pay attention to the thread type, weight, and color when selecting threads for sewing. Cotton thread is often recommended for most fabrics, although some heavier threads are suitable for thicker fabrics. Silk threads, in particular, are best for satin fabric.
You also need to consider thread length when picking out the threads. Narrower fabrics require longer lengths, while wider fabric requires shorter thread lengths. When it comes to tension, the thread should not be too tight or too loose; adjust the tension setting when needed to get the right amount of tension.
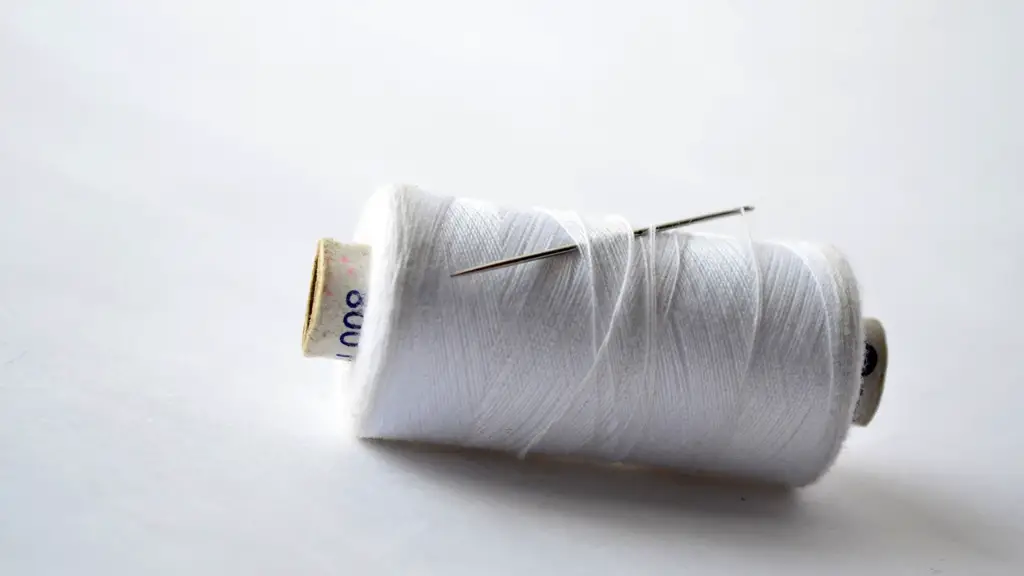
It is also important to pay attention to the needle and thread size combination. Check the needle size and the thread size to make sure they match. For example, a size 70 machine needle is typically suitable for polyester thread, while a size 60 needle is ideal for cotton thread. If the sizes do not match, the result can be poor stitch quality or weak seams.
Once all these elements have been taken into account, it is time to start sewing. As you make more pieces, you will become more comfortable with the machine and the processes involved in dressmaking. With practice and determination, you can easily become a professional dressmaker.
Maintenance and Safety
It is important to regularly maintain and service the dressmaker machine to ensure its good working order. This includes cleaning the needles, checking the fabric feed, and cleaning the machine after each use. It is also important to ensure that the machine is properly lubricated and that the spool pins and presser foot are in good condition.
When it comes to safety, always read the manufacturer’s guidelines before using the machine. Keep small pieces with sharp edges away from the machine. Additionally, it is important to avoid leaving the machine unattended when it is running and using the machine for tasks it is not intended for. Keep the machine away from small children and always make sure to unplug the machine when it is not in use.
Accessories and Sewing Tips
When operating the dressmaker sewing machine, keep a few accessories on hand to make the process smoother. Needle threaders, pins, bobbins and presser feet are all necessary items which can enhance the quality of the finished product. Also, having a soft measuring tape on hand can be especially helpful, as it can prove invaluable when taking measurements and checking against the pattern pieces.
Also, keep a few sewing tips in mind. Sewing straight line sections may be easier than curved sections, but the latter can often be less difficult and more accurate. Allowing yourself to make a mistake or two makes sewing more enjoyable. You can also stop sewing frequently to check the progress, avoiding the risk of having to start again. Finally, take precautions when pressing fabrics; certain fabrics require special care, so always pay attention to the instructions.
Acclaim out of your Dressmaker Sewing Machine
Once you have gained some familiarity with the dressmaker machine, it is time to showcase your skills and create amazing pieces that can earn you accolades. Sewing can be an immensely rewarding experience for those who have an eye for detail and the patience to perfect their pieces. Get the most out of your dressmaker’s machine and produce unique and delightful objects.
Creating an online presence and showcasing your products is a great way to let the world know what you are capable of. On the other hand, join local communities or associations and attend weekly sew and tells. This way, you can get feedback on your work and meet like-minded professionals and novices. Learning how to set up and use a dressmaker’s machine can be intimidating but, with the right amount of practice, you can make all your crafty dreams come true.
Dressmaker Sewing Machine Machines Options
When in search of the best dressmaker sewing machine, it is important to pay attention to certain features and capabilities. Invest in an electronic machine, as it will provide you with more control over the stitch and stitch length. Some machines come with automated features, making it easier to reduce production time and increase accuracy. Others come with a speed control dial, allowing you to fine-tune the settings. Furthermore, certain machines come with decorative stitches, special feet, and embroidery capabilities.
When deciding on the size of the bed, consider the average size project you will be working on. If you plan on making large dresses and gowns, go for a machine with a larger bed as it can better support these larger pieces. Also, make sure that the machine is compatible with the type of fabric you will be working with and make sure the settings are adjustable.
A dressmaker’s machine can offer an abundance of sewing opportunities. With it, you can create beautiful pieces, improve the fit of your garments, and add intricate details. Learn the ins and outs of setting up a dressmaker’s machine and enhancing your skillset to make your pieces a cut above the rest.
Using the Crown Moon Method over Traditional Seam Finishes
The crown moon method is a unique way of creating a professional-looking finish for seams. It is suitable for many styles of fabrics and is generally admired for its durability and great looks. To use it, begin by sewing the seam and then press it open. Using a pin, mark the start and end points of the seam. Then, cut a small V-shaped notch in the seam allowance. Next, lay the right side of the fabric over the left side and pin the raw edge of the fabric to the seam allowance.
Using a wide zigzag stitch, stitch along the seam allowance to form a ridge. Remove the pins and press the seam flat. To finish, topstitch the ridge using a single line on both sides of the fabric. This will help to flatten the fabric to give a nicely finished effect. Repeat the process for every seam on the item. With this method, your pieces will be durable and look as if they have been professionally crafted.
Using Decorative Stitches to Add Interest to Pieces
Incorporating decorative stitches into projects is a great way to bring intrigue to an otherwise simple dress or top. To do this, you need to first choose the right stitch. Most machines come with a variety of decorative stitches such as satin stitches, appliqué stitches, or blanket stitches. Make sure to read the instruction manual to determine the ideal stitch type for the fabric.
Once you have chosen the right stitch, it is then time to practice the stitch on a piece of scrap fabric. This will help you familiarize yourself with the machine and the stitches. You can then use the same stitch to create decorative patterns and accents, such as on collars, cuffs, or pockets. It can also be used to embellish items such as bags and purses. By adding just one decorative stitch to an item, you can easily elevate it and make it stand out.
Gathering for Embellishments and Details
Gathering is a technique used often in dressmaking for details and embellishments. Gathers can be done by hand with a needle and thread, but this process can take a long time due to the length of the threads. Fortunately, most dressmaking machines have a gathering foot which can be used to create gathers quickly and easily.
To use the gathering foot, first mark the start and end points on the fabric. If the gathering will be used for a neckline, for example, mark the neckline’s corner points. Sew two rows of stitches along the marked line and make sure to leave a long tail of thread at both ends. Next, pull one of the threads and do not cut it. This causes the fabric to gather and the desired effect will be achieved.
Finally, pin the gathered fabric to the stitch line and adjust the gathers as needed until you are happy with the effect. The gathering foot is an amazing tool that can provide a professional look to an otherwise mundane design. So, next time you are looking to add a special touch to a dress or top, consider using the gathering foot.
