Sewing machines are not only great tools for creative fashion enthusiasts, they are versatileenough to help quilters, garment makers, tailors and plenty ofother handy artisans complete projects with ease and precision. The mini sewing machine is a great addition to anyone that enjoys crafting items, or needs to perform basic repairs, with minimum space. This comprehensive guide will take you through the basics of choosing the right mini sewing machine for your project and how to assemble it for optimal success.
What to Consider When Choosing a Mini Sewing Machine
To make sure your mini sewing machine meets all your expectations, there are a few factors to consider. Firstly, decide what your primary purpose of the machine is, from basic repairs, to quilting and garment making. From there, you can look at what each model has to offer and even ask for advice from the salesperson. This will help you get the right features and settings that match the type of projects you want to make. You may also want to take into account if the mini sewing machine runs on electricity or a battery source.
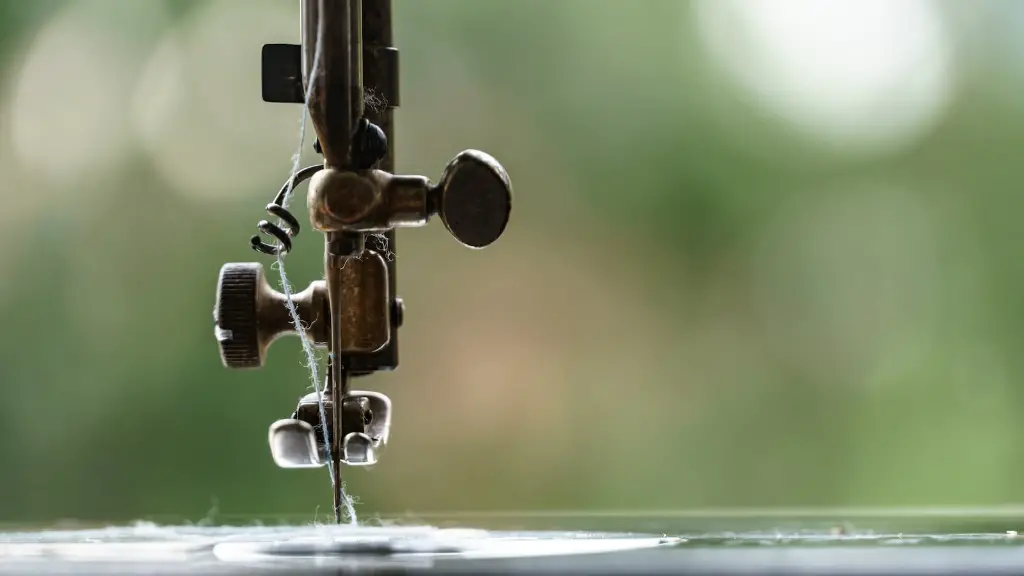
Another factor to consider is needle threading. Depending on the mini sewing machine you buy, you may find this process simplified or intricate. Some machines may even come complete with an auto-needle threader, allowing you to effortlessly thread the needle. The number of stitches, speed settings and power source should also be looked into, to ensure the machine suits your needs.
Preparing the Mini Sewing Machine for Use
To get started with your mini sewing machine, you need to know how to use it and assemble it correctly. Firstly, you should figure out what type of thread the machine requires and make sure it’s the correct type for the project. Next, the correct tension levels of the thread for the project must be achieved. Too much tension can make the thread snap and too little can cause the stitches to come loose. A good way to figure out the correct tension level is by running a scrap piece of fabric through the machine.
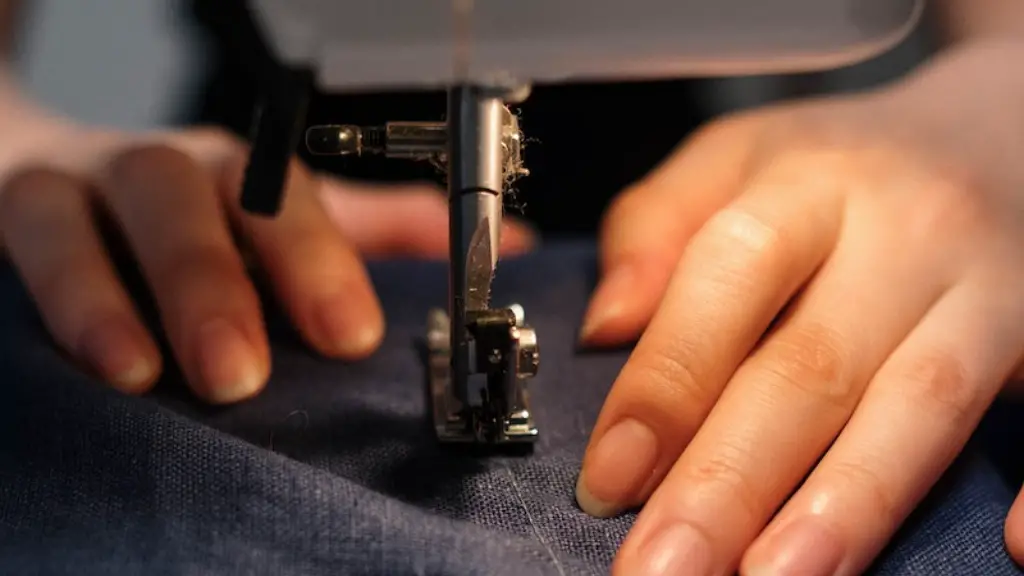
A spool of thread should then be placed in the machine, as well as a bobbin filled with bobbin thread of the same color. You may need to wind or fill the bobbin according to the model of the machine. All stitches should be reset to their basic tension settings and needle should be threaded carefully. Now the machine is ready to go!
Stitches to Get Familiar With
Before jumping into the real thing, it’s best to get familiar with what various types of stitches the machine is capable of. Usually, the machines come with a variety of different stitches from straight-line stitching to zigzag stitching and buttonholes. Each stitch has its own peculiar tension setting and must be tested before using it for an actual project.
This can easily be done by testing out each stitch on a scrap piece of fabric and adjusting the tension level if necessary. Different fabrics and material require different stitch types, so make sure to look up the types of fabric you may be working with and understand which stitches to use.
Projects to Start With
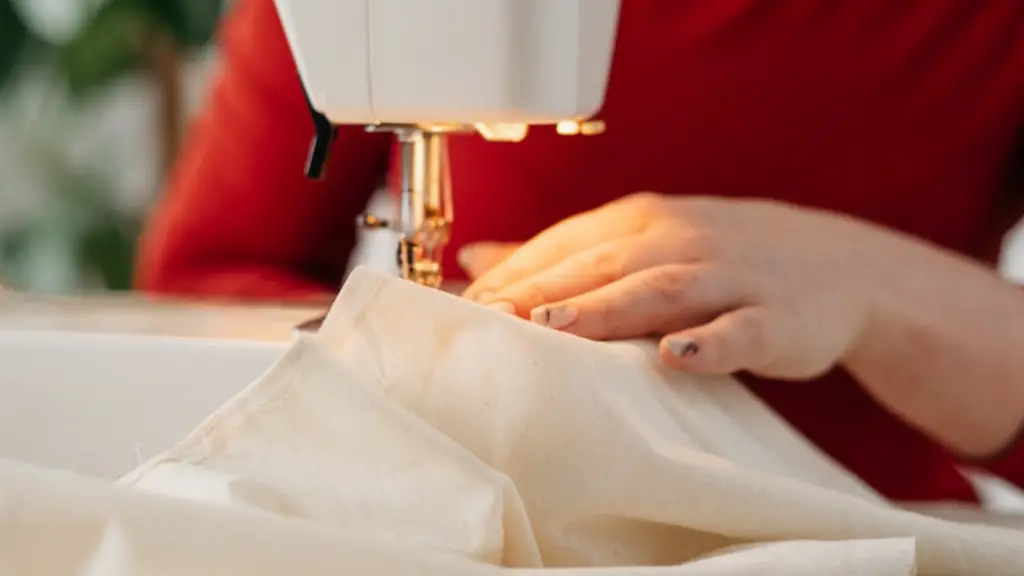
One of the most popular items to make with a mini sewing machine is small garments such as pillowcases or fabric covers. Cotton fabric is ideal for these projects as it’s easier to work with, allowing you to practice the basic machine operation. Follow the steps of threading the needle, adjusting tension levels, and focusing on the stitch quality, before moving onto bigger projects.
Simple repairs like patches, hems, trimming or replacing buttons can also be done with mini sewing machines, so get creative and start finding uses for the machine that fit your needs.
Advanced Functions and Accessories
Once you become more comfortable with the machine, you may want to explore the added accessories and functions of the machine. Many machines come with a carrying case, extra needles and bobbins, oil, foot controls, thread holders and other attachments such as zippers. Some machines may have additional advanced functions that allow you to monogram and quilt with multiple layers of fabric.
These advanced functions can help expand the possibilities of what the machine can do and add a more professional touch to your projects. Additionally, the attachments can make certain functions easier by allowing the user to sew faster, with precise and even stitches.
Troubleshooting Mini Sewing Machine Issues
Though your mini sewing machine should keep running smoothly with proper maintenance, a few issues may come up from time to time. Before trying to troubleshoot, it’s important to know the model of the machine and read the operating manual, in case there are any specific details concerning the maintenance of the machine.
The most common issues include knots in threads or loose stitches; this is usually caused by incorrect tension levels or a clogged bobbin. Other issues such as skipped stitches or jammed needles, may be linked to old and blunt needles that need to replaced, or a lack of oil in the machine’s moving parts.
Regular Maintenance
Like any other tools, a regular maintenance routine is essential to make sure that the machine runs smoothly and in optimal working condition. To do this, you can follow the instructions in the manual of the machine.
These instructions include detailed steps on how to oil up the moving parts and clean up lint or dirt. You may also need to replace thread frequently for optimal performance and quality.
Extra Accessories
Having a few extra accessories could enhance your sewing experience and help you get the best out of your machine.A good extension table can make it easier to sew larger projects, such as curtains or bedding.This will provide extra space for the fabric and help hold it in place as it goes through the machine.
Other accessories like a multi-purpose foot, which can cut sheets of fabric or quilt multiple layers of fabric together can also be of great help. Learning the ins and outs of various accessories may be challenging, but it can be worth it to add depth to your projects.
Storing the Mini Sewing Machine
After use, it’s important to store the mini sewing machine in a dust free and safe place. Your machine should be kept away from direct sunlight and moisture and covered if possible. Make sure to inspect the machine regularly and oil the parts to keep it in good running conditions.
Leaving the threads and bobbins in the machine may cause damage and even jam the machine, so it’s best to remove them after use. Taking extra care and proper maintenance of the machine could save you time and money for repairs or replacements in the long run.
