Introduction
Serger sewing machines are an essential tool for professional sewers and hobbyists alike. The machine is used to sew seams that are strong, resilient, and aesthetically pleasing. Not only does it provide an even, tight seam, but it also adds a professional look to any project. For many people, setting up a serger sewing machine can be intimidating and difficult. However, with a few simple tips, anyone can learn how to get the most out of their machine. This article will provide an overview of how to set up a serger sewing machine.
Preparing the Machine
Before starting, make sure the serger is set up properly. Start by checking to make sure the power is off and all the components are securely fastened. Next, check the threads on the machine. Look for any signs of wear or fraying and replace them if needed. After that, tension should be checked before each use. This is made easy by use of a screw-type tension tester.
Next, you should select needle size for your project. If a specific type of needle isn’t specified, use a universal one. When you’re setting up a serger sewing machine, the type of needle you use determines the tension you’ll need to use. With the wrong sized needle, the tension will be too high or too low, leading to an uneven seam.
The last step before turning on the machine is adding thread. There are two types of threads used in serger sewing machines: loopers and needles. For both, you’ll need to thread the machine and pull the thread to the back. Be sure to leave some extra thread at the back so you can easily change threads in the future.
Set Up Machine for Sewing
After ensuring all the pieces are properly set up and threaded, you can turn on the machine. It should be ready to sew. Before starting to sew, make sure all the settings are as desired. This includes selecting the proper stitch length, width, cutting length, and lower looper. For most projects, the default settings are sufficient, but for more intricate designs other settings might be required.
Once you’ve set the machine up, you should test it out on a scrap of fabric. This will help you ensure the stitches are even, the fabric is evenly cut, and the seam looks neat. Moreover, it will help you become more familiar with the machine and its settings. If the test looks satisfactory, you can begin sewing the actual project.
Threading Techniques
To thread a serger machine, there are several techniques you can use. Loopers can be threaded with a single loop, while needles require two to three passes. Start by wrapping the thread around thread guides and lever, then draw it through the tension discs. The thread should be taut and even on both sides. If done correctly, the tension dials should indicate whether the tension is correct.
After correctly threading the serger machine, test a sample fabric piece to ensure the tension is correct. This can be done by adding a few stitches to a scrap piece of fabric and pulling at each side. If the fabric puckers, the tension is too high. If it puckered at one side, then the tension is too low. Adjust the tension dials until the fabric looks neat.
It is also important to note that when threading a serger, the needle thread is always on the left side and the looper threads are on the right side. This ensures that the threads don’t get mixed up and will create clean, even stitches.
Maintenance
To keep your machine in the best condition, proper and frequent maintenance is essential. This includes regular cleaning, oiling, and replacing frayed threads. Most serger sewing machines come with a cleaning brush, oil, and thread snip. The cleaning brush should be used regularly to remove any lint or dust that accumulates on the machine’s surfaces.
Oiling can be done using the oil provided with the machine. Apply a few drops and rub gently with a soft cloth to keep the moving parts in proper working order. This should be done after each use to ensure the machine runs smoothly. Lastly, the thread should be replaced if it shows signs of fraying or if it’s too tight. This will help avoid any unnecessary jams or malfunctions.
Additionally, it’s recommended to use the same thread for all of your serger projects. This will help ensure the colour of the stitches is consistent, and will help keep the machine running smoothly.
Attaching the Presser Feet
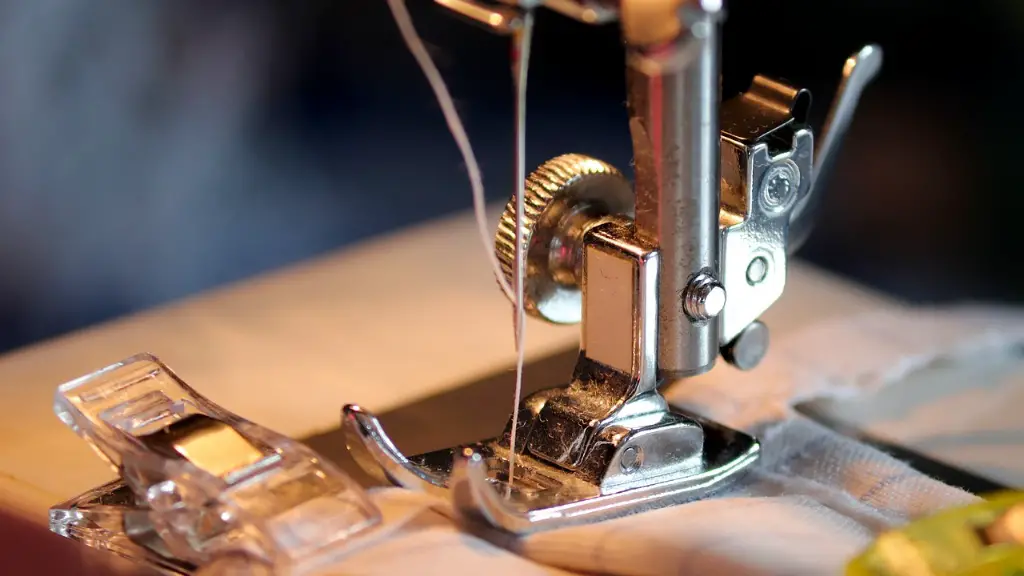
Sergers are available with a variety of presser feet, including those for rolled hems, cocoon-style overlocked seams, and appliqué stitches. To attach the presser feet, first ensure that the needle plate is selected. Next, fit the feet onto the needle plate, making sure it’s properly aligned. Most feet have a locking-screw that should be adjusted to ensure they are secure. Lastly, check the depth of the feet and make sure they are set correctly.
Once the presser feet are attached, the machine can be used for sewing. When working on more complex projects, such as a zippered pillow case, multiple feet may be required. It is crucial to use the correct feet in order to ensure the project turns out as intended.
Finishing Touches
The last step is to add the finishing touches. Using a sharp scissors, trim the excess seam allowance and then use a seam ripper to pick out any threads. This will give the finished project a professional look.
For further protection, you can use a sewing machine preservative. This will help keep the thread from fraying and will help protect the machine from dust and grime. As always, make sure to unplug the machine before applying the preservative.
Now that you know how to set up a serger sewing machine, you can get the most out of your machine and create beautiful garments and accessories. With practice and patience, you’ll be able to create professional-looking projects in no time.
Different Types of Stitches
Different types of stitches can be used on the serger machine. The three most common are the 4-thread overlock, 3-thread overlock, and 2-thread overlock. The 4-thread overlock uses both needles and loopers, giving the garment an even finish with a full stitch. The 3-thread overlock uses one needle and two loopers, creating an overlock curve. Lastly, the 2-thread overlock is an option for lightweight fabrics, as it only uses a single needle. Each of these stitches provides a different look, so choose the one that’s right for your garment.
When sewing, the width and length of the stitches should be adjusted according to the fabric being used. For example, heavier fabrics will require longer stitches. This allows the seams to hold up properly and creates a finished product with an even and professional look.
Different Types of Machines
There are many different types of serger machine available. The mechanical serger provides basic functions, such as 4-thread overlock stitching or rolled hem stitching. Computerized machines allow for more detailed stitching and a wider range of options. Additionally, computerized machines typically come with extra features such as lower looper control, which makes it easier to customize stitches. Aside from these, there are other variations, such as lockstitch machines and chain stitch machines, that may be better suited for specific projects.
When selecting a machine, consider the type of sewing you’ll be doing. For most projects a mechanical serger machine will do just fine, but for more intricate work, a computerized machine might be the better option. Ultimately, the best machine is the one that fits your needs and budget.
Different Settings and Features
Serger machines also come with a variety of features and settings, such as adjustable stitch width and length, as well as a differential feed control. The differential feed control allows for a deeper, more even stitch, as it can adjust the speed of the fabric as it is being sewn. This is especially useful for fabrics that tend to stretch, such as knits or fleece. Additionally, the adjustable stitch width allows you to customize your stitches for both style and strength.
Most serger machines also come with a tension adjustment dial. This can be used to adjust the tension of the thread, as well as adjust the loops and stitch size. If the tension is too high, the thread will be too tight and the seam won’t lie flat. If the tension is too low, the stitches will be loose and won’t hold up under pressure. Getting the correct tension is essential for a successful project.
