Learn the dos and don’ts of stitching to smoothly set up and use a dressmaker sewing machine. Before setting up a dressmaker sewing machine, one must first understand how it works. Knowing the basics is something that all sewers should know. This article will provide information about setting up a dressmaker sewing machine and how to use it properly.
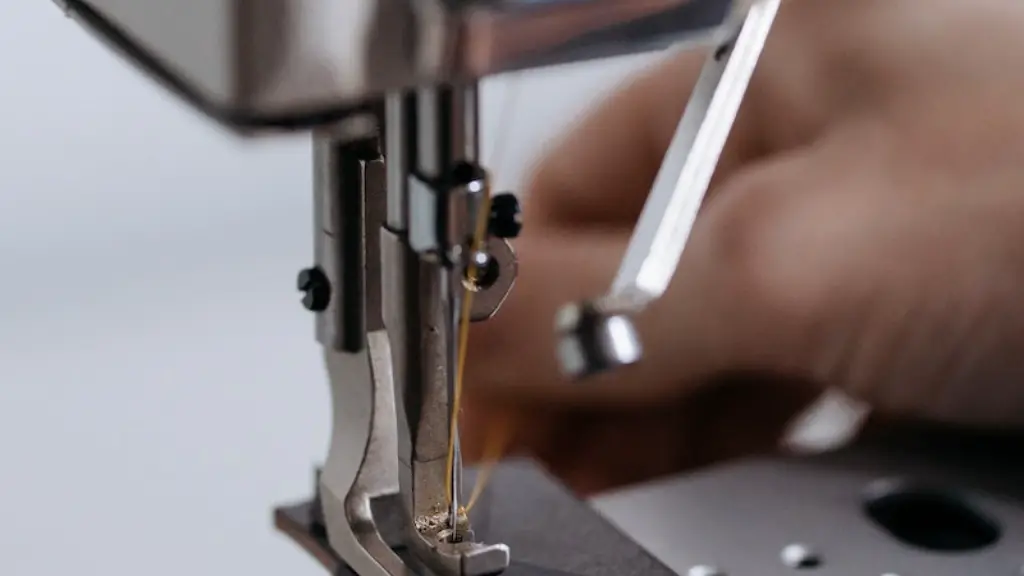
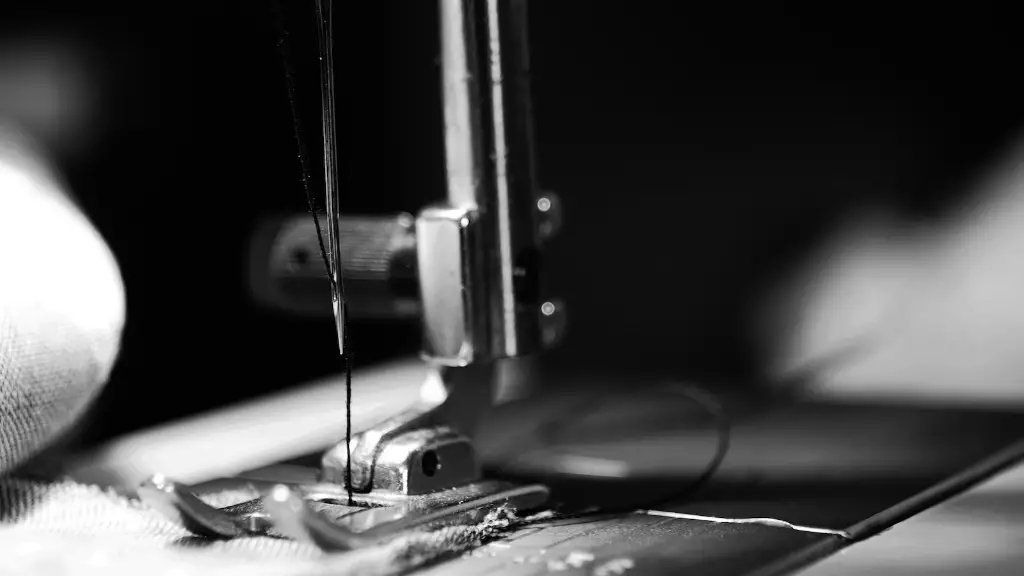
First, familiarize yourself with the parts of the machine. Depending on the make and model, a dressmaker sewing machine will typically have a power cord, a foot control, a needle, a bobbin case, a bobbin winder, a pressure foot, a presser foot, an adjustable stitch length, a thread tensioner, a bobbin threader, and other user manual functions. Once you have identified the necessary components, you need to make sure they are all properly set up.
Secondly, attach the power cord to an appropriate power source and connect it to the machine. Plug the foot control into the machine. Align the needle with the fabric before sewing. Set the stitch length to your desired setting. For general use, a standard straight stitch is fine.
Thirdly, set the tension on the thread to a medium setting. A knob may be located on a tensioning device. When adjusting the thread tension, be sure to follow the manufacturer’s instructions. Generally, if the tension is too tight, the thread will break easily, whereas a looser tension will cause the stitch to be too loose.
Fourthly, locate the bobbin winder. When adjusting the winder, it should be turned clockwise with the right hand. Check the bobbin tension and replace the bobbin case if necessary. Insert the bobbin into the bobbin case, making sure the thread is facing away from the machine. Now, you are ready to wind the bobbin.
Fifthly, securely attach the stitch plate/pressure foot. Adjust the presser foot to ensure it is lined up properly against the fabric. Place the selected fabric in between the presser foot and the needle. Pull up the thread from underneath. The thread should reliably pass through between the two points. Pull the thread from the bobbin case and make sure it does not get tangled.
Finally, make sure the needle is straight, and that the bobbin case is not loose or damaged. If everything is working correctly, then the machine is set up and ready to be used. To make sure your dressmaker sewing machine works in the long run, keep it clean and free from dust and debris after each session.
Ready to Sew
Once it is all set up, your dressmaker sewing machine is ready to be used. Remember, the higher the quality of the fabric, the higher the quality of your final product. Also, consider investing in the right presser foot and needles to work with various types of fabric.
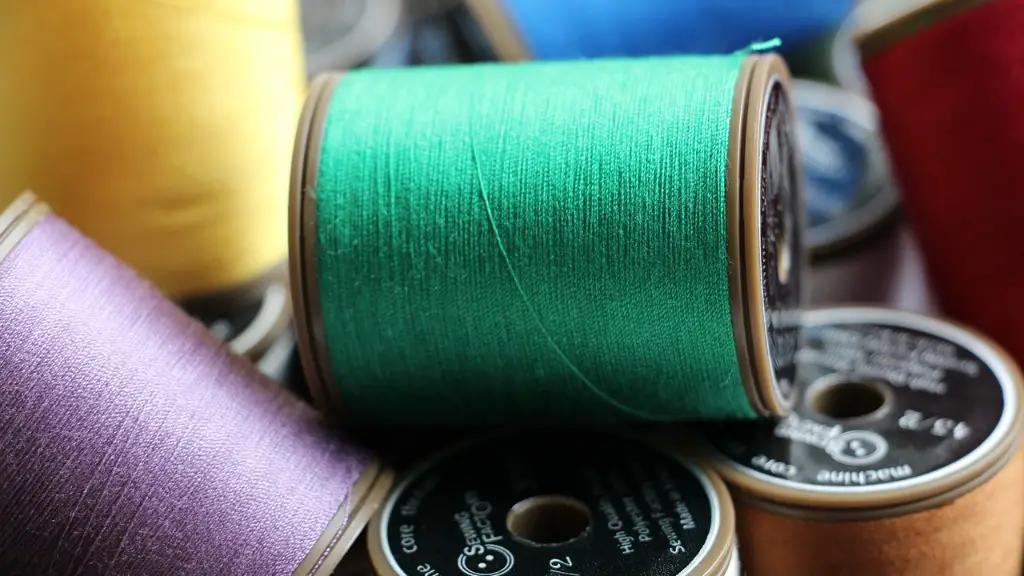
If you are just starting to learn how to use a dressmaker sewing machine, try using a piece of clothing as a practice piece. This will let you understand how the different settings affect the stitch length, tension, and overall appearance. Also, make sure you understand which needles are suitable for different types of fabrics and how to choose the right thread for each fabric.
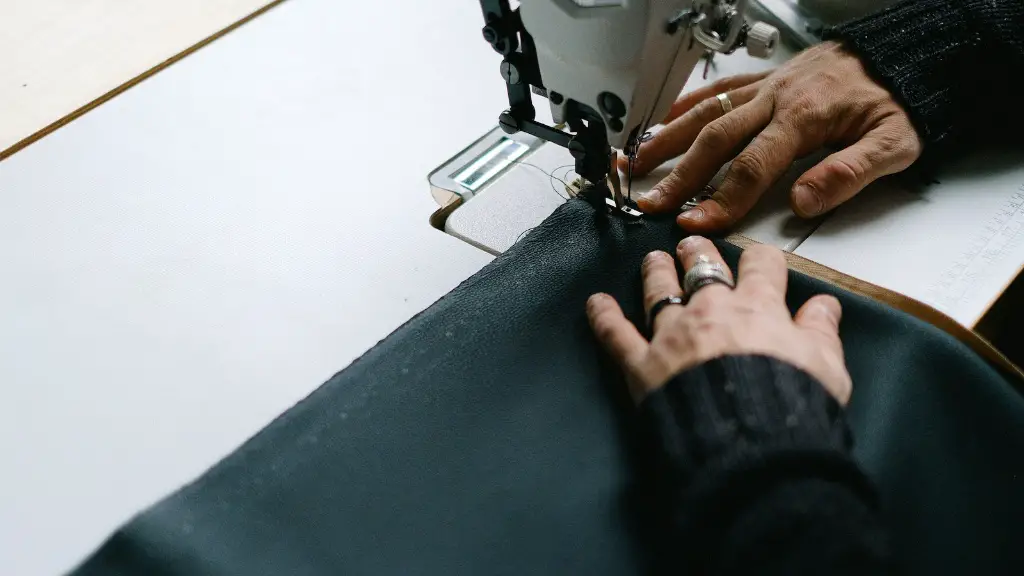
Once the fabric and thread are correctly set up on the machine and the user is comfortable with the settings, sewing can begin. For thicker and heavier fabrics, use a heavier thread and longer stitch length, and for light and delicate fabrics, use a light thread and shorter stitch length. Additionally, when turning a corner, turn the fabric so the stitch can be sewn in the right angle.
To avoid having to replace parts, make sure to periodically check the machine. Try not to overload the machine with fabric, as this can cause the needle to break. Additionally, keep the machine clean and oiled to help maintain its perfect working condition.
Different Techniques
When sewing with a dressmaker sewing machine, there are many different techniques that can be used. One of the important things to keep in mind is that every machine has its own settings, so it is important to refer to the manual before using any type of technique. For example, when finishing a seam, it is important to understand how to properly use the zigzag stitch, otherwise the fabric might not lay perfectly flat.
Another technique used on a dressmaker sewing machine is the gathering stitch. This stitch is used for fullness or volume and requires special attention in order to ensure it is sewn correctly. Some machines also come with a blind hem stitch. This stitch is used for hems, and is used when stitching through several layers of fabric. Learning how to use this stitch correctly is essential for a perfect hem.
To create professional looking garments and garments, it is important to know how to utilize different techniques. Additionally, having an idea of the stitch length, stitch width, presser foot, feed dog, needle type and tension will help achieve better results.
Exploring Different Types of Sewing Machines
There are different types of sewing machines, each suited to a different purpose. The dressmaker sewing machine is best for dressmaking and garment making, whereas an embroidery machine is best for creating intricate patterns. Quilting machines are designed for creating intricate quilted designs, and are equipped with walking feet that help move the fabric along as it is being sewn.
For general sewers, an all-purpose machine might be the most suitable choice. These machines come with functions like stitch length adjustment, reverse stitching, tension control, and zigzag stitching. For more customizations, computerized machines might be the better option as these machines offer a variety of automatic features.
Using a dressmaker sewing machine to create clothing or other garments is a great way to express creativity and make beautiful pieces with ease. Knowing how to setup and use a dressmaker sewing machine is essential to get the most out of it.
Using Quality Accessories
In order to ensure the best results, it is important to use quality accessories with dressmaker sewing machines. Using the correct needles, thread, and accessories will help preserve the life of a dressmaker sewing machine and help ensure the best quality stitch. Additionally, it is important to use quality fabric. Using the right fabric helps with the overall quality of the garment.
In order to make sure all pieces of the garment fit, consider drafting a pattern that will provide a template for the garment. Make sure the pattern is tailored to the fabric being used and include all markings, darts, and pleats that might be necessary. With a tailored pattern, it will be easier to achieve the best possible fit.
When making buttons, snaps, or other accessories, patience is key. It is important to take the time to properly attach the accessories in order to get the best results. Use an appropriate needle for the material and make sure to anchor the thread in the fabric. Also, remember to always check the tension. Too loose of a thread tension will prevent the fabric from staying in place.
Finishing Touches
Finally, when the garment is sewn, there are a few more steps that should be taken to put the finishing touches. Consider edge finishing, for example. Edge finishing is used to give the garment a professional looking edge by preventing fraying and helping the fabric keep its shape. The most common types of edge finishes are the Hong Kong or bound seam, bias binding, and French seams.
When pressing the seams, use a pressing cloth to properly press the fabric and leave it in crease and wrinkle free. Adjustable dress forms help to make sure all pieces fit together correctly, and seam ripper helps to undo any mistakes that might have been made. Serger machines can be used to finish the edges quickly and securely, as these machines create a reinforced stitch that helps eliminate fraying.
Whether you are just starting out with sewing or you have been sewing for years, following these steps will help you set up and use a dressmaker sewing machine with ease. Remember to refer to the user manual for instructions and tips. With a little practice and patience, it is possible to make beautiful garments with a dressmaker sewing machine.
