The Basics
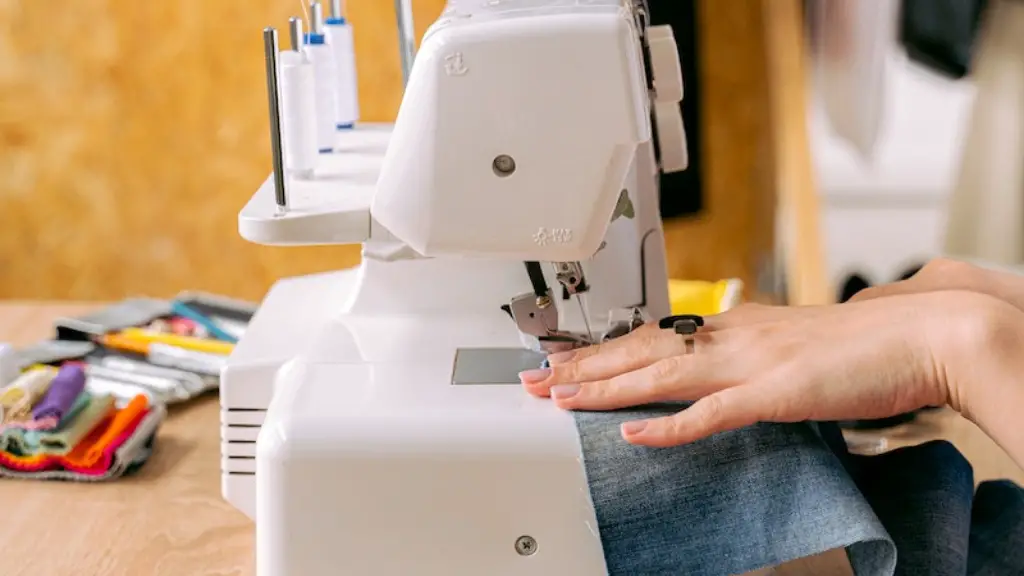
When it comes to sewing, a mini sewing machine is the perfect choice for a beginner. Not only are these machines much easier to use than their larger counterparts, but they are also cost-effective, meaning you won’t have to break the bank if you’re just starting out. Setting up a mini sewing machine is an easy task that anyone can accomplish with proper knowledge and guidance. Here we will provide the basics of how to set up a mini sewing machine correctly and safely.
To begin with, gather the necessary supplies for setting up your mini sewing machine. This includes the machine itself, thread, needles, a seam ripper, and scissors. Gather a few test pieces of fabric to practice on as well. Once you’ve gathered all of your supplies, you are ready to begin the setup process.
The first step in setting up a mini sewing machine is to make sure the machine is plugged in. Check the power source and make sure it’s firmly connected. Next, locate the bobbin winding spindle located on the top of the machine. This is where you will insert the empty bobbin of thread. Following this, press down on the bobbin winding lever and slowly turn the handwheel towards you until the bobbin is full. Once the bobbin is full, unravel a small length of thread from the bobbin spool and cut it off with the scissors.
Installing the Needle
Once the bobbin has been wound and the power cord has been checked, you can begin the process of installing the needle. Begin by unscrewing the needle plate with the screwdriver and then remove the old needle. Inspect the new needle for any damage or flaws and make sure that it’s the correct size and type for the machine. After being properly inserted into the machine, tighten the screw for the needle plate and make sure it is secure.
Threading the Needle
Threading the needle is a crucial part of setting up a mini sewing machine. To begin, cut a small length of thread from the reel and leave a few inches left on the needle side. Hold the thread from the reel with the left hand and the thread from the needle with the right hand. Slide the thread from the needle through the eye of the needle until the end is flush against the shank. Release both threads and pull the thread from the reel so that the tail is behind the needle. Make sure the thread is all the way to the end of the needle.
Slipping the Bobbin into Place
Now it’s time to insert the bobbin into the machine. Start by lifting the presser foot and turning the handwheel towards you until the needle is at its lowest point. Now insert the bobbin into its case and turn the bobbin around so that the thread is released. Close the bobbin case and tighten the screw if needed. Bring the thread from the bobbin over the top of the needle plate and hold both threads, the upper thread and the lower thread. Make sure the thread has tension and is pulled taut.
Adjusting the Stitch
Now that the bobbin is in place and the needle is threaded, your mini sewing machine is ready to go. Before you begin sewing, take some time to adjust the stitch length and tension. For most sewing projects, the stitch length should be set to 2.5 to 3mm and the stitch tension should be set to between 4 and 6. If the tension is too tight, the fabric will be puckered and if it’s too loose, the stitches will be too loose and uneven.
Sewing a Test Piece
For best results, it’s recommended that you sew a test piece of fabric with the same material and thickness as the fabric you are working with. This will allow you to make sure that your machine is properly adjusted and that you understand the basics of how it works. Place the fabric underneath the presser foot and lower the presser foot. Make sure the needle is inserted in the fabric before turning the handwheel so that your stitch is even and consistent. Begin sewing and observe the stitch as it is being formed.
Advanced Techniques
Once you have a handle on the basics of setting up your mini sewing machine and have sewn some practice pieces, you’re ready to start learning advanced techniques. Take some time to research the different stitches that your machine can make and the best uses for each stitch. Utilize the seam ripper to perfect your seams and remove basting. Gather more fabric pieces and practice, practice, practice! As you become more comfortable with your machine, you will become more adventurous with your sewing and you will be able to make beautiful garments, accessories, and more!
Practice Makes Perfect
No matter how much research and preparation you do, the most important element of learning to sew on a mini sewing machine is practice. As with any skill, the more you practice, the better you will become. Sewing on a mini sewing machine takes patience and practice before you’re able to create complicated garments but with dedication and the right attitude, you’re sure to become a mini-sewing pro in no time!
Machine Maintenance
In order to keep a mini sewing machine running properly and to maintain its longevity, it is important to perform regular maintenance. Start by cleaning the machine with a soft cloth or brush to rid it of lint and dust. Additionally, it is important to oil the machine every now and then to ensure it continues to run smoothly. Finally, make sure to change the needle regularly to prevent any wear and tear on the machine.
Troubleshooting
Sometimes, when working with a mini sewing machine it is difficult to identify where the problem lies. Whether it be an uneven seam, skipped stitches, or the fabric bunching up beneath the needle, always double check the basics first. Is the needle size and type correct? Is the thread correctly threaded? Is the bobbin properly inserted? If all of these steps have been taken and the machine is still malfunctioning, it may be time to consult a sewing machine repair service.
Extension Cords & Surface
When it comes to mini sewing machines, it is important to make sure the power cord is long enough so that it can reach an outlet without the use of an extension cord. If an extension cord is necessary, make sure to use one that is suitable for the type of machine you are using. Additionally, the surface beneath the machine should be level and stable, preferably an ironing board or table. This helps to ensure that the machine runs smoothly and that fabric is properly and evenly fed through the machine.


