Learning how to sew a patch with a sewing machine can open up a world of creative possibilities. It’s a great skill to have, especially if you’re into DIY-ing your wardrobe or have a knack for designing one-of-a-kind clothing. Whether you’re a novice sewer or a veteran, sewing patches onto fabric is a relatively simple process, provided you have the right supplies and follow the correct steps.
First, before beginning, it’s important to choose the type of patch you’ll use for the project. Decorative patches come in a variety of shapes and sizes, with different textures, colors, and designs. Iron-on patches have adhesive on one side, and are easy to apply, but are less durable than sewn-on or heat-n-bonded patches. Heat-n-bonded patches involve using a fusible material, while sewn-on patch allows for more creative detail. Furthermore, no matter which type of patch you’re using, make sure that it’s machine-washable and safe to go into the dryer.
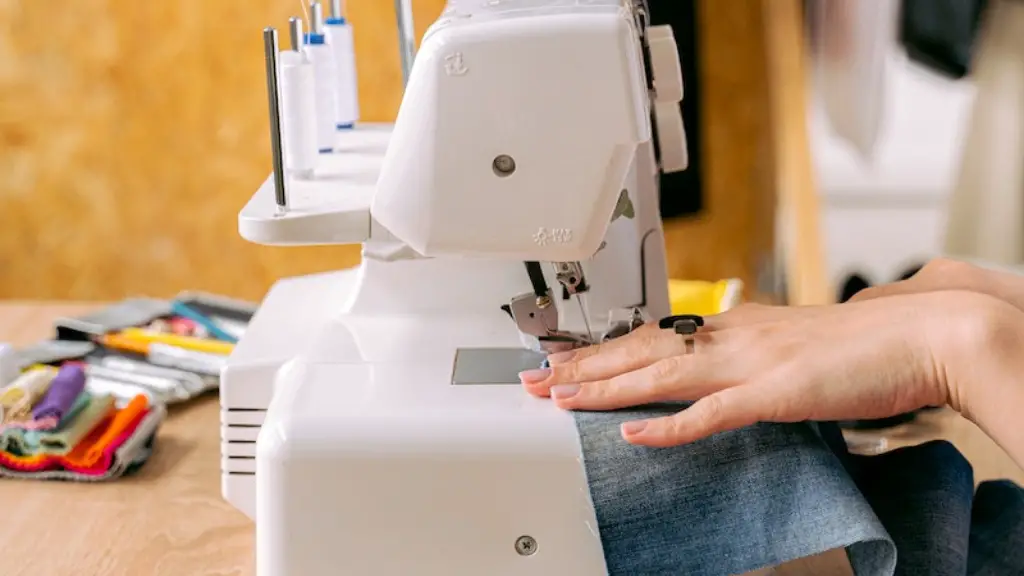
Next, lay the fabric where you want your patch and pin it to prevent movement when sewing. Trim the excess fabric around the patch, if necessary, and use tailor’s chalk or fabric-marking pen to draw in the outline for the stitches. Using an appropriate thread, select a stitch type for your project. Strong, straight stitches can be used for larger patches, while a zigzag stitch is perfect for a wide variety of fabrics and patches. Sew from the back side of the fabric to help anchor the patch, and any other decorative stitches. Trim the loose thread.
Third, every time you begin a new fabric project, it’s important to choose the correct needle for your sewing machine. A heavyweight patch will require a heavier-weight needle, such as a denim or heavy-duty needle, while a lighter-weight patch might require a general-purpose needle. Selecting the wrong needle can cause the machine to struggle and can even cause damage to the fabric and thread. Make sure to swap out needles between projects and fabrics, otherwise, you risk damaging the fabric or having your stitches look sloppy.
Fourth and finally, test the stitch before starting to sew. Choose a scrap piece of fabric and try out your stitches. If the stitch looks even and the tension is correct, you are ready to start sewing the patch. Once you’re done, inspect the stitches carefully to ensure that the seams are running properly, and that the stitches are holding tight. If necessary, make adjustments and reinforce any weak spots.
Types of Threads
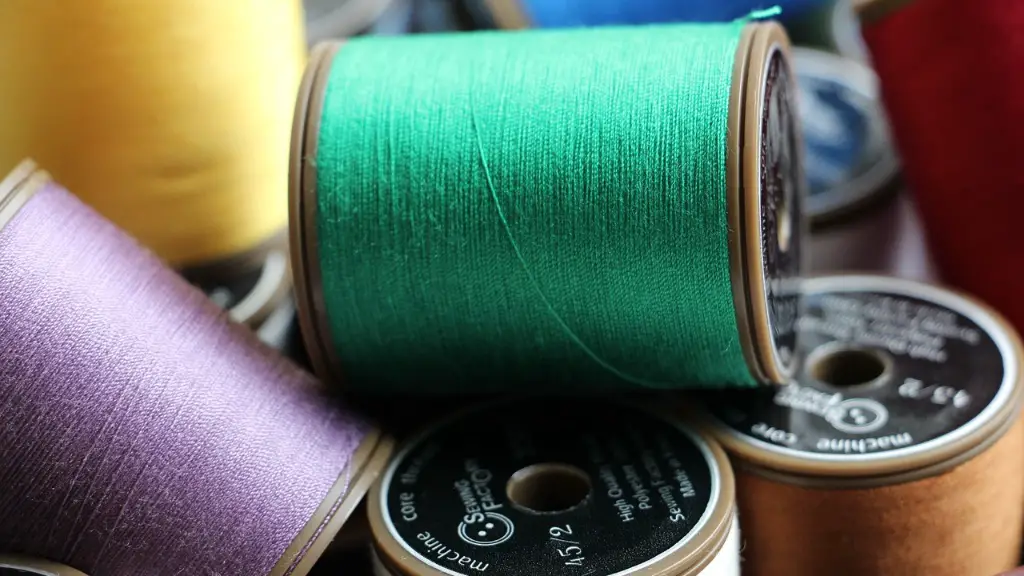
The type of thread you use when sewing a patch is equally as important as the needle and type of patch. Thread comes in all types of fibers and sizes, so it is important to choose the right thread for your fabric to ensure the patch lasts. Generally, thread is either cotton or synthetic, and the size of the thread is indicated by a number. Typically, thread size is correlated to the weight of the fabric; the heavier the fabric, the larger the number. Cotton thread is strong and holds up well when placed in the wash. Synthetic thread is just as strong, but is also more resistant to fading and won’t shrink in the laundry.
A good all-purpose thread is 40-weight polyester thread, which is mostly synthetic and comes in a variety of colors to match the fabric. Gutermann thread is commonly used for quilting, embroidery, and hand-sewing and is made of 100% polyester. There are other specialty threads, like waxed thread and topstitching thread, which are made to add a unique look and texture to a project. Threads come in a variety of textures and matte finishes, allowing sewers to add extra decorative touches to any project.
Adjusting Tension
The next step in sewing a patch is to adjust the tension of the machine. Most modern-day sewing machines have an adjustable tension dial that allows you to control the tension on the thread. To test whether the tension is balanced, place a scrap of fabric underneath the presser foot. As you sew, the two threads should meet in the center of the fabric. If the tension is not balanced, adjust the tension dial until the two threads meet in the center.
It is important to remember that each fabric and thread require different tensions to work properly. For example, lightweight fabrics require less tension and thicker fabrics need more tension. Also, different types of threads will require different tensions. For example, cotton thread requires more tension than synthetic threads, while top-stitching thread requires less tension than standard thread.
In addition, some sewing machines also come with a tension indicator that shows you when the tension is balanced. This is a great tool for beginners who are trying to learn how to sew a patch and can help prevent mistakes and save time.
When to Hand-sew a Patch
In some cases, hand-sewing a patch may be the best option. If the patch is not one that you plan to machine-wash or if the fabric is too delicate for a machine, then hand-sewing may be the better choice. Hand-sewing a patch does take more time, but it offers a degree of control and accuracy that machine sewing does not. It also allows you to work with small and intricate patches without having to worry about damaging the fabric.
When hand-sewing, it is important to use the right thread and needle. Use a needle that is small enough to fit through the fabric but sturdy enough to hold the thread, a waxed thread is also an ideal choice. Start at the center of the patch and work your way out. For larger patches, you can use a whip stitch or blanket stitch and for smaller patches, a running stitch is best. When sewing multiple patches, use a contrasting thread to give the overall piece a unique look.
Adding Finishing Touches
Once the patch is sewn, use an iron to heat-set the thread and patch, if necessary. An iron is also a good way to press seams to ensure that the patch lays flat. Also, for extra strength, it is a good idea to stitch a second line around the patch to ensure it’s securely in place. If you’re using iron-on or heat-n-bond patches, make sure to follow the instructions of the manufacturer.
To further secure the patch, a few drops of fabric glue along the edges can help prevent the patch from coming off and fraying. Use an old brush or a cotton swab to spread the glue around the edges of the patch, and let the patch dry before continuing.
Tips and Tricks
Finally, before you start sewing the patch, it’s important to keep in mind a few tips and tricks. The most important tip is to always use the correct needle for your project. Another tip is to test your stitch on a scrap piece of fabric before beginning so you can make sure everything looks even and the tension is balanced.
Also, make sure you have enough thread on the bobbin to avoid running out of thread mid-project. Lastly, when sewing multiple patches, use a contrasting thread to give the piece an extra bit of flair. And remember, the key to successful patch sewing, no matter the patch or fabric, is making sure that the tension is correctly balanced.
Practice Makes Perfect
When it comes to learning how to sew a patch with a sewing machine, practice makes perfect. Eventually, as you become more familiar with the process, it will become much easier. The more time you practice, the better and faster you’ll be at sewing patches, and the more creative you can be with the stitching.
Sewing patches is a great way to add a personal touch to any garment or piece of fabric. With the right supplies and a bit of practice, anyone can learn how to sew a patch with a sewing machine. When it comes to sewing, the possibilities are endless, so don’t be afraid to experiment and have fun.
Repairing Patches
Patches on clothing can be easily damaged, either through wear and tear or through improper sewing techniques. Fortunately, repairing a patch is a relatively simple task. To repair a patch that has come loose or has frayed stitching, check to make sure the patch is still securely attached. If it is, use a needle and thread to re-sew the patch. If the patch is tearing away from the fabric, use fabric glue or heat-n-bond to re-attach it.
To prevent further damage, use a reinforcing stitch to outline the patch. This stitch will anchor the patch to the fabric and ensure that your patch lasts for a very long time. It is also a good idea to add a few drops of fabric glue along the edges of the patch, as this will further secure it to the fabric.
When it comes to repairing patches, it is important to keep in mind that patches can be easily damaged if the wrong stitch or needle is used. It is best to use a lightweight needle and thread for larger patches, and a heavier needle and thread for smaller patches. As always, it is important to test any stitch on a scrap piece of fabric before beginning, to make sure it looks even and the tension is balanced.
Accessorizing Patches
Beyond simply sewing patches onto fabric or clothing, there are a number of ways to accessorize patches to make them stand out. Adding beads, buttons, and studs to patches is a great way to give them a unique look. Additionally, you can use yarn or embroidery floss to create thicker, more detailed stitches around the patch. You can also use fabric markers to draw patterns, designs, or words onto the patch.
Adding trim to the edges of the patch is another way to give it a unique look. Trims can be in the form of ribbon, lace, or cording, and can be sewn along the edges of the patch. Another option is to add fringe, which can be either fabric or yarn, to the edges of the patch for a truly unique look. And if you’re feeling extra ambitious, you can even create your own fabric patch from scratch with scraps of fabric and your sewing machine.
No matter what type of patch you’re using or fabric you’re working with, a few simple steps can help you master the art of sewing a patch onto fabric. With the right supplies and a bit of practice, anyone can learn how to sew a patch on a sewing machine.
