Leather Sewing Basics
Leather sewing can seem intimidating, but it doesn’t have to be. With the right supplies and some patience, you can easily sew leather using a regular sewing machine. To get started, you’ll need a so-called leather needle, a Teflon foot, an adjustable presser foot, and some good-quality leather. You should also take the time to familiarize yourself with the various stitches that can be used to sew leather, as some types of stitching are better suited to different types of leather.
The tool you’ll use most when sewing leather is the needle. Leather needles have sharper points, larger eyes, and triangular blades. They are designed to penetrate leather easier and are less likely to break than regular needles. Standard needles will work, but they may break during use. The size of the needle depends on the weight of the leather you’re using, with a size 14 leather needle being the most common. You should also make sure to change your needle whenever you start a new project.
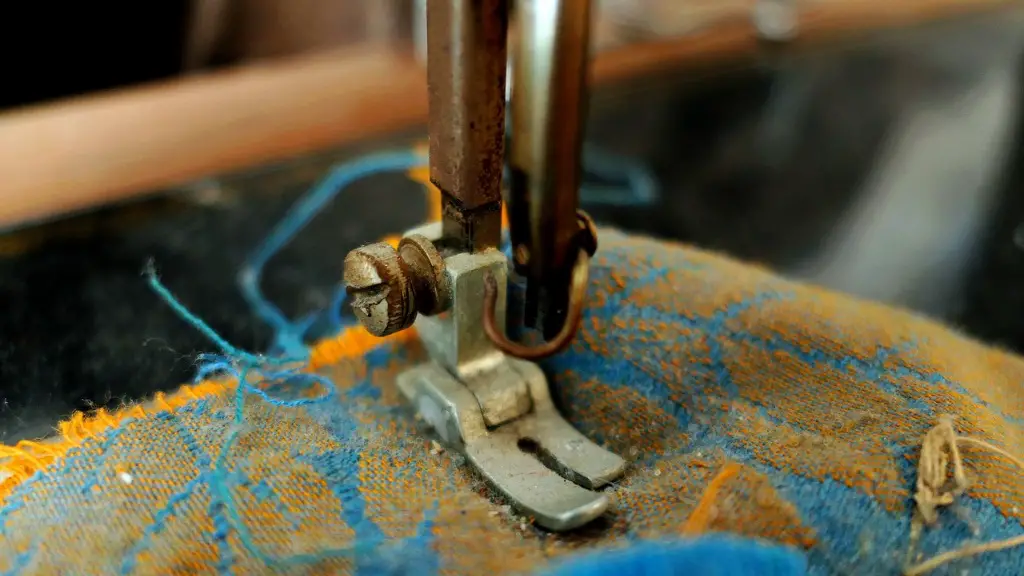
Another important tool is the Teflon foot. This is designed to reduce friction between the leather and the needle, resulting in a cleaner and smoother stitch. The Teflon foot is usually made from anodized aluminum and has a space between the toes that allows the leather to pass through without snagging. The Teflon foot is also useful for skiving leather and can be easily adjusted to accommodate different types of leather.
In addition to the leather needle and Teflon foot, you’ll also need an adjustable presser foot. This foot provides extra stability and makes it easier to keep the leather from shifting as you sew. You can adjust the pressure of the presser foot to ensure that it is tight enough to keep the leather in place but not so tight that it causes the leather to bunch up as you sew.
Finally, you’ll need some high-quality leather to sew. The type of leather you choose depends on the project you are working on. For example, if you plan to sew a bag or pouch, you should use a soft and supple leather. For a belt or other item that will need to be durable, you should opt for a thicker and stiffer leather. Be sure to inspect the leather for any defects before beginning your project to ensure that the finished product is of the highest quality.
Determining the Right Stitch
The type of stitch you use for sewing leather is just as important as the supplies. Different stitches are better suited to different types of leather and projects. The most common stitch used to sew leather is the lock stitch, which is a sturdy and secure stitch that prevents the edges of the leather from fraying. It also provides a bit of extra reinforcement, which can be helpful if you’re making something that will need to bear a lot of weight.
For more decorative projects, such as wallets, purses, and other accessories, a saddle stitch might be a better option. This is a lattice-like stitch that adds an attractive detail to the finished product. It is also a very strong stitch and generally requires two needles to create. The saddle stitch is also less prone to unraveling than the lock stitch, making it a great choice for items that will get a lot of use.
If you’re sewing a zipper, the best type of stitch to use is the zigzag stitch. A zigzag stitch is significantly more flexible than a lock or saddle stitch, which allows the zipper to move freely. The zigzag stitch also prevents the edges of the leather from fraying and provides added stability.
It’s important to remember that the stitch you choose will depend on the type of leather you’re working with, so it’s important to understand the different types of leather and their properties before you choose a stitch. If you’re ever in doubt, it’s best to stick with the classic lock stitch, as it is the easiest to work with and provides the most security.
Finishing Techniques
Once you have your project sewn and the stitch is complete, there are a few finishing techniques you can use to add a professional touch to your work. One such technique is skiving, which is where you remove a layer of leather from the edge of the material to make the seams appear smoother and flatter. Skiving is especially useful for projects that require a great amount of precision, as it can help you create cleaner and more balanced seams.
You can also use a technique called edge finishing to give your work a more polished look. Edge finishing involves folding the edges of the leather over and stitching them in place. This results in a neat and finished edge that is both attractive and sturdy.
Once you’ve finished your project, you should apply a waterproof sealant to the finished product. This will help prevent the leather from cracking or crumbling over time. You can use specialized leather sealants or even a beeswax product. Whatever product you choose, be sure to apply it evenly and sparingly to maintain the look and performance of the piece.
Tools and Supplies Needed
When you’re ready to start sewing leather, you’ll need to have the right tools and supplies. As well as a leather needle, Teflon foot, and adjustable presser foot, you’ll also need some high-quality leather and a sturdy sewing machine. You may also need an awl, which is used to punch holes in the leather. Additionally, you should use beeswax or other sealant to finish and protect the leather.
It’s also important to choose the right thread. Leather thread is thicker and stronger than regular thread, so it’s best suited for heavy-duty projects like bags and wallets. A good quality thread is also essential for creating a strong and secure stitch. If you’re working on a lighter project, such as a belt or garment, you may be able to get away with a lighter-weight thread.
Tips and Tricks
Sewing leather can be tricky, so it’s important to practice and familiarize yourself with the process before you begin your project. If you’re an inexperienced sewer, start by practicing on scraps of leather until you get comfortable with the technique. And be sure to take your time when sewing leather. The process can be slow-going, but the finished product will be worth it.
As with any sewing project, it’s important to pay close attention to the details. Make sure that you keep the stitches even and that your seam is straight. Clean up any loose or messy edges with a chisel to ensure that your finished product is as clean and crisp as possible.
It’s also important to mark important measurements in advance. Measuring carefully will help ensure that your finished product looks professional. Additionally, use scrap pieces of leather to create a pattern for your project so that you know exactly how the finished product should look.
Maintaining Your Leather Sewing Supplies
To maximize the lifespan of your leather sewing supplies, it’s important to take care of them. When you’re done using the leather needle and Teflon foot, clean them thoroughly with a damp cloth. This will help remove any traces of leather, which can otherwise build up over time and become difficult to remove. You should also sharpen the leather needle periodically with a file or a sharpening stone to make sure it remains sharp.
It’s also important to inspect the Teflon foot before use to make sure it is free of any dirt, dust, or other debris that could cause it to snag. Additionally, apply some lubricant, such as sewing machine oil, to the presser foot to keep it running smoothly.
Finally, be sure to store your leather sewing supplies in a dry, cool place. Leather needles and Teflon feet rust easily, so making sure they are kept in a humid-free environment will help keep them in good condition for longer.
Safety Tips
Sewing leather can be dangerous, so it’s important to take proper safety precautions. Wear gloves when handling sharp objects, such as needles and chisels, to protect your hands from cuts and scratches. Additionally, be sure to use a sharp knife when cutting the leather. Dull knives can cause the leather to tear and fray, which may compromise the integrity of the finished product.
When using an awl, it’s important to use one that is specifically designed for leather. Regular awls are too blunt and may cause the leather to tear or crack. A leather awl is sharper and better suited to piercing the leather.
Finally, make sure that you keep your workspace clean and tidy. Leather sewing can get messy, so be sure to clean up after yourself and store any leftover leather or supplies out of the way.
Building Confidence
Leather sewing can seem intimidating, but with the right preparation, it can be a fun and rewarding experience. Take the time to practice and become familiar with the various tools and techniques before you begin a project. And don’t be afraid to experiment. Trying different types of stitching and finishing techniques is a great way to develop your skills and build your confidence.
Creating leather projects requires patience and attention to detail. If you take your time and make sure to follow all of the safety procedures, you should have no problem creating beautiful and long-lasting items. So go ahead and give it a shot – you’ll be surprised at what you can create.
