Fabrics
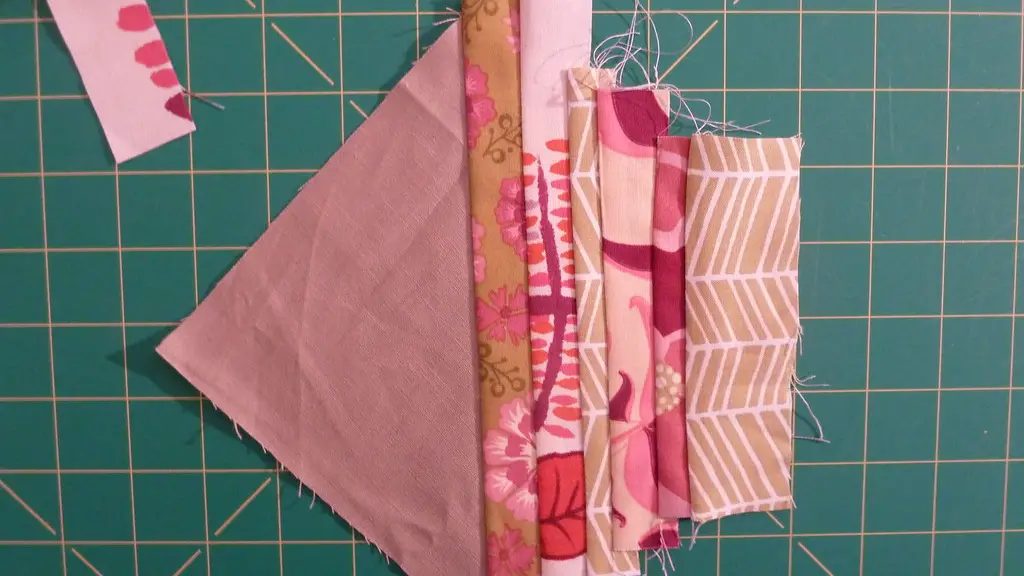
Sewing a button on fabric is an easy task. The first step is to determine the fabric type of that shirt or trousers. It is important to consider how thick the fabric is and how small or large the button size is. If the fabric is thin and the button is too big, it is better to fasten it with a needle and thread instead. It is also necessary to prepare the fabric. Making sure the area around the button is clean and free of lint, wrinkles and deformations, can help you do a smoother job.
Button & Thread
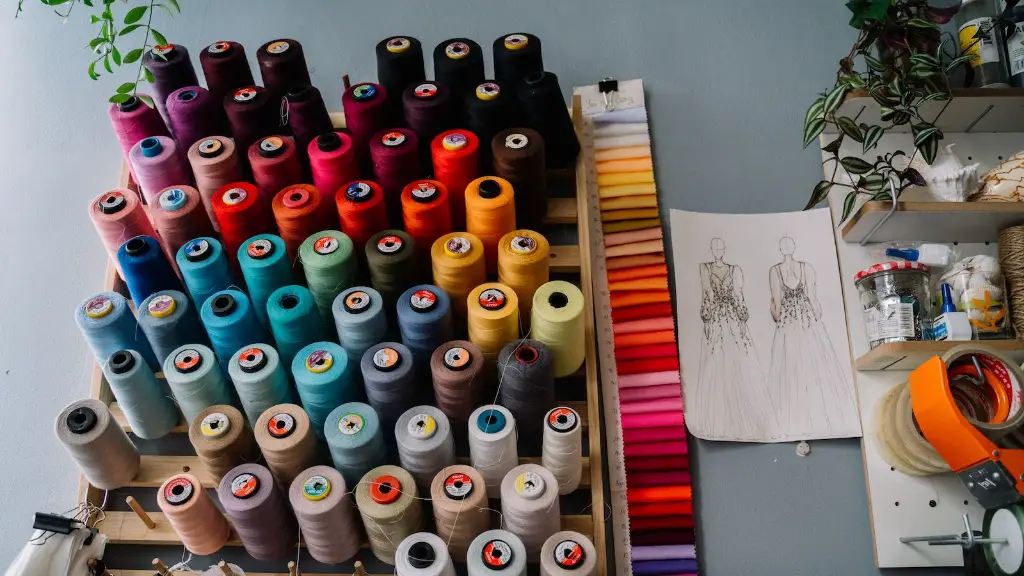
The second step is to choose the correct color and type of thread as well as the button. It is recommended to match the thread with the color of the garment as closely as possible. For a more polished look, use a thread color that is slightly darker than the garment fabric. The button that you choose should complement the size of the fabric and the size of the fabric hole where the button will be sewed. Accessorizing with a different kind of button can add some flair to the garment.
Sewing Machine
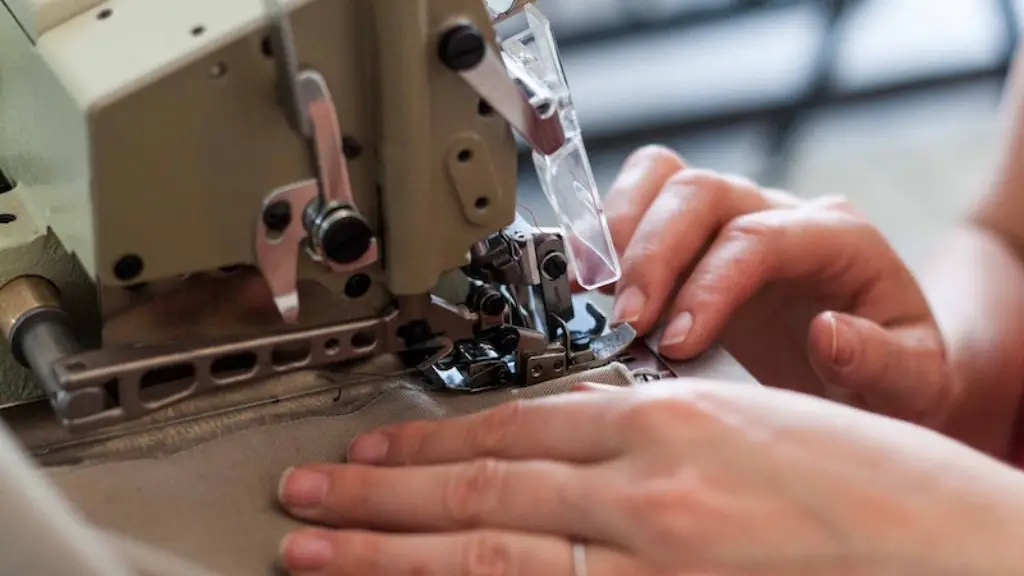
The third step is to set up your sewing machine. Choose a zigzag or regular stitch and adjust the stitch length and dials. A zigzag stitch is preferred for extra security and strength as it will hold the button securely in place. Make sure to thread the machine correctly by following the manual instructions and using the right thread. Do a trial run on a scrap piece of fabric to make sure the settings are correct and the stitch quality is good.
Button Sewing
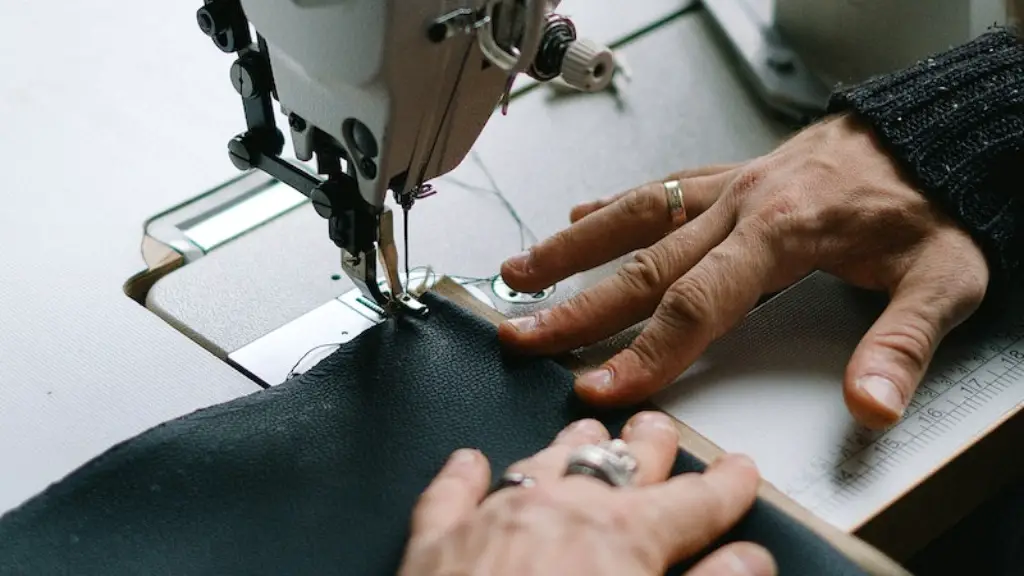
The fourth step is to sew the button. Place the material so the hole is exposed under the sewing machine needle. Put the button on the hole and put the machine needle over one of the button’s holes. With the button held in place, start the machine and secure it with the buttonhole presser foot. Sew the button on with a few passes of the needle, so it is secure to the fabric.
Reverse Stitch
After the button is secure, it is important to do a reverse stitch. Reverse stitching will reinforce the button and add a professional touch. To do the reverse stitch, set the machine stitch back to a regular length. Then, sew a few stitches in reverse, over the stitches that have already been sewn. This will secure the thread and form a knot, so it will not unravel.
Finishing Up
The last step is to check the button and make sure it is secure and will not fall off. Cut off the excess thread and inspect both sides of the garment for any visible stitching. After the button is in place, it is important to press the garment to secure the button and make sure it is lying flat and looks professional.
Avoiding Fraying
When sewing on a button, it is important to consider how the fabric will react after some wear and tear. Fraying may occur at the edges of fabric that are constantly being moved. To avoid any fraying on the fabric, use a matching fabric glue or a machine stitch that locks the thread in place. Press the garment with an iron to help the glue and thread stay in place.
Alternatives
One alternative to sewing a button with a sewing machine is gluing it on. This is a good option if you need to put the button on quickly. Gluing is not as reliable as stitching a button with a machine but it may be suitable for a short-term solution in some cases.
Usage & Organization
When sewing on a button with a machine, it is important to consider the usage of the garment and its organization. If the garment is being used in a more strenuous activity, it may need an extra layer of stitching to the button. To keep the garment in order and avoid tangling the threads, it is important to make sure to use a bobbin and wind the thread with care.
Thread & Needle
When using a needle and thread to sew on a button, use a sturdy and strong type of thread, such as polyester thread. This type of thread will be more durable and it won’t unravel as easily as other types. When using a needle, select one that is the right size for the fabric and the button’s hole. Thread the needle, making sure it is secure and without any knots or tangles.
Safety & Care
When sewing on a button with a sewing machine, it is important to take some safety precautions. Make sure to read the instructions on the machine and ensure that it is properly functioning before using it. Wear protective eye-wear to keep your eyes safe from any stray threads or pieces of fabric. Also, make sure to be mindful of the machine parts and to handle them with care.
Button Setting Tool
For a faster and easier way to sew on a button, a button setting tool can be used. This tool will make the process even quicker and more efficient. The tool consists of two plates that come together and hold the button in place in the fabric. Thread is added between the plates and when the presser foot of the machine is applied, the button is set in place quickly and securely.
Design Choices
If you want to add an extra touch of design, there are many choices available. Consider adding a contrasting color of thread, embellishments, decorative knots, and other choice materials like beads or sequins. These options can turn a regular button into a unique design statement.
Maintenance & Repair
Routine maintenance and repair of the button can be done to prevent it from coming off and to keep it looking neat. Inspect the garment periodically and see if any fraying or loose thread is present. If necessary, do some basic repair by re-sewing the button or covering up the threads with fabric glue or clips.
Storage Solutions
For those who want to sew on extra buttons for a later use, it is recommended to store them safely and properly. A good storage option is to use an empty thread spool and fill it up with all the necessary buttons, threads, needles and other materials that can be useful. Separate thread colors and sizes so it will be easier to find the right ones.


