Understand the Materials
Sewing patches onto clothing or accessories can be a great way to personalize something, or to make a statement. Before you begin, it’s important to understand the materials being used. Patches come in a variety of different materials. Leather, denim, cotton, and canvas are just some of the fabric materials available. Depending on the material, it might be necessary to first run the fabric through a machine wash cycle, either to soften it or to shrink it into shape. When choosing a thread, make sure it’s strong enough to stand up to constant wear and tear, while also being the right color to match the patch, or contrast with it. Qualified tailors will usually have access to matching threads and tight-knit patches that won’t come apart easily.
Prepare to Sew
The next step is to prepare to actually sew the patch onto the item. Begin by pre-washing and drying the fabric where the patch will be placed. Tooth-brush any waxed surfaces, such as a jean pocket, to ensure the patch sticks firmly. Once the fabric is clean and dry, use an iron to press it flat, and then place the patch on top of the fabric, making sure that the edges are completely flush. To make sure that the patch sits correctly, and in the right position, use pins to keep it in place.
Set Up the Sewing Machine
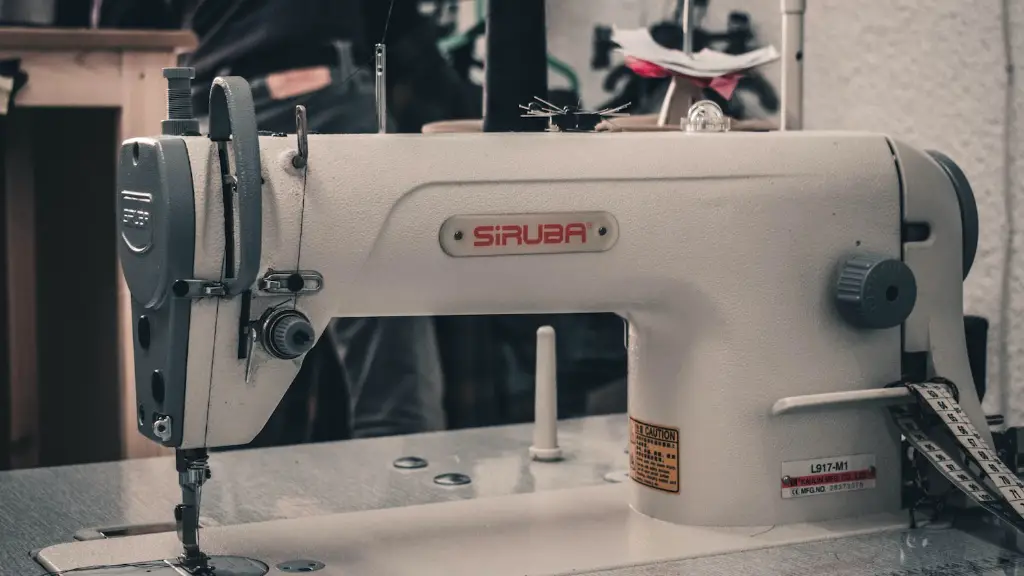
When the fabric and patch are ready, it’s time to set up the sewing machine. Make sure the machine is threaded correctly and the bobbin is wound. For patches, you’ll usually want to opt for a straight stitch, as this will securely hold the item in place. If you’re stitching through thicker material, such as leather, an industrial sewing machine will be needed. These machines differ from normal sewing machines because they offer extra power and features.
Sew the Patch
Now it’s time to actually sew the patch onto the item. With a patch, the sew lines will usually be very close together, so the best way to start is by manually guiding the material underneath the fabric. Much like brushing your teeth, you should sew back and forth in short strokes, to ensure the edge stays as close to the back of the patch as possible. Use the machine’s speed control when sewing to ensure that the patch stays in the right place.
Finishing the Patch
When the patch has been completely stitched, carefully cut away any excess thread from the bottom. Most patches come with a layer of adhesive on the back, so make sure you leave the threading close to the edge to ensure that the adhesive properly binds the patch in. Don’t forget to take the pins out before you do the final press, using firm movement in all directions to ensure that the patch sticks.
Sprucing Up the Patch
Finally, if you want to further enhance the look of the patch, some sprucing is needed. Crafting stores and online suppliers stock a range of embroidery supplies such as sequins, colourful threads, and embellishments. This is the ideal way to spruce up any patch, and make sure it stands out.
Choosing a Quality Sewing Machine
When sewing patches onto materials, it’s important to invest in a quality sewing machine. Cheap models will often break down or overheat after a while, while industrial machines can provide a cost-effective solution over time. Before investing in a sewing machine, you should always read reviews to make sure you’re getting a product that’s right for you.
Select the Right Needle for your Sewing Machine
It’s important to use the right needle for your sewing machine, as the wrong type can often cause major damage. Generally, heavier fabrics such as denim or leather will require a sturdier needle than lightweight materials such as cotton or silks. If a patch is large or thick, you may need to use a larger needle, as these can accommodate for larger stitches.
Think about Stitch Length and Density
Stitch length and density are important considerations when sewing a patch onto any material. Most patches are best sewn with short stitch lengths, and with a higher density. This is because it creates a strong, durable patch that’s less likely to come undone. When stitching the item, a professional tailor should always aim to keep the stitches as close together as possible.
Secure the Edges
Modern sewing machines should come with edge-stitching features that enable you to fasten the edges of a patch onto a garment. To do this, you’ll need to adjust the needle position to the edge of the fabric, before stitching a small zigzag in that area. This will prevent the patch from coming undone, even with wear and tear.
Frayed Edges
If the edges of a patch have begun to fray, it’s best to use a serger to finish them off. This involves using a stitch pattern that is specifically designed to keep edges from fraying. The tension for a serger will also be different from a normal sewing machine, so it’s best to read the machine’s manual carefully before threading it up.
Basting a Patch
Basting is an advanced technique used to temporarily attach one fabric to another. It’s usually done with a long, loose stitch, and can come in especially handy when attaching patches to an item of clothing. To baste a patch, you first need to attach the patch to the item with pins, and then stitch it in a few places, being sure to keep the stitching long and loose. This can be done on a regular sewing machine, but a basting foot will also help.
Use of Bobbin Thread
When sewing patches, some people choose to use the bobbin thread for the actual patch-sewing part. This is because a bobbin thread will be less likely to break under strain than the regular one, and so it creates a much more secure patch. When using a bobbin thread, it’s important to be sure you’re using a strong thread that won’t break easily. Threads such as polyester and cotton are ideal for this purpose.
Embellishing a Patch
Finally, for a really unique look, many people choose to embellish their patches with beads, sequins, and other decorative items. Embellishing a patch can be a great way to add extra flair to a garment, while also making sure it stands out. When embellishing, it’s important to use strong thread and needle that won’t break easily, as well as sturdy beads that won’t come off with wear and tear. Alternatively, you could opt to use an iron-on transfer, which will give an equally unique look.


