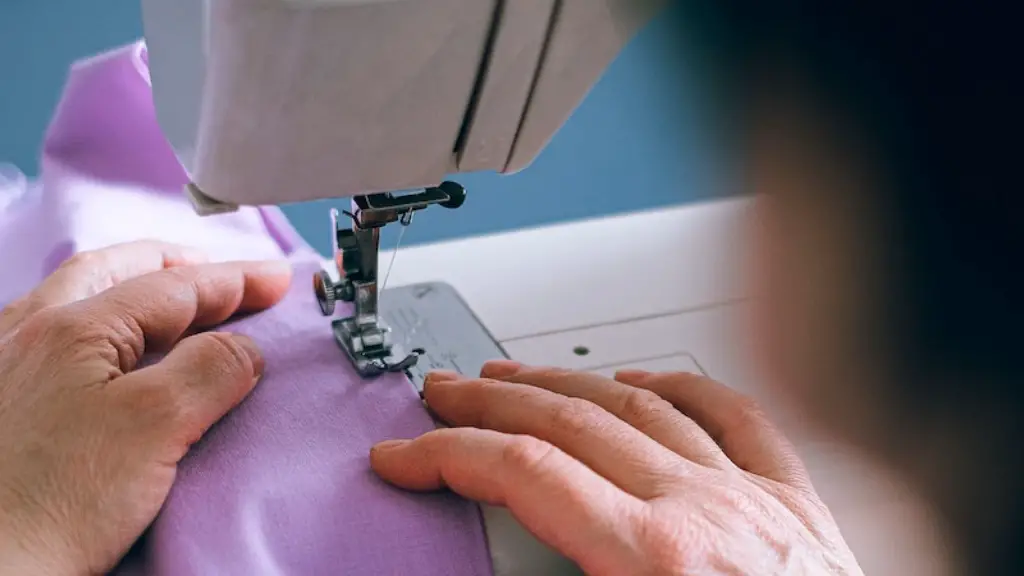
Section One: Understanding the Basics
The key to mastering the art of sewing with a sewing machine lies in understanding the basics. It all starts with selecting the right machine for your project. Different machines are suitable for different types of fabric and thread weights, so it’s best to research the models available and talk to a qualified sewing machine machinist before settling on one.
Once you’ve got your machine, it’s important to familiarize yourself with it. Get to know the different parts of the machine and practice using its tools such as the throat plate, bobbin, foot pedal, needle and thread settings. Understanding the function of each of these will ensure a smooth sewing experience later on.
The next step is practicing threading the machine. This will help you understand how to properly thread the needle, draw up the bobbin thread and adjust the tension. Knowing how to do these essential steps will make sewing with the machine simpler and smoother.
Section Two: Preparing the Fabric
Once you’ve got the basics of the machine down, it’s time to prepare the fabric for the project. Make sure to double-check what type of fabric and thread weight you’ll be using for the project before beginning. If the fabric has a pattern or texture, it’s best to iron it before starting to ensure the texture doesn’t get lost during the sewing process.
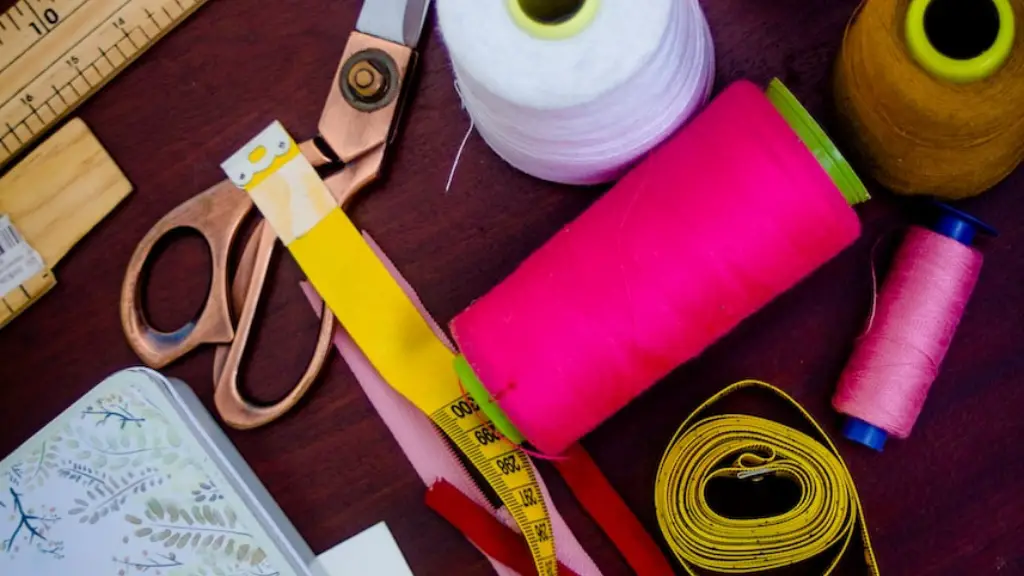
Cutting the fabric is another crucial step in the process. Make sure to get a ruler and marking pen to help you measure and mark the fabric accurately. Always use sharp fabric scissors as dull ones can damage the fabric as well as the sewing machine blade.
Regardless of the type of project, it’s essential to use pins and needles to hold the fabric together while cutting or sewing. Taking the time to add these before beginning will save time in the long run.
Section Three: Sewing Properly
Now that the fabric is ready, it’s time to understand the fundamentals of properly sewing with a machine. Adjust the tension based on the fabric and thread you’re using. A tight tension works best for thicker fabrics while a loose one is preferable for lighter fabrics. Presser feet are also important, as they act as guides to help fabric move smoothly along the machine. Regularly clean the machine of dust, lint and thread.
Always practice on a scrap fabric piece before working on the project proper. This will help you experiment with different stitch options as well as understand how to adjust the pressure foot, needle position, and overall feeding of the fabric. Misplacing the needle or fabric can quickly lead to faulty stitches, so it pays to perfect these steps.
Sewing with electronic machines can be a challenge at first, so it always helps to practice different stitch techniques, understand how much distance to leave between stitches, and the right speed to sew at. These fundamentals may take time to master, but they’re essential to getting a clean and neat finish in the end.
Section Four: Finishing Details
Once the garment or accessory is sewn together, it’s time to do the finishing touches. This typically involves hemming the fabric and tying knots. Depending on the garment, you may have to add buttons, trims, or other decorations as well. It’s best to practice on scraps of fabric first before using the final fabric.
With the project finished, it’s now a matter of cleaning up the machine. This includes winding up threads and tucking it neatly away in its holder, getting rid of lint and dust, and greasing the machine if necessary. Doing these will ensure a safe and smooth operation the next time you use the machine.
Finally, it’s important to note the safety protocols when sewing with a machine. Be sure to keep your fingers away from the needle and other moving parts, unplug the machine when not in use, and clean the machine regularly.
Section Five: Learning from Experts
If you’re just starting out, it pays to join sewing classes or attend sewing events sponsored by sewing machine machinists. These help you learn from experts, understand the basics and advanced techniques, and engage with the community. Plus, attending classes can be a great way to make new friends.
Online sewing tutorials and blogs are also great resources for new sewers. It’s always a good idea to explore the available options on the internet as it is a great source of easily accessible information. Just make sure to double-check the credentials of the sources before following their advice.
At the end of the day, simply practice and practice. The more you work on sewing projects, the more awareness and techniques you’ll gain. Find the time to create different projects and explore different techniques. There’s so much to learn and know in the world of sewing that the only way to get better is to commit to practice and dedication.
Section Six: Common Challenges in Sewing
Every sewer knows that challenges, mistakes and frustrations come with the territory. One of the most common struggles is dealing with fabric puckers. This happens when there’s too much tension between the needle and the bobbin threads, leading to the fabric being pulled and distorted in certain areas. The best way to avoid this is to adjust the tension correctly and slowly feed the fabric through the machine at a consistent speed.
Another issue that people tend to encounter is stitch lengths that aren’t uniform. This can happen when there is a misalignment between the bobbin and the presser foot. To fix this, simply adjust the wheel to the right and make sure that the fabric is fed at a constant speed. If the problem persists, try changing the needle and check if it improves the stitch length.
One thing that can cause panic in sewers is getting the fabric stuck to the machine. This often happens when too much of the fabric is under the pressure foot, leading to the needle punching through it and getting stuck. The best way to avoid this is to carefully guide the fabric while sewing and make sure that it is always clear of the presser foot.
Section Seven: Choosing the Right Fabric
Choosing the right fabric for your sewing task is as important as having the right tools. Depending on the type of garment or accessory you’re making, different fabrics should be chosen. Cotton, for example, is perfect for quilts, pillowcases and other items that require a high degree of durability. Silk and linen, on the other hand, are ideal for delicate garments such as blouses, skirts or dresses.
Synthetic fabrics such as polyester, lycra and nylon tend to be difficult to sew with and require stitches and needles that can handle the slippery fabric. Taking the time to research and understand different fabrics will ensure that sewing with them becomes easier and smoother.
It’s always a good idea to stick to fabrics that feature the same type of pattern. Working with prints that have similar colors and scale can help make the process of selecting fabrics simpler and less complex. This will also make sewing projects easier, as colors and textures that match can automatically improve the finish.
Section Eight: Investigating Materials
Investigating the tools and materials required for projects will save time and energy as well as ensure an accurate finish. Make sure to get sewing supplies that are appropriate for the type of fabric or garment you are making. The thread, needles and other elements should be compatible with the fabric chosen. Lighter fabrics require thinner thread and needles, while thicker material needs thicker thread and longer needles to sew with.
It’s also important to assess different interfacing options. Interfacing helps stabilize fabric and prevent it from fraying. Different fabrics need different interfacing, so it’s important to select the right one in order to ensure that garments stay together after construction. It’s best to read the guidelines provided on the interfacing packaging in order to make the right choice.
Reliable and good quality sewing tools are essential to creating beautiful projects with a clean finish. Take the time to shop around for quality tools from reliable brands. Doing so will help you save money in the long run as well as guarantee quality results.
