Machine
Threading a dressmaker sewing machine is a simple and satisfying task that should be part of the routine maintenance of any sewing enthusiast. In order to thread a sewing machine, firstly the spool must be placed on the spool pin, then the thread must be drawn through all the necessary guide discs and take-up levers before looping it around the bobbin tension where it is finally pulled down and inserted into the needle. There is an endless variety of sewing machines out there, all requiring different configurations of threading, but the principle of threading is the same in the majority of cases.
Sewing machine experts and experienced seamstresses advise that threading a knitting machine is one of the most important skills to have when it comes to tackling any project. Without proper threading and tension, fabrics can pucker, pouches can become uneven, and buttonholes will not be correctly formed. Practicing threading a sewing machine is essential to avoid any of these problems, and it is important to understand all of the steps involved to ensure accurate threading every time.
Parts and Positioning
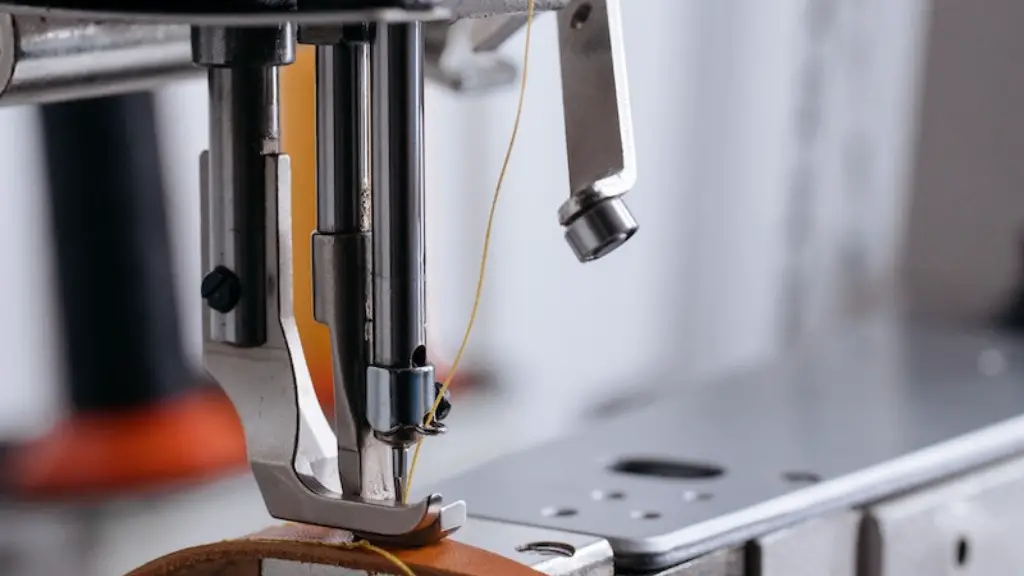
When learning how to thread a sewing machine, it is important to familiarize oneself with the parts of a sewing machine and the correct position and orientation of all the parts. The spool pin holds the spool of thread while the take-up lever stands behind the needle and pumps the thread up and down as the machine sews. To the right of the take-up lever sits the needle threader, a U-shaped wire which passes the thread through the eye of the needle. Underneath the needle sits the bobbin case which holds the bobbin with the thread already in it.
Threading the Bobbin Case
The bobbin case should be threaded before anything else, as the thread from the bobbin case forms the lower or back stitch which will form the foundation of any project. To load the thread into the bobbin, the bobbin is placed inside the bobbin case with the thread facing downwards and is then passed clockwise through the first two small eyelets and then out of the front slot marked with a red thread guide.
The thread needs to be pulled tight, so that the tension it creates a loop just around the bobbin, which can then be easily threaded around the tension device at the back of the bobbin. After looping the thread around the tension device, it must be pulled through the bobbin slot close to the underside of the machine.
Threading the Needle
With the bobbin casing in place, threading the needle can begin. Firstly the spool is to be placed on the spool pin in the correct orientation, so that the thread can easily be drawn off and passes the various guides. Threads have a specific direction, indicated by arrows on the spool, so these should be followed.
The thread is then wound around the thread guide disc and inserts through the take-up lever, creating an upper loop. This thread will draw the lower thread (from the bobbin) when the machine is running, and they both need to be of equal length to ensure consistent stitches. Once this loop is properly formed and tensioned, the thread is looped around the bobbin tension device, the presser foot up, the machine must then be set to zigzag mode, and the needle must be carefully threaded.
Needle Threader
Newer sewing machines come with a needle threader, which is a great tool for quickly and easily threading a needle. The threader is a small U-shaped metal or plastic wire that fits into the eye of the needle and takes the thread with it. This is especially useful when the eyes on the needles may be too small for thread to pass through. The needle threader works for any type of needle, including curved and needle lace varieties.
Thread Tension
Finally, the thread tension should be checked and adjusted as necessary. The tension affects the stitch formation, so it is important to make sure it is balanced and to check it regularly as threading can become loose over time. To adjust the thread tension, each machine has a wheel near the needle which will increase or decrease the tension of the thread being fed through the needle.
Testing
Once the sewing machine has been threaded, the stitch length and patterns should be tested using a few scraps of fabric, to make sure the stitches are even and look neat. This will help identify any issues with tension, threading or otherwise.
Caring For The Machine
Threading a sewing machine is essential for great sewing results and it also helps maintain the machine and ensure its longevity. However, taking special care of the needles and bobbins, as well as avoiding over-threading, will reduce wear and tear on the machine’s parts and keep it in good condition.
Storing Threads Appropriately
It is also important to store threads properly, so that the threads don’t get tangled and knotted up, as this can make threading much more difficult. Threads can be stored properly by rewinding spools onto empty plastic containers, or alternatively stored in a box or bin, away from bright light, as this can fade and deteriorate the thread.
Practising
Threading a sewing machine can become a lot easier with practice and repetition, but it’s important to be thorough and precise each time it is done. It is a skill that requires patience and precision, but is a rewarding one, which will help the user get more satisfaction and a better result out of their projects.
Preventing Snags
When threading the needle, it is important not to snag the thread or to pull it through too quickly. A slow and steady hand is important to ensure that the thread doesn’t become stuck or caught in any of the small eyelets along the way. Once the thread has been looped and the tension has been adjusted, it should be good to go and ready to start sewing.
Lubricating Machine Parts
Periodically cleaning and lubricating all the parts of the sewing machine is essential for it to continue functioning properly. This should be done every 3 to 6 months and will help to keep all the different mechanisms running as they should and prevent any wear and tear on the parts, as well as helping threading become smoother and more efficient.
Re-Threading
If, after all the steps above have been followed, the stitching isn’t coming out right, it might be time to start all the threading afresh. Unthreading the machine and starting over can often be better than trying to adjust the tension or needle threader, as sometimes the issue is a result of a problem with the threading process itself. This is where the patience that threading a sewing machine requires really pays off, as it means when it’s done successfully, the sewing results will be consistent and perfect every time.


