1.The Basics
Threading a handheld sewing machine can seem like a daunting task. But with a few simple steps and a little bit of patience, anyone can learn to thread a hand-held sewing machine effectively. The first thing to understand is the types of needles – the rounded metal shaft that attaches the thread to the fabric. Handheld sewing machines use universal needles, which have a round shaft and a cone-like eye. When selecting a needle, it is important to make sure it is the correct size for the fabric. The sizes of needles range from very thin to quite thick.
Once the correct needle size is selected, it’s time to thread the machine. Before beginning, it is important to make sure that the machine has been properly oiled and the bobbin is in place. Open the needle by removing the needle clamp, which is the small metal piece at the end of the needle shaft. Then, take a length of thread and pass it through the eye of the needle, making sure the thread is firmly secured in place.
Now it’s time to pull the thread through the machine and around the spool pin. Take the thread that has been placed in the needle and pass it over the top of the machine and around the spool pin at the back of the machine. Once it is around the pin, pull the thread down the back of the machine and out the arm towards the side of the machine.
Once the thread is out of the arm at the top of the machine, thread the rest of the thread along the back of the machine. Make sure the tension disks (small round disks) are closed as the thread passes them. When it comes to the lower tension disk, the thread should be passed through the gap in the middle of the tension disk, before being placed back around the spool pin.
At this point, the thread is now ready to be pulled through the eye of the needle. To do this, pass the thread over the top of the machine and out the back arm towards the tension spring. Thread the thread through the tension spring and into the threading channel, which is the small hole in front of the tension spring. Then, pull the thread down through the tension spring and out the needle eye.
2.Securing The Thread
Once the thread has been officially threaded through the eye of the needle, the next step is to secure the thread correctly. To do this, pull the thread up around the back of the machine, through the lower tension disk, and back around the spool pin. Pull the thread behind the needle, again making sure the tension disks are all closed. Then, pull the thread out of the threading channel and back around the spool pin.
Secure the thread around the spool pin by making a loop, before tying a knot around the pin. Then, place the needle clamp back on the needle shaft and make sure it’s tightly secured. To double check that the thread is secured, take the end of the thread and pull it gently. If it doesn’t move, then the thread is secure.
3.Stitching The Fabric
Now that the machine has been threaded and the thread is secured, it’s time to get stitching. To begin stitching, place the machine onto the fabric. Make sure the fabric is properly secured and not moving. Then, with one hand, hold the thread and move the other hand back and forth in a sawing motion over the fabric. This will create the backstitches, which will then be covered with the topstitches.
To create the topstitches, press the foot down onto the fabric and begin sawing the fabric again with the sawing motion. This will create both the topstitch and the backstitch, which will secure the thread in place. Once the stitch is complete, release the foot and pull the thread back through the eye of the needle.
4.Finishing The Stitch
Once the stitch is complete and the foot has been released, the stitch needs to be finished properly. To do this, take the thread and loop it around the edge of the fabric and back towards the needle. Wrap the thread around the edge of the fabric and back to the needle, in a figure-of-eight shape. Then, pull the thread through the eye of the needle and knot it firmly. Cut the excess thread and the stitch is complete.
5.Choosing The Right Thread
When selecting thread for a particular fabric, it is important to remember to match the thread to the fabric. If a thicker thread is used on a thin fabric, the fabric will become damaged. Always make sure that the thread is the same weight as the fabric. If in doubt, test the thread on a small piece of the fabric first, before stitching a more substantial piece.
6.Cleaning The Machine
Once the project is complete, make sure to clean the machine before putting it away. Unscrew the needle clamp and the bobbin and remove any lint or dust that might be built up in the machine. Then, oil the machine in the same places it was oiled before use and make sure to properly lubricate the entire machine.
7.Safety Precautions
When working with a sewing machine, it is important to take safety precautions. Always keep the needle away from any skin or clothing and never leave the machine unattended while it is switched on. Make sure to turn the machine off at the power source, instead of just unplugging it. And make sure that the needles are sharp and in good condition, to reduce the risk of the thread breaking or snagging on the fabric.
8. Common Troubleshooting
Troubleshooting is an important part of working with a handheld sewing machine. Common problems include snagging thread, breaking needles, or the machine not running properly. To mitigate these issues, make sure to always keep the machine clean and oiled, and check that the needle is the correct size for the fabric. If the machine is not running properly, consult the manual or the manufacturer for troubleshooting advice.
9.Material Choices
It is important to keep in mind the types of fabric that can be used with a handheld sewing machine. Generally it is best to stick to natural fibers such as cotton, linen, and silk. Synthetic fibers such as polyester, rayon, or nylon can be used as well, but it is important to test the machine on a small piece of fabric first.
10.Adding Embellishments
Adding embellishments to a handmade creation can really make a project stand out. Custom buttons, ruffles, applique, and patches can all be added to a project. It is important to ensure that the embellishments are securely attached to the fabric, and the correct needle type is used for the embellishment. Some embellishments require extra steps and may need to be securely hand-stitched in place, or connected with glue or other adhesives.
11.Designing ACreation
Once the fabric and embellishments are chosen, it’s time to start designing the project. Sketch out the project beforehand to ensure that all the pieces fit together properly and that any complicated sewing technique is pre-planned. If a pattern is being used, make sure to cut out the pattern accurately and check that it is the correct size.
12. Finishing Touches
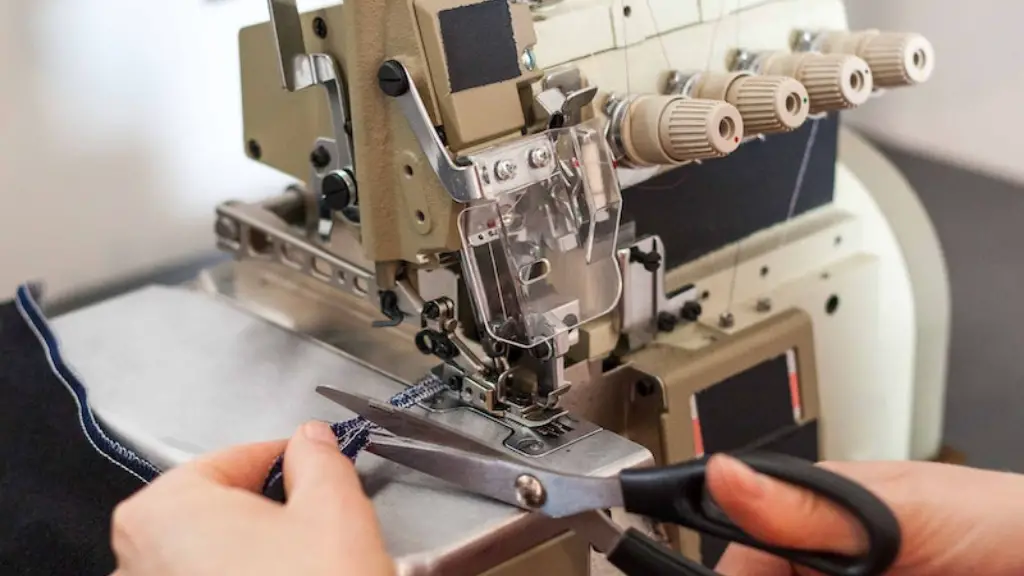
Once the project has been assembled, it is important to give it the finishing touches that are required. Add any linings or trims, and make sure the edges of the fabric are all neat and tidy. If a lining or trim is not required, it may be necessary to use a serger machine or an overlock stitch to neaten the edges of the fabric. For a high-quality finish, it’s important to take the time to press the fabric and steaming any pleats or folds.
13.Adding Zips And Buttons
Adding zips or buttons to a handmade project can be intimidating, but with a few simple steps it can be done effectively. If the fabric is delicate, it is important to use a zipper foot or buttonhole foot, to ensure the stitching is as secure as possible. If a zipper is being used, it may be necessary to stitch the zipper in place before attaching it. For buttons, use a stabilizer to help the buttonholes keep their shape, as well as a thread that matches the buttons.
14.Conclusion
Threading a handheld sewing machine is a relatively simple task when done correctly. With a few simple steps, anyone can learn to thread a hand-held sewing machine, choose the right thread, and stitch a fabric securely. It is also important to ensure that the machine is properly oiled and cleaned, and that the correct needle type is used for each fabric. With patience, practice, and a little bit of know-how, anyone can create a beautiful handmade project.


