Learning how to thread a sewing machine is an important skill for anyone who wants to take up sewing. Before beginning, it’s important to make sure the presser foot is disengaged and the take-up lever is in its highest point. This will give you an open view and make the threading process easier. Here are some tips on getting your sewing machine threaded correctly.
Step 1 – Check the Bobbin
The first step in threading your sewing machine is to check the bobbin. Make sure it is free of any lint or fibers, and it is the correct bobbin for your machine. If the bobbin is incorrect, it can jam the mechanism of the machine. If that is the case, remove the bobbin and thread it separately.
Step 2 – Insert the Bobbin
After checking the bobbin, insert it into the bobbin case and make sure it is securely in place. There may be an area at the end of the bobbin case that needs to be pressed in to ensure the threading goes correctly. It is important to use the correct bobbin for your machine because otherwise thread may become tangled or the machine may not stitch correctly.
Step 3 – Draw the Thread from the Spool of Thread
Next, draw the thread from the spool of thread. It is important to hold the thread close to the spool because otherwise it can become twisted or tangled as it comes off the spool. This thread will travel through a few of the guide slots that are in the machine.
Step 4 – Thread the Upper Tension Disk
Once the thread is off the spool, thread it through the central hole of the upper tension disk. Pull the thread through until the thread is the same length on both sides of the disk. This will ensure that your threads are even, and they will not tangle while being sewn.
Step 5 – Pull the Thread Down through the Slot
The next step is to pull the thread down through the slot. Some machines have a small lever that you can use to guide the thread, while others have a winding slot that you can use. Pull the thread down through the slot until it is behind the needle. Make sure the thread is going in the same direction as the needle.
Step 6 – Wrap the Thread Around the Tension Disk
After the thread is behind the needle, wrap it around the tension disk several times. This ensures that the thread will remain in place and will not get tangled. Wrap the thread in the same direction as the needle, starting with the bottom of the disk and going up. Make sure the thread is not wrapped too tight, or it can cause problems when sewing.
Step 7 – Thread the Needle
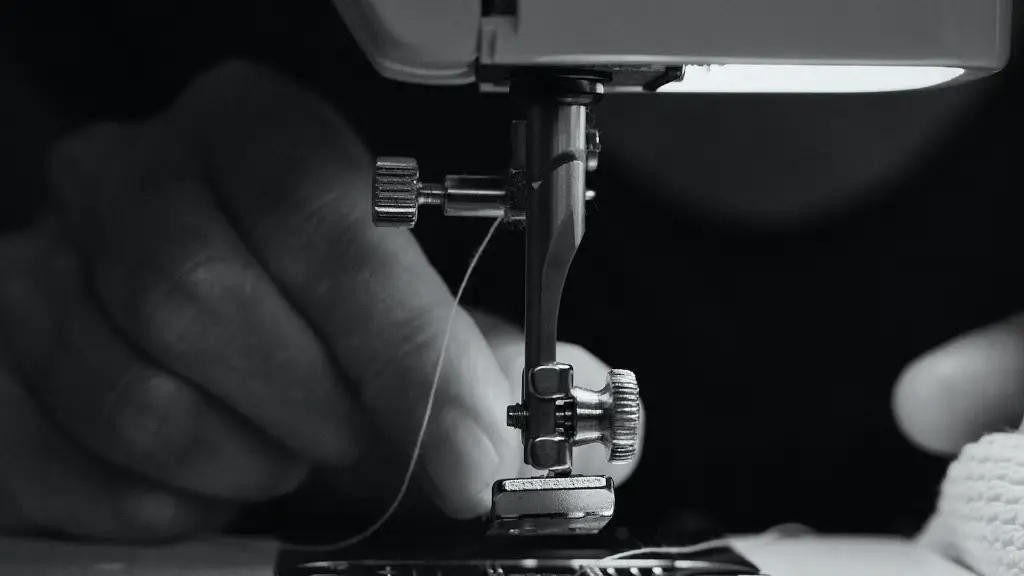
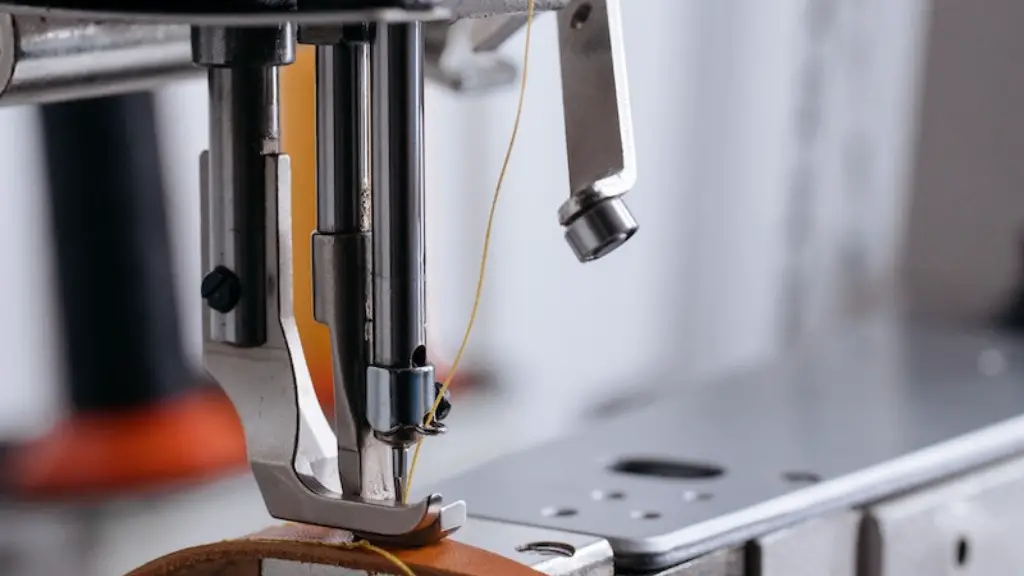
The last step is to thread the needle. Take the thread off the tension disk and make sure it is going in the same direction as the needle. Then draw the thread up around the needle and draw it into the eye of the needle. Pull the thread until it is evenly positioned on both sides of the needle.
Step 8 – Pull the Tail of the Thread
After the needle is threaded, pull the tail of the thread slightly toward the back of the machine. This will ensure that the thread is in the correct position and will not get snagged when sewing. If you are using a double needle, make sure both needles are threaded with thread for the best stitch results.
Step 9 – Secure the Thread
Once the thread is in position, it’s time to secure it. Use a thread guide on the machine or a thread guide on the spool of thread to ensure that the thread stays in place while you are sewing. Make sure the thread is firmly in place and cannot be easily dislodged while sewing. This will prevent any tangles or knots when sewing.
Step 10 – Thread the Take-up Lever
The last step in threading your machine is to thread the take up lever. This is the part of the machine that raises and lowers the needle. Thread the take-up lever by drawing the thread around the wheel or cog on the top of the lever. Once the thread is in place, pull it gently to ensure that it is positioned correctly.
Section 1 – Choose the Right Thread
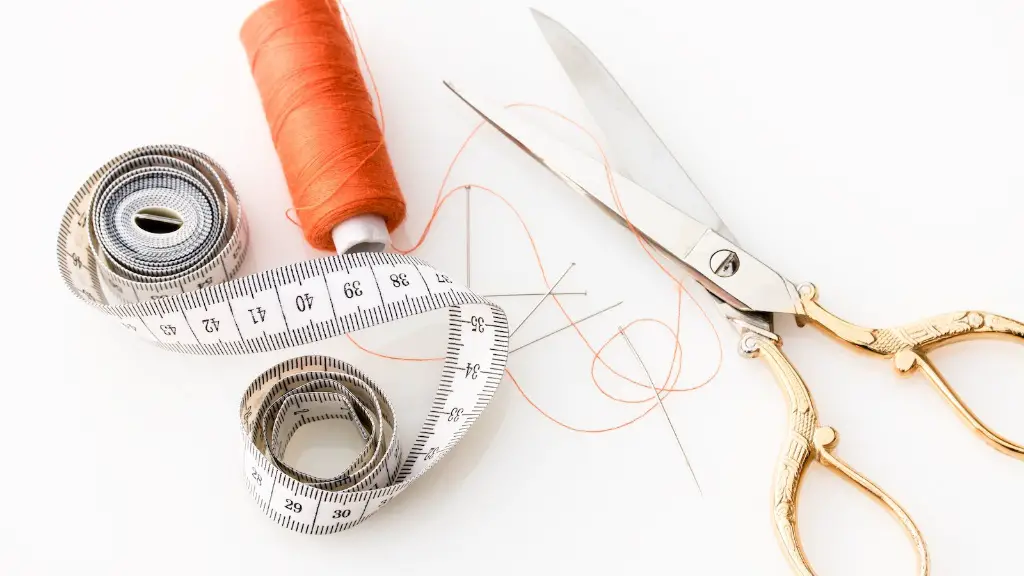
Choosing the right thread for your project is essential for a successful outcome. Different types of thread are available in a variety of materials and weights. Use a heavier thread for general projects, such as curtains or clothing, while a lighter weight thread is better for delicate fabrics like lace or voile. Look at the types of thread available and choose one that will best suit your project.
Section 2 – Thread Tension
Thread tension is an important factor when using your sewing machine. The tension should be adjusted according to the material you are using, as well as the type of stitch you are trying to create. Try different tensions to find the one that works best for the fabric and stitch. As a general rule, use a higher tension for thicker fabrics and a lower tension for lighter fabrics.
Section 3 – Needle Position
The needle position is also very important when using a sewing machine. Adjusting the needle position can be helpful when working with fabrics that have different thicknesses and textures. Depending on the stitch and material, you may need to adjust the needle position to ensure that the stitch is even. If you are making a garment, it is important to adjust the needle position so that the stitching is not too loose or too tight.
Section 4 – Change the Needle
Changing the needle is a good way to keep your sewing machine in good working order. It is recommended to change the needle after every four to eight hours of use. This will help prevent any wear or tear on the sewing machine, as well as keeping the needle sharp and capable of creating neat stitches. When choosing a new needle, make sure it is the correct size for the fabric you are working with.


