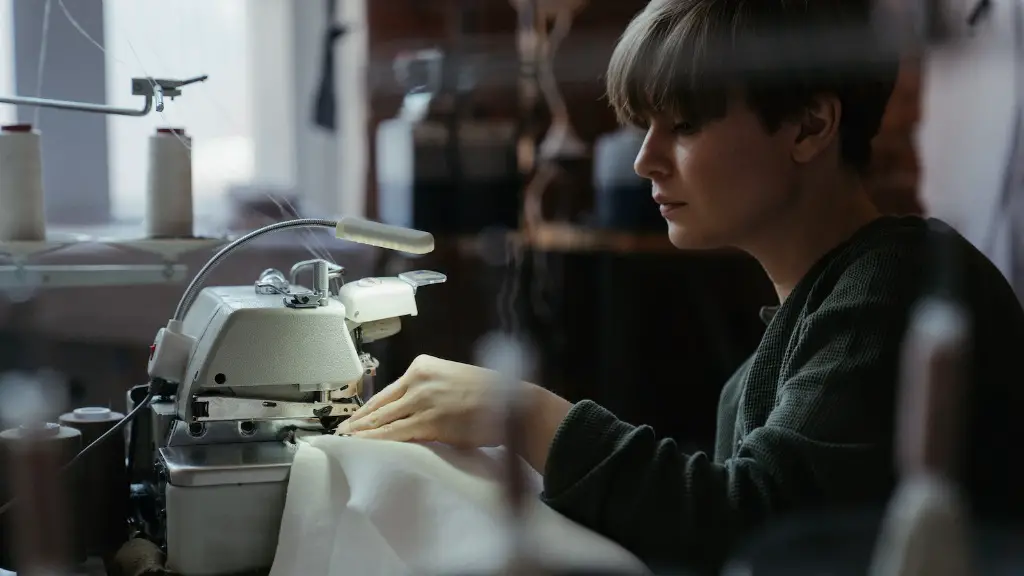
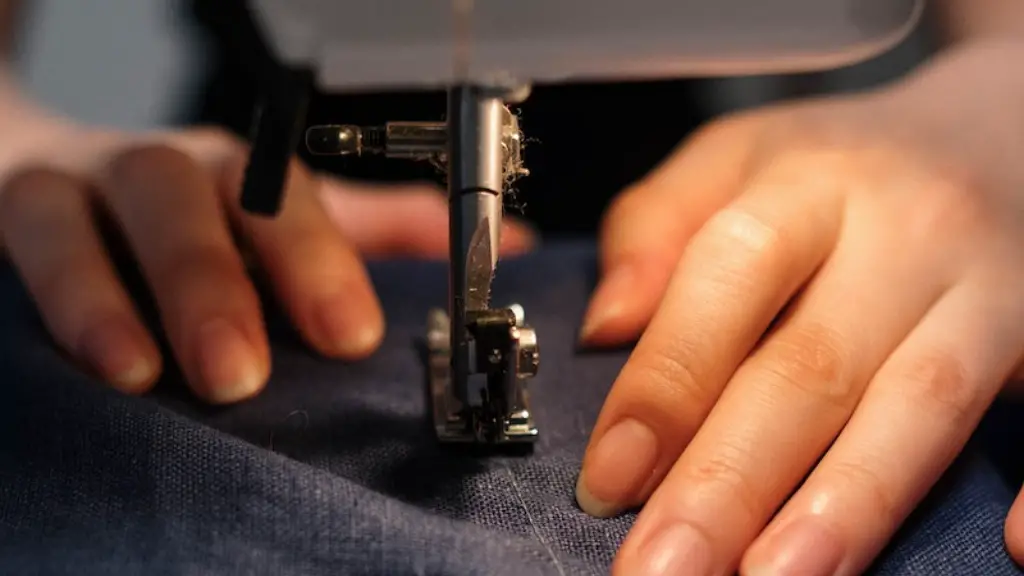
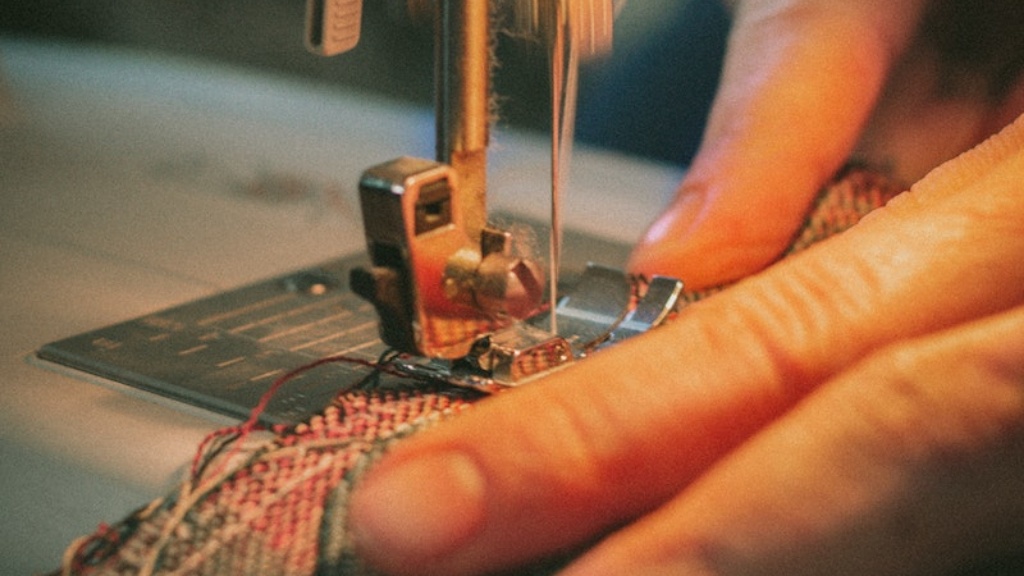
Do you have a new Simplicity sewing machine and you want to start working with it? Good for you! Learning how to thread a Simplicity sewing machine is not rocket science, but it is a skill that requires some practice in order to do so correctly. This article will go over the basic steps needed to get your Simplicity sewing machine ready to take on whatever project you are looking to make.
Before threading the machine, you will need to make sure you have everything you need. Gather your spool of thread, scissors, bobbin and the needle. Measure your thread and make sure you have at least 10 inches of extra thread for comfort. Also, these extra inches will give you enough room when it comes time to tie off the thread when finishing the project. Lastly, make sure the presser foot is in the up position.
The first step is threading the top part of the machine. Starting from the spool, thread it through all the guides of the machine then hook it on the take-up lever. Make sure the thread follows all of the same steps on each guide, if one step is missed it will not be threaded correctly. Once that is done, lead the thread through the hole of the needle, followed by looping the thread around the thread guide at the back of the sewing machine. Now the thread should be in the needle leading down towards the bottom of the machine.
The second step is threading the bobbin. To begin, insert the bobbin into the holder and wind the thread around the tension screw. Once that is done, draw the thread through the opening of the bobbin case and around the hook in the case. Pull off the excess thread and release the bobbin by pressing the release button. The thread must be pulled under the tension spring, then draw it back up over the top of the case. Last step is to draw the thread back around the hook, completing the bobbin threading.
Third, you will need to combine the top thread and the bobbin thread together. In order to do this correctly, the presser foot must be kept in the up position. Start by pulling the top thread by removing any slack from the thread. The bobbin thread is a bit more tricky, as you need to pull out a small amount of slack until the needle catches the bobbin thread. Once that is done pull the bobbin thread and pass it under the presser foot.
Lastly, the last step is to tie off the threads before sewing. Once again the presser foot needs to be in the up position. Pull the bobbin thread out until the loop is slightly loose, make sure to not pull it too much or else the thread will be too tight. Place your finger on the loop of thread, then press the needle down and turn the wheel one full turn. Use your scissors to cut off the excess thread, and then you are ready to sew!
Matching The Tension
When it comes to threading a Simplicity sewing machine, matching the tension is just as important as the previous steps. If your tension is too low, the tension of the stitches will be weak and if it is too high, the stitches will be too tight. This can cause puckering and other unwanted patterns in your projects.
To check the tension, start by creating a test stitch. A good test stitch should be neat and should match the same tension on either side of the fabric. If your test stitch is unsatisfactory, you may need to adjust the tension by turning the upper tension knob. If the thread is too tight — decrease the tension, and if the thread is too loose — increase the tension.
Keep in mind, you should never adjust the lower tension knob as this is pre-set by the machine. If you cannot get to a satisfactory stitch, try changing the thread or needle that you are using. If the problem persists, contact an authorized technician for help.
Bobbin Care
Your machine might come with a plastic bobbin, which should be replaced with a metal one. This will help you not to have any issues when threading the bobbin as the thread should slide more quickly around the bobbin case. When it comes to bobbins, it’s important to make sure that they are inserted correctly, otherwise, the machine will not function properly.
Lastly, keep an eye on your bobbin tension screw, it needs to be tight but not too tight — otherwise, the thread will be pulled too hard upon while sewing. To check the tension of the bobbin thread, pull it gently and make sure it does not move from side to side. Doing this routine check after threading greatly helps to ensure that your Simplicity sewing machine is working correctly.
Types of Thread
When choosing thread for your machine, cotton and polyester are the most common types when it comes to Simplicity sewing machines. Cotton is a strong and durable choice for quilting, it is easy to work with and provides multiple thread colors, making it perfect for detailed projects.
Polyester, on the other hand, is ideal for beginners as it is very durable and is also resistant to fading. It is also a good option when it comes to projects that involve a lot of moving parts such as bags, jackets, and fabrics that require lots of stretching. And it is available in a wide range of vibrant and deep colors.
Needle Choices
The right needle is almost just as important as the right thread when choosing supplies for the Simplicity sewing machine. It is important to find the right needle for the fabric and project you are working on. There are many types of needles available such as universal, ballpoint, denim, and stretch. Each needle type works best with certain fabrics in order to obtain the most desirable results.
The universal needle is the most commonly used needle in most Simplicity sewing projects. It is a general-purpose needle that is suitable for most woven fabrics and provides an acceptable stitch pattern for the majority of fabrics. Ballpoint and stretch needles work best with knit fabrics, like lycra or jersey. The ballpoint needle has a rounded point that pushes the fabric threads apart, instead of piercing them, preventing them from stretching or tearing the fabric. The stretch needle has an even more rounded point than the ballpoint needle, allowing it to go through the fabric more freely as it works with synthetic and stretch materials.
Testing the Stitches
Once you have your thread, bobbin and needle in place, one of the most crucial steps of the process is testing your stitches. Test stitching is important to ensure that everything is working properly and to examine your machine’s stitch quality and accuracy. Test stitching also helps to establish which tension settings work best with your fabric and the given project.
In order to test the stitch quality, create a sample fabric strip and sew a few stitches. YouTube videos on test stitching are a great way to help familiarize yourself with the process. If the stitch appears to be too loose or too tight, adjust the upper tension knob until the quality is to your satisfaction. Lastly, check the back of the fabric strip to ensure that the bobbin stitches and the top threads are even. If the stitch pattern is uneven, repeat the process until you find a setting that works for the fabrics.
