Threading a spool on a sewing machine
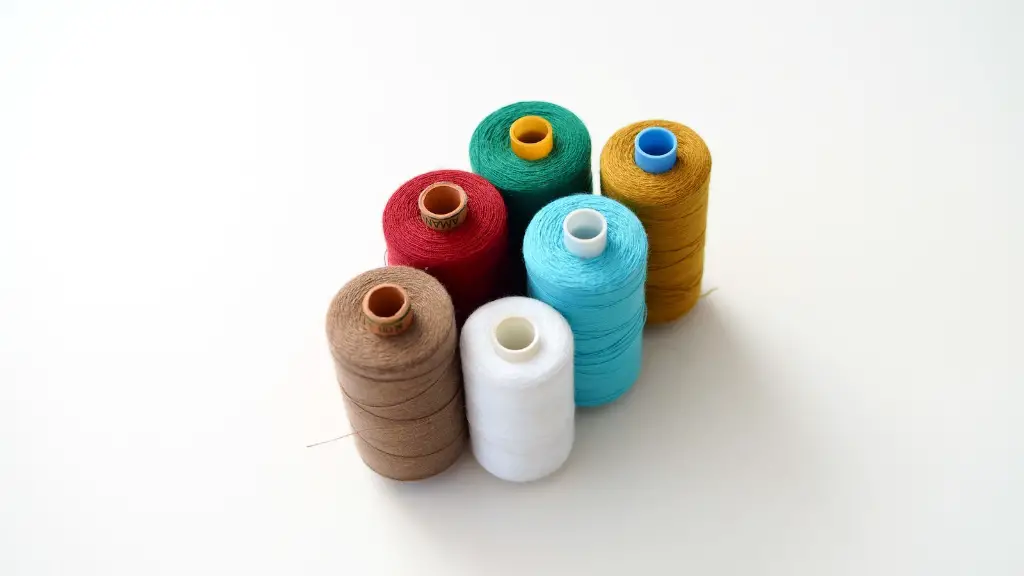
Threading a spool on a sewing machine is a relatively easy process and the best place to start is by finding the machine’s spool pin. Generally located on the top of the machine, near the needle, the spool pin is used to hold the thread spool. To thread a spool, simply place the thread spool onto the spool pin, so that it is secure and won’t move around as the machine is running.
Once the spool is in place, the thread needs to be released from the spool and threaded through the sewing machine’s thread guides. The thread guides act as a guide for the thread as it passes through the machine and helps the thread to flow smoothly and accurately. The first thread guide is usually the top tension guide, which is the thread guide nearest to the needle. After that, the thread can be threaded through the other thread guides, in the following order: the bobbin case tension guide, the main tension guide and finally the lower tension guide.
The next step is to thread the needle, by turning the hand wheel of the machine until the needle moves to its highest position. This will then allow the thread to be inserted into the needle’s eye. To do this, simply pull back the thread until it reaches the eye of the needle, and then insert the thread into the eye. Finally, the thread should be secured in place by wrapping it once around the bobbin before cutting off the excess thread.
Once the thread has been successfully threaded through the thread guides and the needle, the spool should be ready to use. To ensure that the thread spool is secure, it is important to use a thread retainer, which usually consists of a clip or a disc which can be placed over the spool to keep it in place. It is also important to check that the thread is threaded correctly, as it can cause problems if the thread is not correctly placed in the guides and needle.
Threading a spool on a sewing machine is an easy process, however it is important to take care to ensure that the thread is correctly threaded and securely fixed in place. By following the steps outlined above, threading a spool on a sewing machine is a simple process which can be completed in only a few minutes.
Threading the bobbin
Threading the bobbin on a sewing machine is a necessary step in order to create a strong stitch. The bobbin is the spool of thread which is placed underneath the machine and feeds thread through to the needle. To thread a bobbin, simply place the spool of thread onto the bobbin thread holder, so that it is secure and won’t move around as the machine is running.
Once the bobbin is in place, it is then necessary to thread the thread through the machine’s thread guides. Generally, this will involve passing the thread through the bobbin thread guide, which is the thread guide nearest to the needle. After that, the thread can be threaded through the other thread guides before being wrapped around the bobbin tension screw.
The thread should then be pulled through the machine until it reaches the needle area. At this point, the thread should be inserted into the bobbin case and then pulled through the tension mechanism of the machine. Once the thread has been securely placed in the bobbin case, the remaining thread can then be cut and the bobbin should be ready for use.
Threading the bobbin is a relatively simple process, however it is important to ensure that the thread is correctly threaded and securely fixed in place. This will help to ensure that the stitch will be strong and neat.
Remove and replace the bobbin
Removing and replacing the bobbin is a necessary part of the sewing process and it is important to know how to do it correctly in order to ensure that the machine is working correctly. The first step is to locate the bobbin case and remove it from the machine. Generally, this can be done by pressing the bobbin release button and then lifting the bobbin case off the machine.
The next step is to remove the bobbin from the bobbin case. To do this, it may be necessary to use a pair of tweezers or a pin to open the bobbin case and remove the bobbin. Then, the bobbin should be removed from the case, taking care not to pull on the thread as this could cause the bobbin to become tangled.
Once the bobbin has been removed, a new bobbin can be placed into the machine. This should be done carefully, making sure that the thread is correctly wound around the bobbin. Once the bobbin is in place, it should be placed back into the bobbin case and secured in place with the lid. After that, the bobbin case should be placed back into the machine and the machine should be ready to start sewing.
Removing and replacing the bobbin requires precision and careful attention to detail, as a tangled thread or incorrectly placed bobbin can cause problems with the machine. However, by following the steps outlined above, removing and replacing the bobbin can be an easy process and should be able to be completed in a few minutes.
Storing the thread correctly
When it comes to threading a spool on a sewing machine, it is important to ensure that the thread is correctly stored and taken care of. This is because the thread needs to be able to withstand tension and remain in good condition in order to create a clean, neat stitch.
Firstly, it is important to store the thread in a cool, dry place and out of direct sunlight. This will help prevent the thread from becoming weak and brittle over time. Additionally, it is important to think about the type of thread which is being used; some types of thread will be more durable than others, so using a high-quality thread is recommended for a strong, neat stitch.
Taking care of the thread will also ensure that it is able to be used for longer. To make sure that the thread remains strong and intact, it is important to check the spool before threading it onto the machine. If the spool is damaged or appears to be worn, it is best to replace it with a new spool, rather than risk using a damaged one.
Storing the thread correctly is an important part of threading a spool on a sewing machine. By taking the time to check the spool for any damage and storing the thread in a cool, dry place, the thread can be kept in good condition and will be less likely to break when being used.
Threading vs. Manual Sewing
When it comes to sewing, many people wonder whether it is better to use a machine to create stitches or sew by hand. Both methods have their advantages and disadvantages, so it is important to consider which method is the best choice when sewing.
When it comes to speed and accuracy, a machine will generally produce a faster, more accurate result than when sewing by hand. Machines are designed to produce a consistent stitch and are able to create a more detailed finish than a manual stitch. Additionally, machines are able to produce repeatable patterns and shapes which may be difficult to achieve when hand sewing.
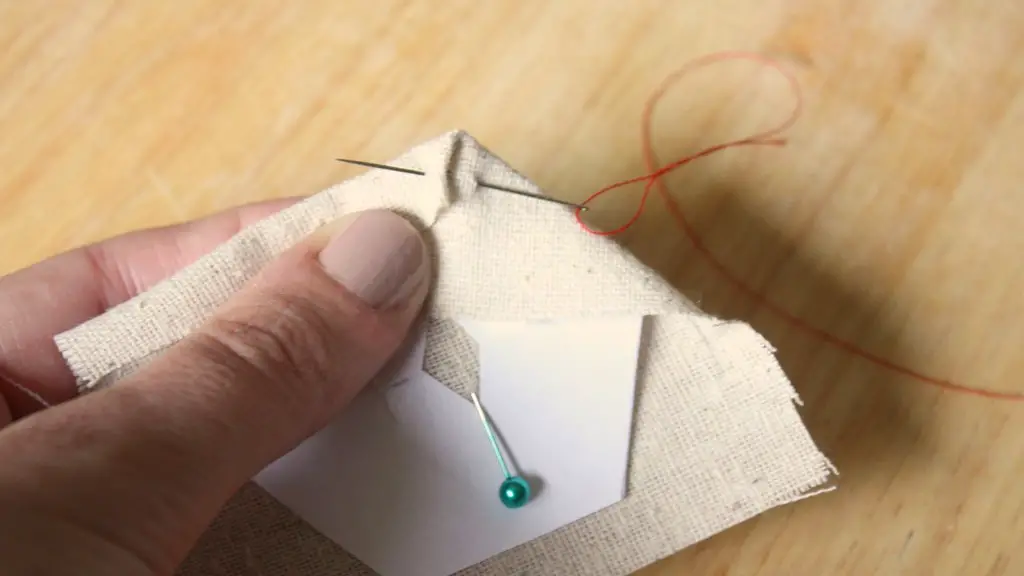
On the other hand, hand sewing offers the advantage of flexibility, as the fabric can be moved and adjusted as needed. This makes hand sewing more suitable for intricate, detailed designs, and for a more personal touch. Additionally, hand sewing can offer a more pleasing, tactile finish, as the fabric can be manipulated to produce intricate patterns and shapes.
Ultimately, the decision between threading a machine or hand sewing will come down to personal preference and the desired finish. Nevertheless, it is important to consider the advantages and disadvantages of both techniques in order to ensure that the right decision is made.
Maintenance and Safety Tips
When threading a spool of thread on a sewing machine, it is important to ensure that the machine is working correctly and that it is kept in good condition. Generally, servicing a machine regularly will help to keep it running smoothly and ensure that it is safe to use. Additionally, it is important to use the machine safely, especially if children are present.
To maintain the machine, it is important to regularly inspect the machine for any signs of wear or damage and to follow the instructions on cleaning and oiling the machine. Additionally, it is important to protect the surface of the machine, particularly if it is made of metal, as this will help to prevent the machine from rusting or becoming damaged.
When it comes to safety tips, it is important to ensure that the machine is unplugged when not in use and that all loose threads are removed from the machine after each use. Additionally, it is important to ensure that the machine is used in accordance with the instructions in order to avoid any potential hazards.
Maintaining and using a sewing machine safely is important for ensuring that the machine is able to work correctly and for avoiding any potential injuries. By following these tips, the machine should be able to remain in good working condition for many years and provide an enjoyable and safe sewing experience.
