Knowing how to thread a handheld sewing machine is a must-have skill if you want to complete projects quicker and more efficiently. Whether you’re a professional seamstress or a novice sewer, understanding how your sewing machine works will improve your sewing knowledge and sewing skills. Threading a handheld sewing machine is a relatively simple procedure when you understand the basics. Before you begin threading your machine, familiarize yourself with its various components and locate the thread tension dial and thread take-up lever.
The first step to threading a handheld sewing machine is to first identify the spool pin, which is located on the top of the machine. The spool pin holds the thread spool, which can have either horizontal or vertical orientations. Place the spool of thread on the spool pin and make sure that the thread is flowing in the right direction, against the arrow indicator.
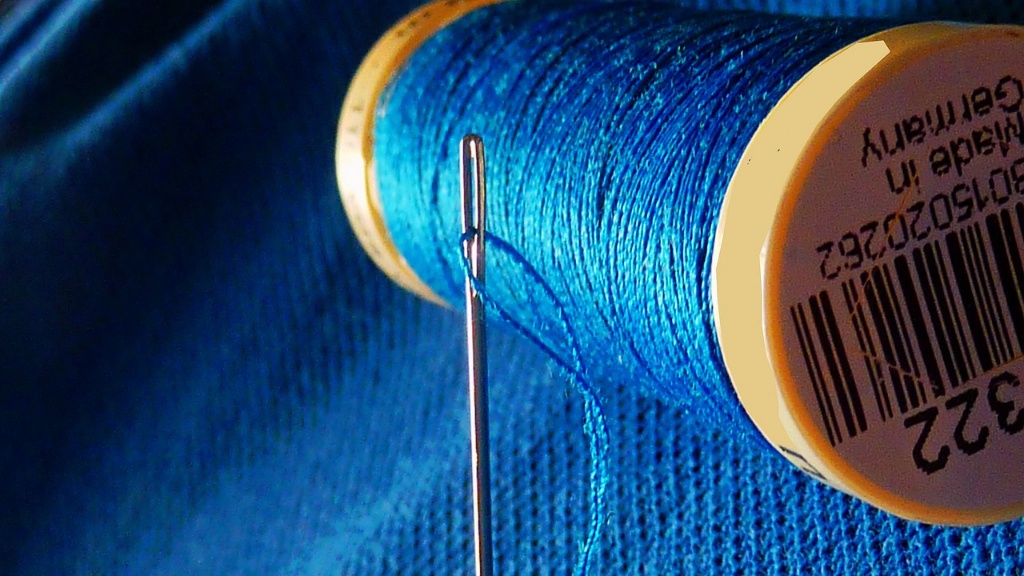
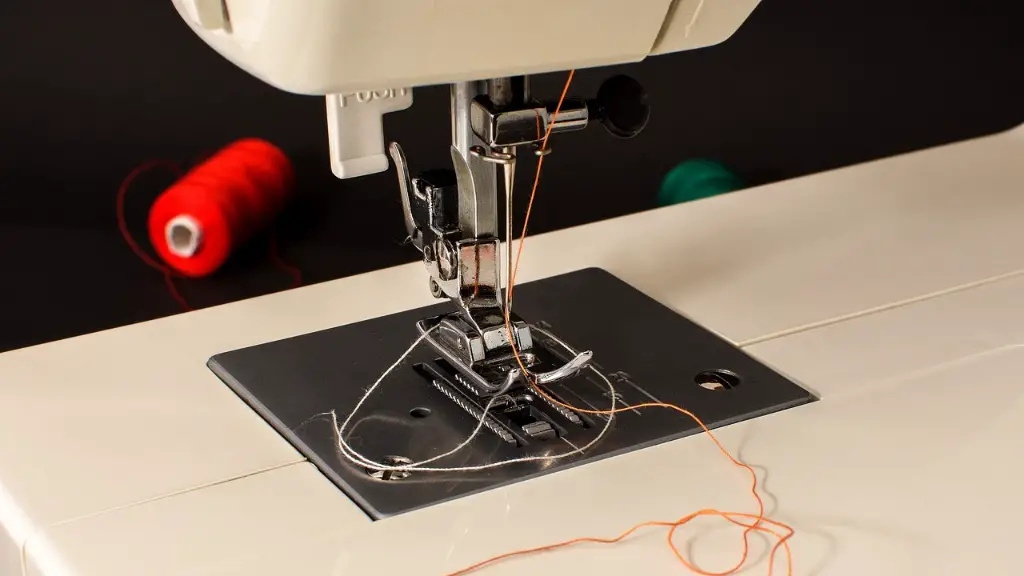
The next step is threading the needle. Carefully locate the needle threader and place the end of the thread through the hole at the center of the needle plate. Raise the presser foot and place the thread underneath this foot. Bring the thread up toward the back and thread it through the needle’s eye. Make sure that the thread is passing through the eye of the needle and not entangling around the shaft or needle plate.
The thread then needs to be passed through the thread guides located on the front of the machine. These guides, which include a loop, a finger and a hook, will help to direct the thread between the thread tension disks located on the top of your machine. Push the thread all the way through the tension disks and feed it down towards the needle.
The final step is to thread the take-up lever, which is located at the top of the machine. Pull the thread up towards the take-up lever, which is located on the right-hand side of the machine, and then insert it through the slots. Pull the thread tension wheel to the left until it’s stopped by the take-up lever and then you should hear a clicking sound. This indicates that the thread has been correctly threaded.
Finally, you need to make sure the thread is properly tensioned. The tension of your thread is controlled by a dial located on the top of the machine. The tension should be set according to the type of thread and fabric that you are using. To test the tension, take a scrap piece of fabric and sew a sample seam, pulling on the underside of the fabric as you go. The sample seam should be looked at for puckering and tension should be adjusted accordingly.
Proper Maintenance
To ensure that your handheld sewing machine runs smoothly, it is important to follow the manufacturer’s cleaning and maintenance guidelines. Regularly check the needle plate and bobbin case for dust, lint and debris as this can cause damages or jams to your machine. Keep the machine oiled with the recommended type of oil and refer to the user manual for further information. Always remove the bobbin and thread after use and store both in a secure, dry place.
Choosing the Right Thread
With so many types of thread available, it can be difficult to know which thread is best for your specific project. Generally speaking, a cotton thread is best for use on lightweight fabrics such as cotton, linen, and silk,while a polyester thread is better for use on heavier fabrics such as wool and denim. When selecting your thread color, make sure it is close in shade to the fabric you’re using. This will help your project look more professional and ensure that the stitches are not visible from the back side.
Troubleshooting Patterns
If your stitches become misaligned or your machine jams frequently, it could be a sign that your fabric is not lying flat or the tension is too tight. Make sure your fabric is lying flat on the machine bed, stretched out and without any creases or folds. If all else fails, press the reverse button, which will reverse the stitching direction. This will help to loosen any tension which has built up.
Tips for Beginners
If you’re just getting started in the world of sewing, it’s important to remember the basics. Make sure that your thread is properly tensioned and that the needle is the right type and size for the fabric you are using. Always use high-quality needles and thread to ensure that your stitches last longer and look more professional. Most importantly, practice makes perfect!
Tension Adjustments
If your machine is not producing the desired stitch quality, it could be a sign that the tension needs to be adjusted. To adjust the tension, use the tension knob to manually increase or decrease the tension of your thread. Start with a low setting, then after several stitches slowly increase the tension until you find the setting that is best for your project.
Sewing Machine Accessories
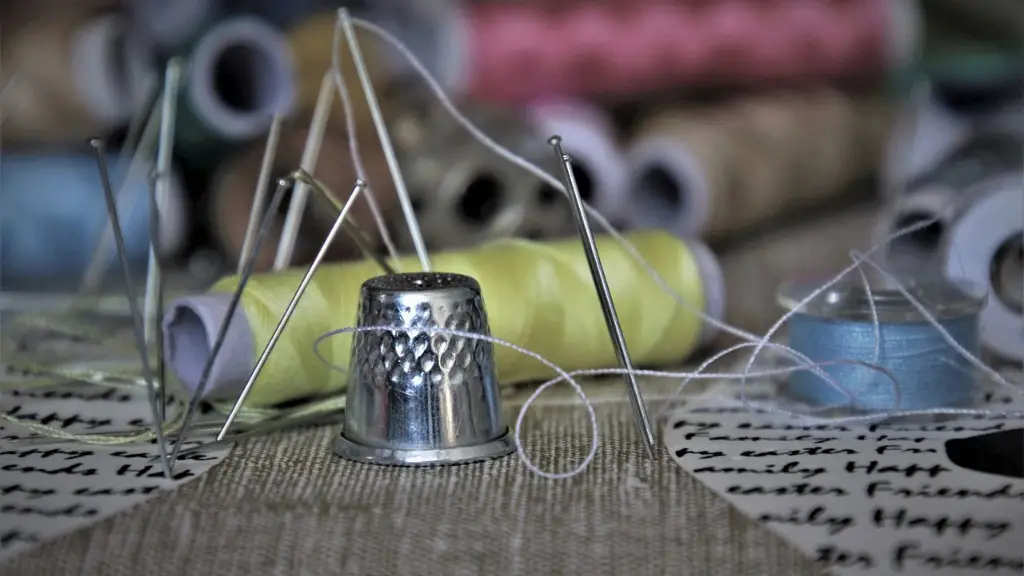
Using the right accessories can help to ensure that your sewing project is a success. Accessories such as bobbins, needles, and seam rippers can make a huge difference in the quality of your stitches. Investing in a few accessories for your sewing machine is well worth the effort and can reduce the time and effort needed to finish a project.
Safety Tips
Using a handheld sewing machine can be dangerous if not used properly. Always make sure your hands remain away from the needle at all times. Be aware of any sharp edges on the machine, such as the needle plate, and make sure to cover these areas with a cloth or fabric when not in use. Always unplug the machine when not in use and remove the thread when finished.


