Setting Up Your Kenmore Sewing Machine
Using a sewing machine is a great way to make your own clothes and other items that require stitching. This article is here to help you learn how to thread a Kenmore sewing machine. With this information, you’ll be able to get more out of your projects and have more fun.
The first step to threading your Kenmore sewing machine is to attach the thread to the spool pin. Lift the spool pin to the highest notch and insert your thread spool onto the pin. Place the thread end through the eyelet at the end of the spool pin and secure it with the spool cap.
The next step is to thread the needle. Raise the needle to its highest position by turning the handwheel. Unscrew the needle clamp knob and remove the old needle. Then, insert the new needle and return it to the same position. Make sure the needle is facing to the right, then tighten the screw firmly to secure the needle in place.
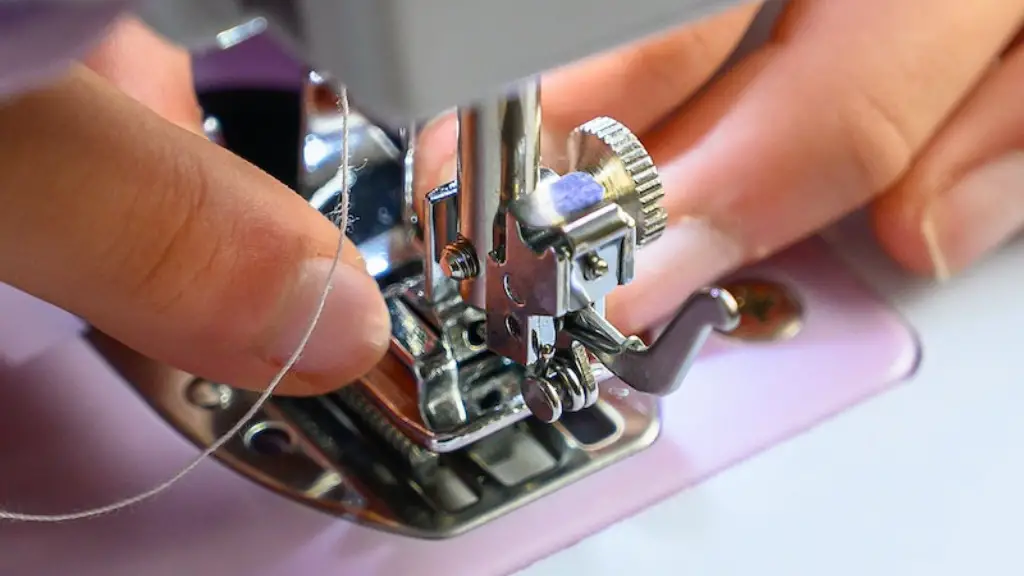
Now you’re ready to thread the needle. Begin by pulling the thread out of the needle hole and put it through the eye of the needle from back to front. Then, loop the thread over and under the thread guide on the machine and feed it through the thread take-up lever. You should now have a loop at the end of your thread.
From here, you’ll need to thread the thread around the upper tension discs. Place the thread through the lower tension disc, then thread it back through the lower thread holder. Finally, lightly pull on the thread as you pass it through the upper tension disc.
Now it’s time to thread the bobbin. Raise the bobbin cover and place the bobbin underneath it in its correct position. Pull the thread tail through the hole in the bobbin, then tighten the thread around the bobbin. Now that the bobbin is threaded, place it back in the bobbin case and close the bobbin case lid.
The next step is to pull the threads up through the needle plate. Hold the thread spool with one hand and start turning the handwheel in a clockwise motion. At the same time, hold the thread tails in the other hand. This should pull both threads up through the needle plate.
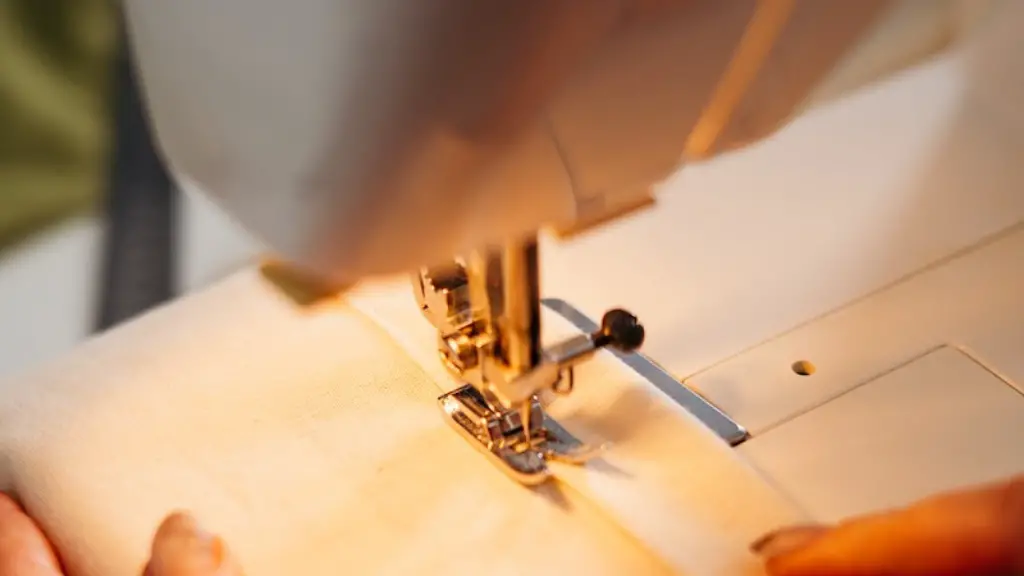
Finally, you’re ready to start sewing. With the two threads extending from the eye of the needle, guide them under the presser foot. Then, press down on the foot pedal and the threads should start to move. From here, you can adjust the stitch length and begin sewing.
Adjusting Your Thread Tension
Adjusting the thread tension on your Kenmore sewing machine is essential for creating consistent stitches in your work. If the thread tension is too loose, stitches can appear with “wings” on either side of them. If the thread tension is too tight, the fabric can bunch up or the thread may break.
Adjusting the thread tension on a Kenmore sewing machine is relatively simple. First, make sure that the top thread is properly threaded and the bobbin is properly wound. Then, locate the thread tension dial on the side of the machine. For most machines, this dial should be set to “4”.
Now that the thread tension dial is set, start to sew a few stitches. If the thread tension is too tight or too loose, the stitches may look uneven. To adjust the tension, turn the thread tension dial. This will increase or decrease the amount of pressure that’s applied to the thread.
When adjusting the thread tension, it’s important to move the dial slowly and test the stitches frequently. If you turn the dial too quickly, you may end up with stitches that are too tight or too loose. Once you’ve found the proper setting for your machine, write it down so you can refer to it next time.
Troubleshooting Your Sewing Machine
Having a malfunctioning sewing machine can be stressful and frustrating. Fortunately, it’s usually not too difficult to diagnose and repair most problems. Here are some common issues that can arise when using a Kenmore sewing machine as well as how to fix them.
If your machine keeps skipping stitches or making incomplete stitches, the thread tension may be too tight or too loose. Try adjusting the thread tension dial until you find the right balance. You can also try changing the size or type of needle, as different needles can require different levels of tension.
If the machine won’t feed the fabric, the bobbin may need to be wound more tightly. Start by winding the bobbin until the thread is snug around the bobbin, and finish by trimming any loose thread away. If the fabric is still not feeding properly, try replacing the needle or adjusting the presser foot height.
If the thread is breaking frequently, the machine may be jammed or the thread paths may be blocked. Start by double-checking the bobbin and needle to make sure they’re in the proper position. Then, use a brush to gently clean the area around the needle and the bobbin case. If the issue persists, you may need to consult an expert or purchase a new machine.
Using Accessories For Different Types Of Materials
When using a Kenmore sewing machine, it is important to use the correct accessories for the different types of fabrics you’ll be working with. Different fabrics require different needles, thread, and presser foot in order to be sewn successfully and look good.
For example, lightweight fabrics tend to benefit from a sharp needle, such as a stretch needle. Stretch needles have an angular point that helps to prevent skipped stitches. Additionally, you may want to use a walking foot for these types of materials — a walking foot helps to feed the fabric evenly and make it easier to control.
When sewing thicker fabrics such as denim or leather, it’s important to use a thicker thread and a stronger needle. A denim or leather needle is a good choice, as they have a stronger, more durable point. When using heavy fabrics, you may also want to use a Teflon presser foot — this foot is designed to glide over thick materials without sticking or snagging.
Finally, needle and thread sizes also vary depending on the project. For instance, when creating a garment with curves or pleats, you’ll need to use a very fine needle and thread for superior accuracy. On the other hand, when quilting or making larger projects, using a thicker needle and thread can help the stitches stay strong.
Project Ideas with a Kenmore Sewing Machine
Now that you know how to use your Kenmore sewing machine, it’s time to start making items with it. There are countless projects you can create with a sewing machine, ranging from clothing items to home decor. Here are a few ideas to get you started.
If you’re looking for a fun project to work on, why not make a throw pillow? Throw pillows are great for adding a splash of color to any room and don’t take too long to make. You’ll need to choose your fabric and batting, as well as the size of pillow you’d like to make. Then, cut the fabric to the desired size and sew it together.
You can also make clothing items with a Kenmore sewing machine. Start by looking for patterns online — you can download patterns from a variety of sites or even make your own. Once you’ve selected a pattern, buy the fabric, thread, and other materials you’ll need to make the item. Then, you can begin cutting out the pieces and putting them together.
Finally, why not try making a quilt? Quilting is a great way to showcase your creative abilities while staying warm at the same time. Start by choosing the fabrics you’d like to use and cutting them into squares or other shapes. Then, sew the fabric together in whatever pattern you’d like. For extra warmth, you can add a layer of fleece or flannel between the quilt top and bottom.
Conclusion
Overall, learning how to thread a Kenmore sewing machine is an essential step for anyone who wants to make their own clothes, home decor, and other items. Even if you’ve never threaded a machine before, following the steps above should get you up and running. Finally, with the correct accessories and tools, the possibilities for projects are endless — take some time to brainstorm some of your own ideas for what you can make with a Kenmore sewing machine!
